Introduction
This guide is a prerequisite for the following guides: [invalid guide link]. It is not intended to be used as a standalone guide as it is used when integrating steps where I need standardized instructions. It will make no sense as a solo guide.
-
-
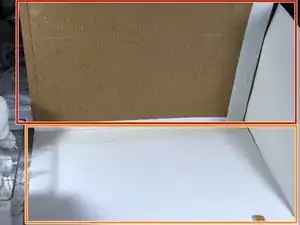
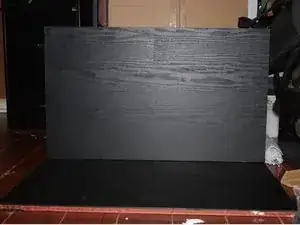
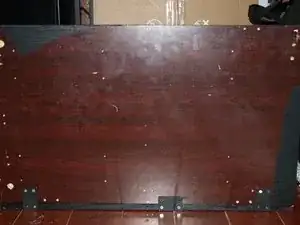
Setup a backdrop support. This can be anything from a trifold board cut in half (the style you used in "school") or a custom design. I chose a custom design to conform it to my design spec and make the modifications I wanted.
-
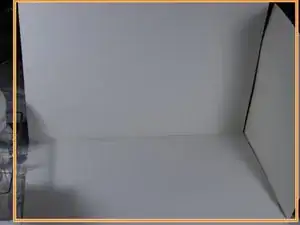
Setup your white background. Once the backdrop is stable, minimize as many unsightly areas as possible. You are ready.
-
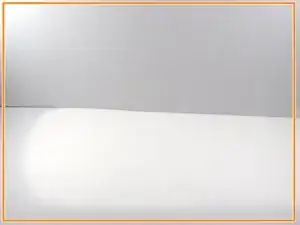
Take a few test photos (Optional). If you are unsure about the end result, take 1-2 test shots for review. Make adjustments until you are happy with the end result.
-
-
-
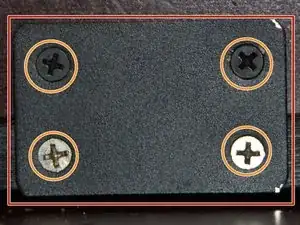
Place a few support brackets on the lower piece. Add screws as your brackets permit.
-
Hold the top piece up and add screws to the top side.
-
Once assembled, you are ready to use the backdrop.
-
To reassemble your device, follow these instructions in reverse order.
