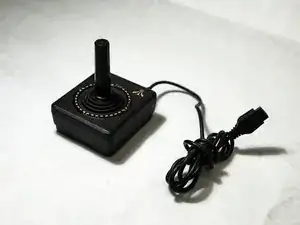
Introduction
If the joystick on an Atari Flashback 2 controller is sticking or broken, then it will need to be cleaned or replaced. This guide covers the steps necessary to disassemble the controller in order to access the joystick efficiently.
-
-
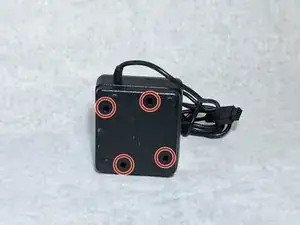
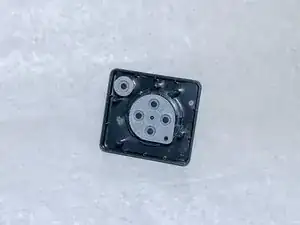
Using the screwdriver and the PH1 bit, unscrew the four 10.0 mm screws on the bottom of the joystick.
-
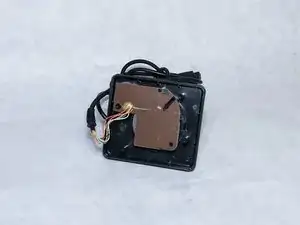
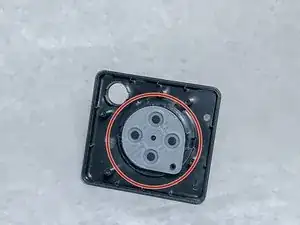
Remove the bottom panel from the joystick.
-
-
-
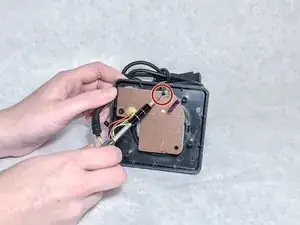
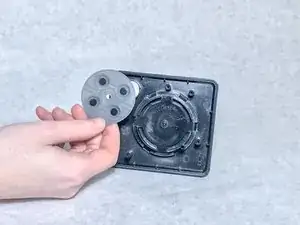
Use the screwdriver with the PH1 bit to remove the one 10.0 mm screw on the circuit board.
-
Remove the circuit board.
-
-
-
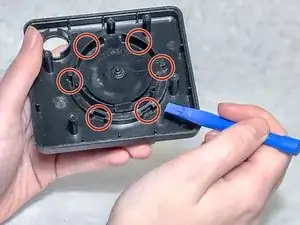
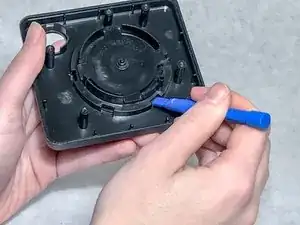
Using a plastic opening tool, poke into the six notches around the bottom of the joystick housing.
-
-
-
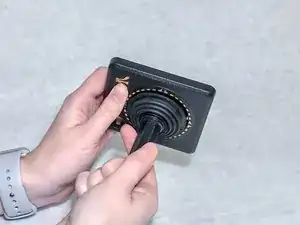
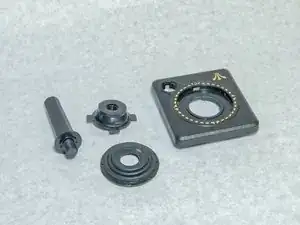
The joystick will now unscrew (counter-clockwise) and you can disassemble the top of the controller into these four parts.
-

To reassemble your device, follow these instructions in reverse order.