Introduction

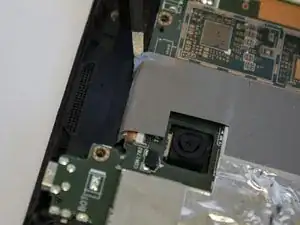
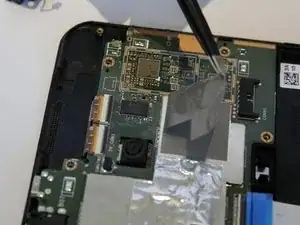
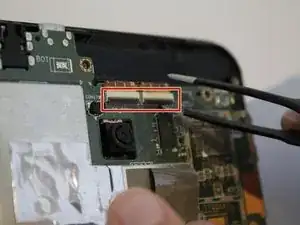
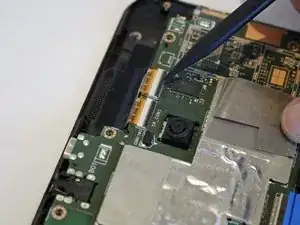
This guide will walk you through the steps to replace a dead or non-working motherboard in an Asus Tablet MeMo Pad 7 ME700C. Make sure you are using the proper tools and exercising caution while opening the back panel to avoid causing damage to the tablet.

  1. kWqN1WQMhHidJ5Gy
    kWqN1WQMhHidJ5Gy
    AYqMCnpKMvvY3mXR
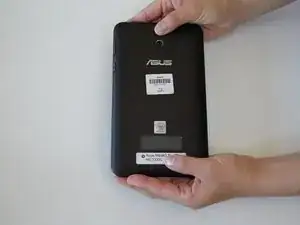
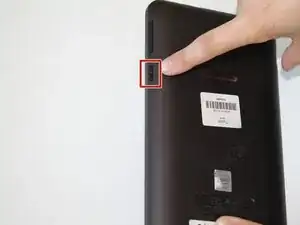
    • Flip over the tablet so the back cover is facing you. Hold the second button on the left below the volume buttons down until it powers off.

  2. WCgtLTsane6pZRYK
    WCgtLTsane6pZRYK
    OZAeQC1qsq3fnF3n
    SMRYnclQREGULacv
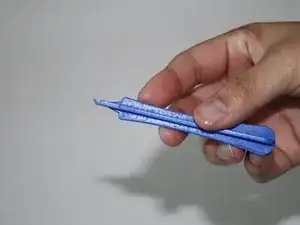
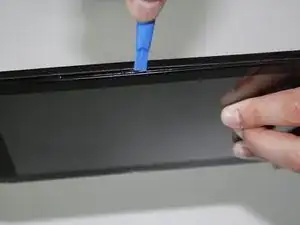
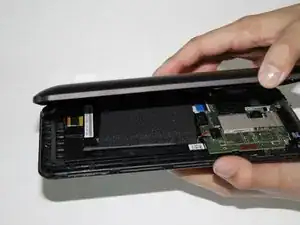
    • Beginning in the upper corner of the tablet, use the blue plastic opening tool and run it along the seam. Do this slowly so you don't cause damage to the device.

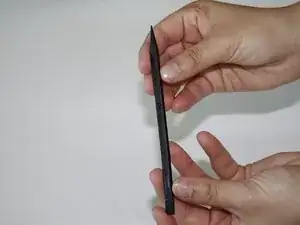
    • If you are having trouble using the blue plastic opening tools, try using the black spudger instead.

  3. fMbsKhkXE4oBU1oE
    fMbsKhkXE4oBU1oE
    OGHuZWEEaIyWpoEV
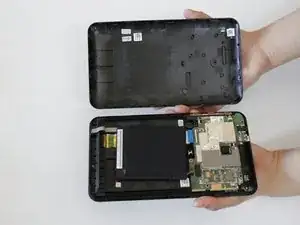
    • Pull the rear panel and the display screen away from each other.

  4. BXOrXjU2cxATWgLh
    BXOrXjU2cxATWgLh
    J63K6D3sJmh53L5I
    y6v4ZlF5gO2yoRs3
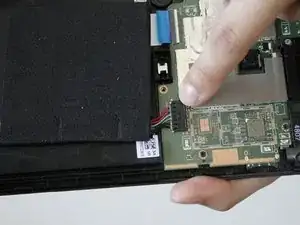
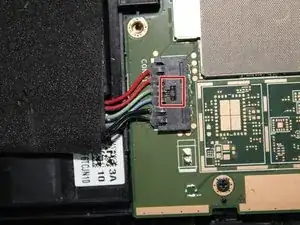
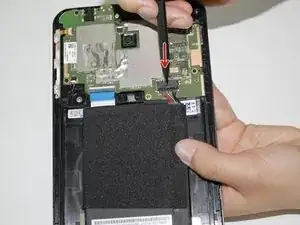
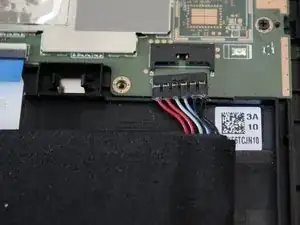
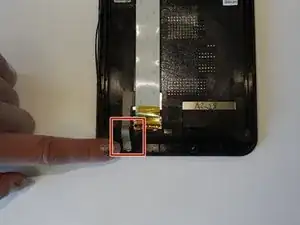
    • Using the spudger, gently press on the black button on the plug port to release the battery from the plug.

  5. RUxJCwSIWOlCQOHM
    RUxJCwSIWOlCQOHM
    5sNLMTwauvuAsV4p
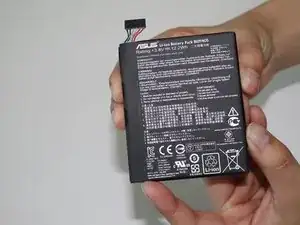
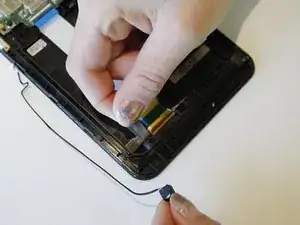
    • Remove the battery from the device.

  6. 3MMGNqY1uAZCmPKT
    3MMGNqY1uAZCmPKT
    RiqBZE6mHmOiHHvY
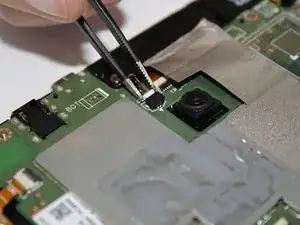
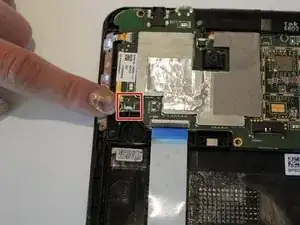
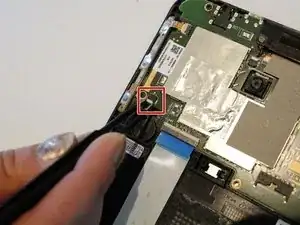
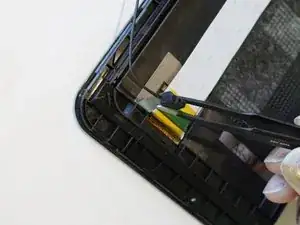
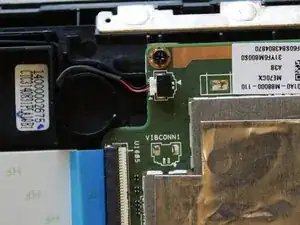
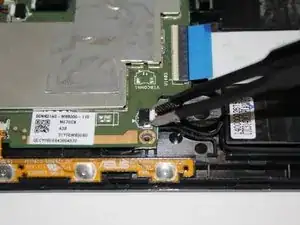
    • Using the tweezers, disconnect the black clip.

  7. sBIvYOv4B5GZgnuq
    sBIvYOv4B5GZgnuq
    fMx4lRTdJZSUE1VP
    2AIPyjlF4kBYDIoY
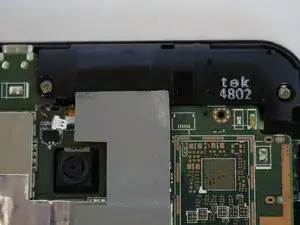
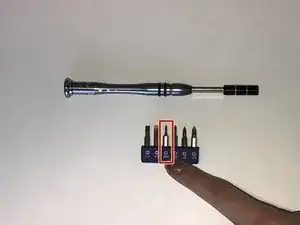
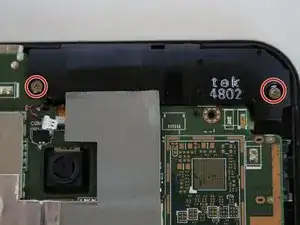
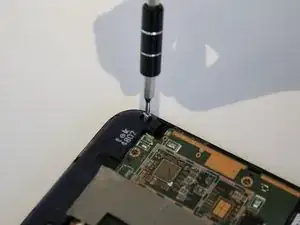
    • Use the Phillips #000 Screwdriver to unscrew the 3mm Phillips head screws on the right and left corners of the speaker.

    • Use the magnetic pad to keep track of your screws while working.

  8. FMBK5XXlHFORHj2W
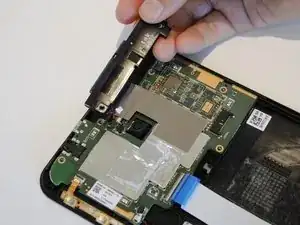
    • Remove the speaker from the device.

  9. BRpXbfj53ijoZJRT
    BRpXbfj53ijoZJRT
    Jesni6GRbEqAXsBR
    AfhdZSbBUlCgFHMu
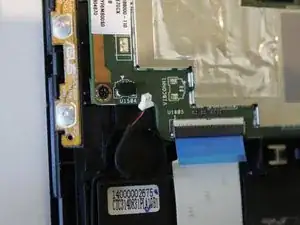
    • Disconnect the microphone plug from the motherboard.

    • Use the tweezers to gently pull the white plug from the motherboard.

  10. VtUjjxWPCxmOKsF1
    VtUjjxWPCxmOKsF1
    SILtwon2vFWiVgWI
    l3IFUeRAsMMEbXWS
    • Using the tweezers, peel back the silver adhesive, exposing the microphone.

    • Make sure you leave the tape adhered to the device for reassembly.

    • Gently remove the microphone with tweezers.

  11. ZymGG5t6CUOHCpPO
    ZymGG5t6CUOHCpPO
    BBZrbrejlLJFEZnf
    IDNy2ASlMQeqyN1h
    • Gently unplug the microphone from the motherboard using a pair of blunt tweezers.

  12. jwyIHECq1HncyJDV
    jwyIHECq1HncyJDV
    6rxX5Q3befQ2blrB
    IhMQmABgoABmLHKb
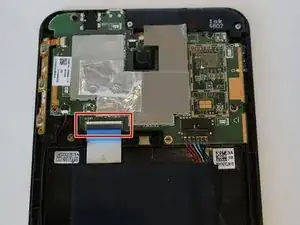
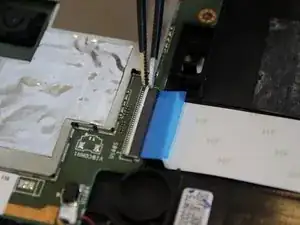
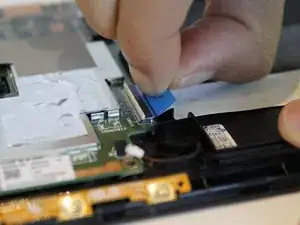
    • Flip the cream tab above the blue ribbon up with the pair of tweezers to release the ribbon.

    • Using the blue tab, gently pull the ribbon away from the motherboard.

  13. ruDhC2BOOIDaplPM
    ruDhC2BOOIDaplPM
    JcF6NRORcKcCbpKD
    kACfw1CVGtZrqjix
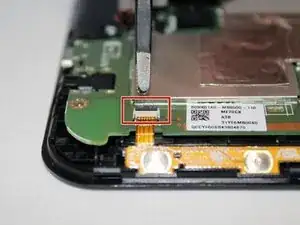
    • Using the tweezers, flip back the black tab to release the volume ribbon.

    • Once released, gently pull ribbon away from motherboard using the tweezers.

  14. pESMVpcvBDAQTqCI
    pESMVpcvBDAQTqCI
    jC2HuiSwRrSFd1w4
    FmgP6csMDs6y31Ku
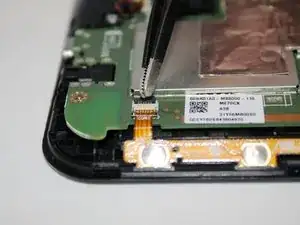
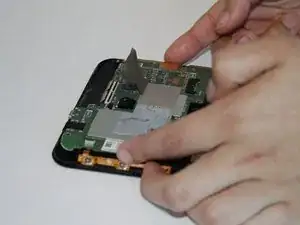
    • Pull back the silver adhesive with tweezers.

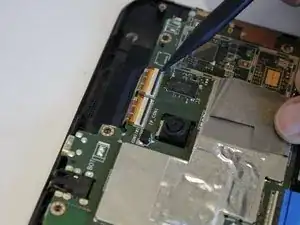
    • Gently use the tweezers to flip up the black release tabs on the gold ribbons.

  15. BCDUPFDToQZFPOPb
    BCDUPFDToQZFPOPb
    LrWJLERWMyn3meYA
    3UVxr3EHZ2CZQ5Mc
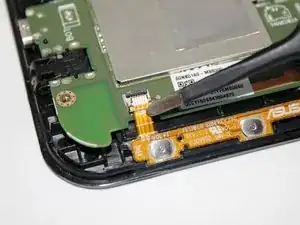
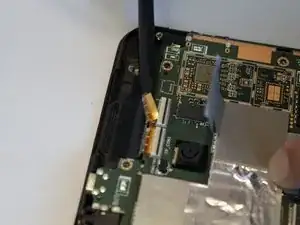
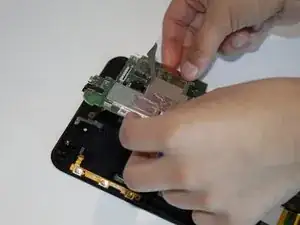
    • Once the black tabs are lifted, use the spudger to pull the gold tabs away from the motherboard.

  16. rFbTLy5HYFNuhhrL
    rFbTLy5HYFNuhhrL
    LjvTYgiBECEw1PQQ
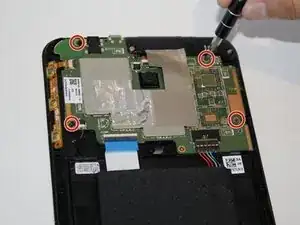
    • Using the Phillips #000 screwdriver unscrew the four 3mm screws.

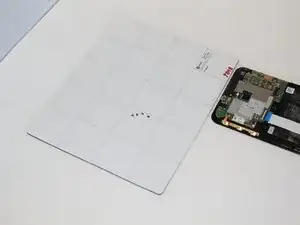
    • Use the magnetic board to keep track of your screws.

  17. wAHbUo1N4WesU1ZU
    wAHbUo1N4WesU1ZU
    QlU2cAVb1JMGyOI1
    • Hold both sides of the motherboard and gently lift up to remove the motherboard from the device.

    • If you feel tension or the motherboard is not coming off properly, make sure all the connections have been disconnected properly.

Conclusion

To reassemble your device, follow these instructions in reverse order.
Katie

Member since: 10/04/18

714 Reputation

0 comments