Introduction
For those experiencing picture clarity or no response from the rear camera this guide is for you. The Asus TF300T Android Tablet has a rear facing rear camera that is sensitive to pressure and other factors that may damage it. This guide will instruct the user of how to successfully replace the rear camera.
Tools
Parts
-
-
Begin the process by making sure that the dock is disconnected and the power is turned off.
-
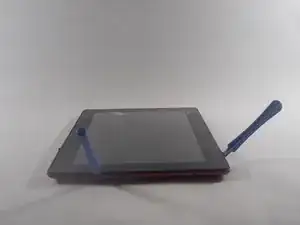
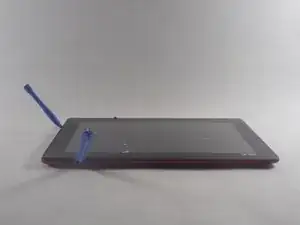
Start by using the plastic opening tool on the side opposite the dock/ charging port. Begin to open the device along the short sides of the tablet.
-
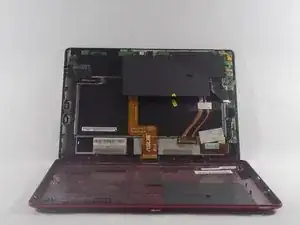
Once the opening tools have completely made their way around the device use the spudger to separate the back panel from the screen and expose the inside.
-
-
-
The Asus Transformer series tablets have a hard power switch. This should be turned off before working on the tablet.
-
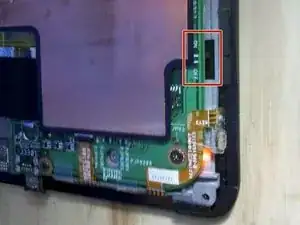
Locate the power switch near the power button on the top left. Use a tool to slide it to the position marked 'off'
-
-
-
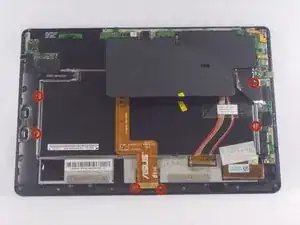
Using the Phillips #00 screwdriver remove all of the screws connecting the battery to the mother board.
-
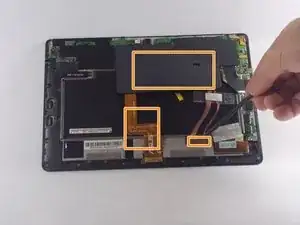
Once the initial screws have been removed as indicated by the photo, use the spudger to remove the cover concealing the the clips for the dock sensor and a few more screws.
-
Again remove the screws with the same screwdriver and use the spudger to disconnect the spudger sesors from their respective clips.
-
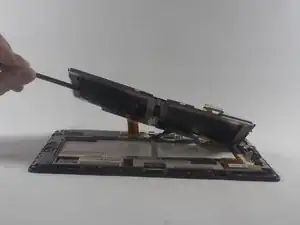
Once the battery is freed use the spudger to remove the battery from its spot
-
-
-
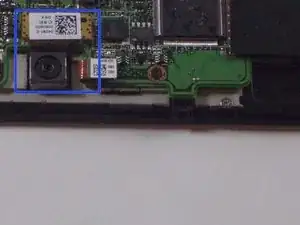
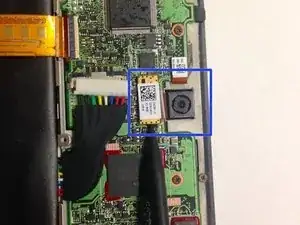
Once the back panel is exposed, use the tweezers or thespudger to lift the camera from its spot.
-
Lift from the gold clip and not from the camera itself.
-
To reassemble your device, follow these instructions in reverse order.
Prying the back off is a lot easier if you use a hair dryer or heat gun to warm up the glue. There was glue holding mine together. Otherwise, like me, you might tear the back panel plastic. Also, there are plastic tabs close along all edges. Beware you might break those as well (like I did).
Chris -