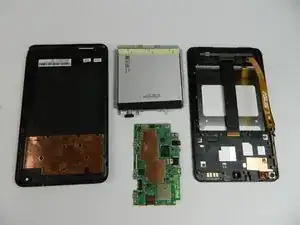
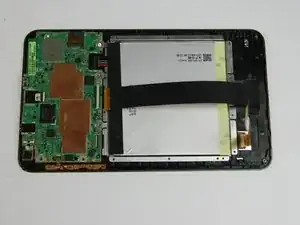
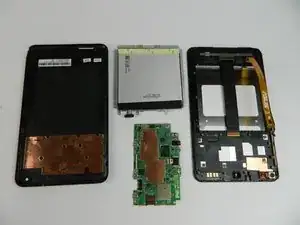
Introduction
Tools
Parts
-
-
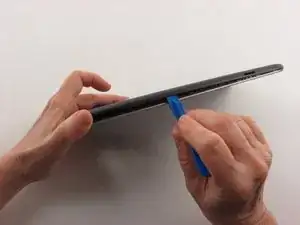
Insert a plastic opening tool into the seam between the rear case and the screen.
-
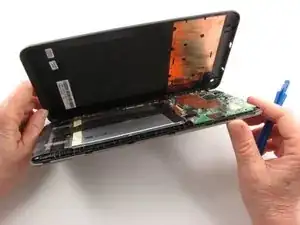
Work the plastic opening tool around the perimeter of the device to completely remove the rear case.
-
-
-
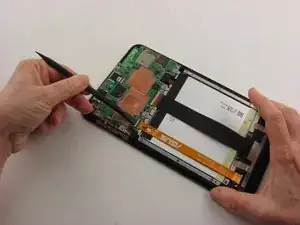
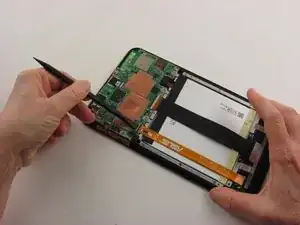
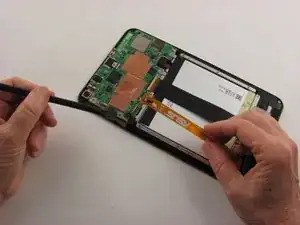
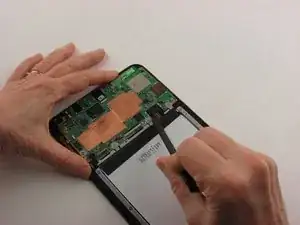
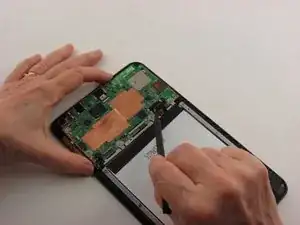
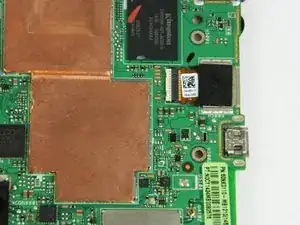
Use the flat end of the nylon spudger to flip up the retaining flap of the Zero Insertion Force (ZIF) connector holding the orange motherboard ribbon cable in place.
-
-
-
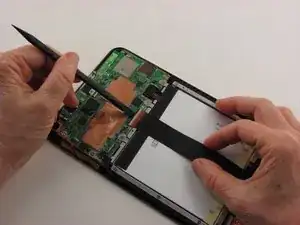
Use the flat end of the nylon spudger to flip up the retaining flap of the ZIF connector holding the black motherboard ribbon cable in place.
-
-
-
Working from top to bottom, you will remove all screws with a #000 Phillips head driver, (20) total.
-
(2) screws located in the top corners. NOTE: These screws will be in the speakers.
-
(4) screws located along the top of the battery, (3) along each side of the battery, and (3) along the bottom of the battery.
-
(1) screw in the middle of the motherboard on the side with the orange ribbon cable, (4) screws in the bottom of the motherboard .
-
-
-
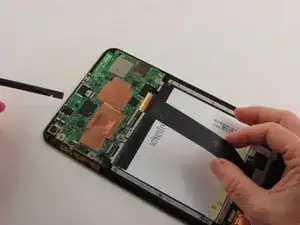
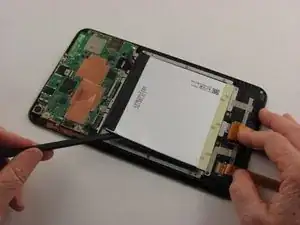
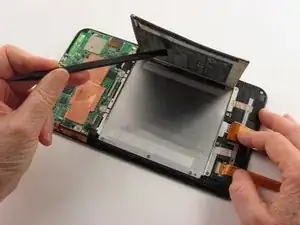
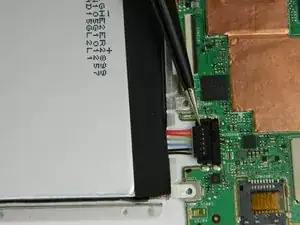
Make sure that the battery is disconnected from the motherboard by unplugging the ribbon cables.
-
-
-
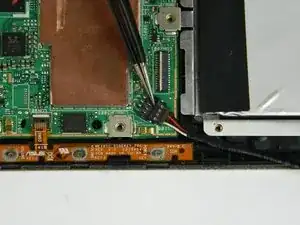
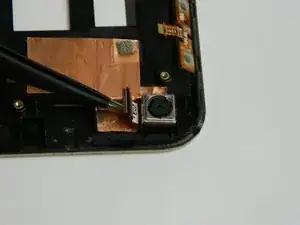
Before you remove the entire assembly, first unplug side buttons and cameras from the motherboard using tweezers.
-
-
-
While the device is open, this is your opportunity to check and see if there is any other damage to the motherboard or other associated parts.
-
To reassemble your device, follow these instructions in reverse order.
