Introduction
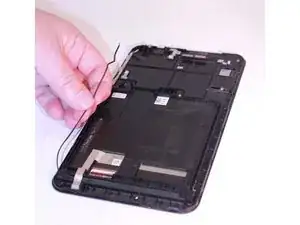
The microphone is where you input sound, as opposed to the speaker which is what outputs sound. This is where you record voice memos, give commands to a built in operating system, or voice to text functions.
Tools
-
-
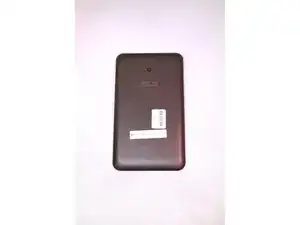
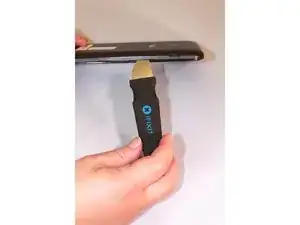
Using the Jimmy tool, gently wedge it into the seam of the device.
-
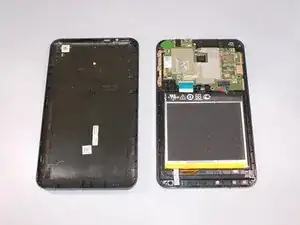
Gently pry the Jimmy tool all around the seam until the back panel is detached.
-
-
-
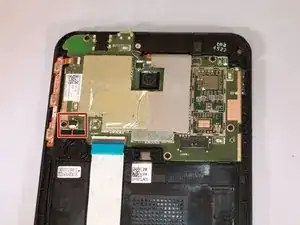
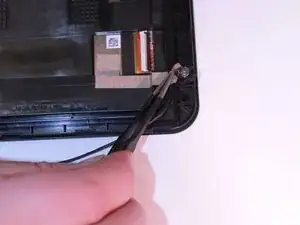
Inserted in a black port on the motherboard, locate the white cable connector on the left side of the tablet.
-
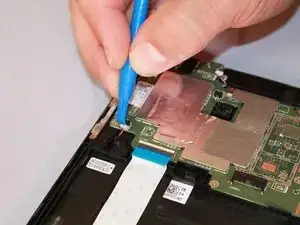
In a side to side motion, using the smallest opening tool, slide the white cable box completely out of the port towards the bottom of the device.
-
-
-
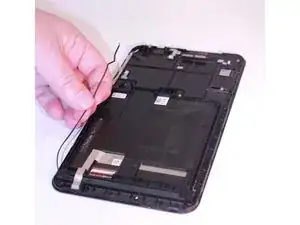
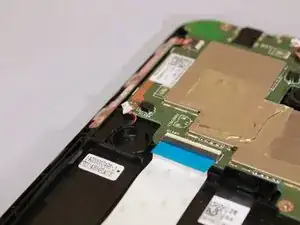
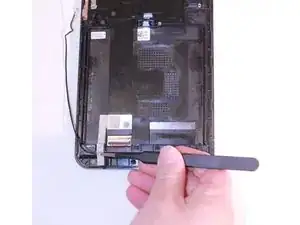
Using wide nosed tweezers, lift up the tape and remove from black box.
-
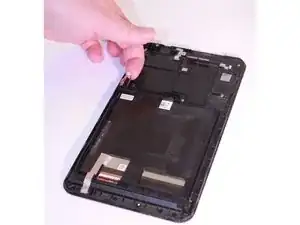
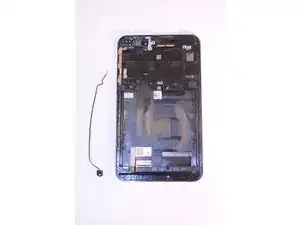
Remove the component completely from the device.
-
To reassemble your device, follow these instructions in reverse order.
