Introduction
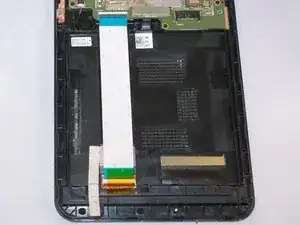
The ribbon cable acts as a bundling unit to hold multiple wires together. Basically, instead of having a bunch of cords in random places, the ribbon holds them together as one, clean unit.
Tools
-
-
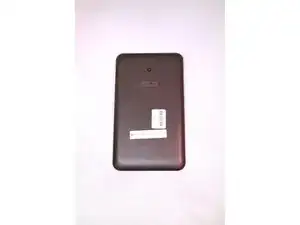
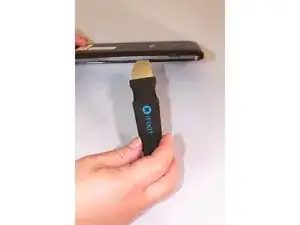
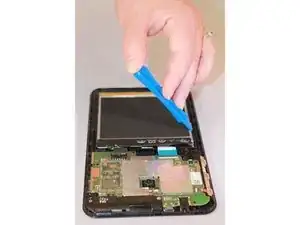
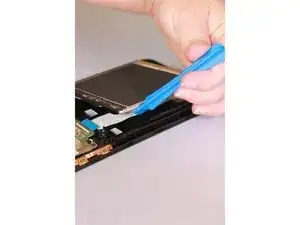
Using the Jimmy tool, pry it into the seam of the device.
-
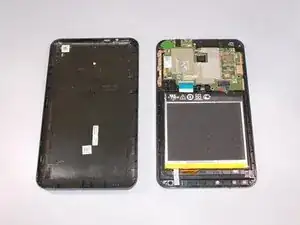
With the Jimmy tool, pry open the device through the seam.
-
-
-
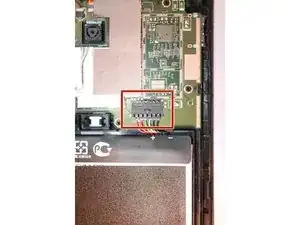
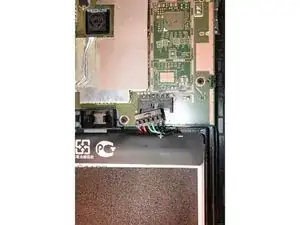
Locate the black bundle cable connector attached to the battery.
-
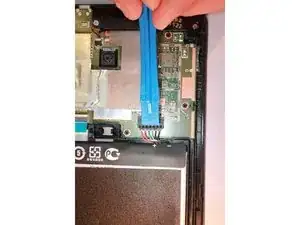
Use the blue plastic opening tool to loosen the black bundle cable connector Loosen it in a back and forth motion towards the battery.
-
-
-
Use the plastic opening tool to loosen the battery by using the edges.
-
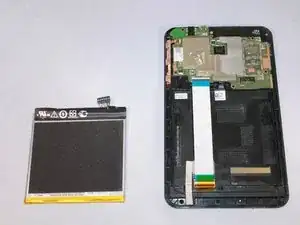
Lift the battery out of its port.
-
-
-
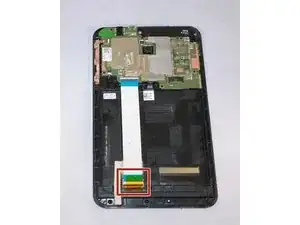
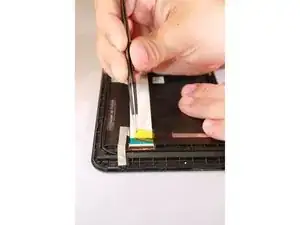
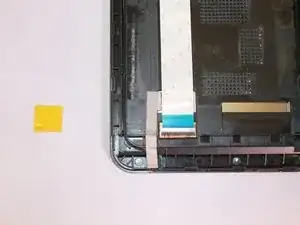
Use the wide nosed tweezers to remove the yellow tape that secures the bottom end of the ribbon cable. Gently lift the edge of the tape.
-
-
-
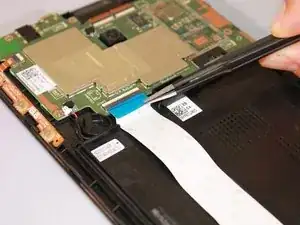
Using wide nosed tweezers, pinch the blue tab attached to the ribbon cable towards the top of the device that is inserted in the mother board.
-
In a lateral motion, pull the blue tab gently.
-
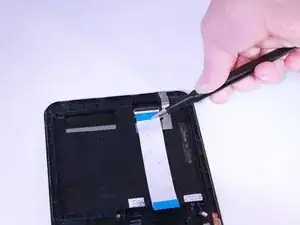
At the bottom of the device, use wide nosed tweezers to pinch the opposite blue tab of the ribbon cable.
-
In a lateral motion, pull the blue tab gently.
-
-
-
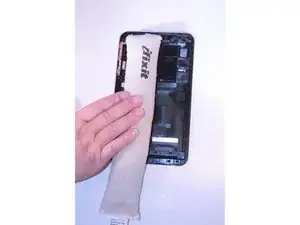
Heat the iOpener in the microwave for one minute.
-
After heating, vertically place the iOpener on top of the ribbon cable. Let it sit for one minute.
-
Remove the iOpener.
-
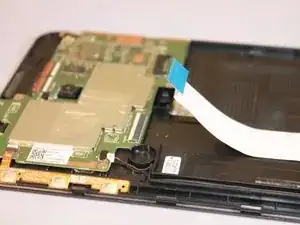
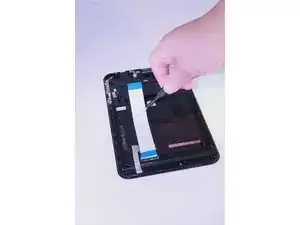
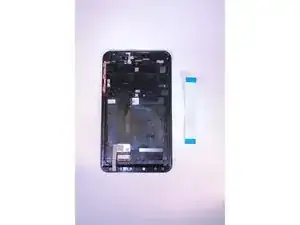
Use the wide nosed tweezers to pinch the ribbon cable from the middle. Pull it up firmly to detach. Be careful not to rip it off.
-
To reassemble your device, follow these instructions in reverse order.
