Introduction
Tools
-
-
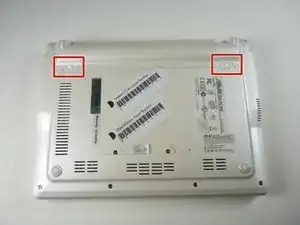
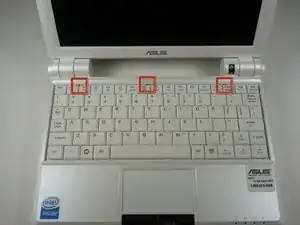
Identify the three metal tabs holding down the laptop's keyboard.
-
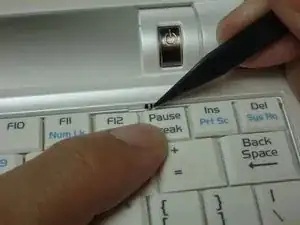
Using a spudger, depress each metal tab to remove the keyboard.
-
-
-
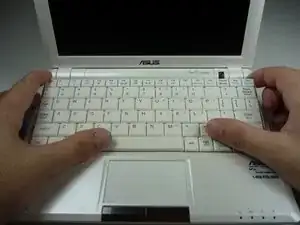
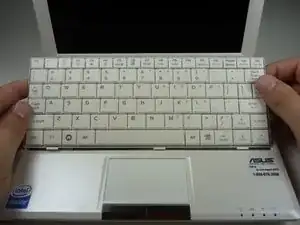
Clips hold the bottom portion of the keyboard to the laptop. Gently lift the upper portion of the keyboard and then move the entire keyboard towards the computer's screen until the ribbon cable is visible.
-
-
-
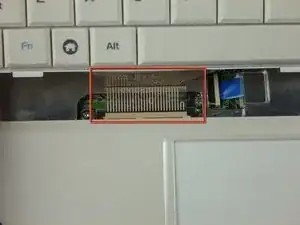
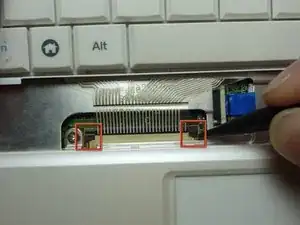
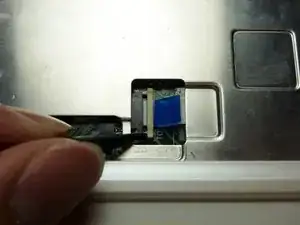
Using a spudger, gently push the two black pins holding the ribbon cable towards the computer's screen.
-
Slide the keyboard's ribbon cable from the connector.
-
-
-
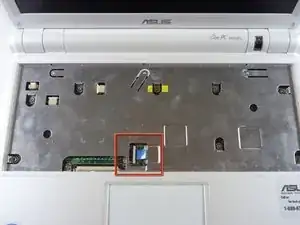
Flip the laptop back over and identify the touchpad ribbon.
-
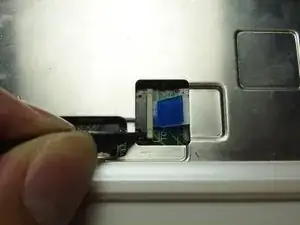
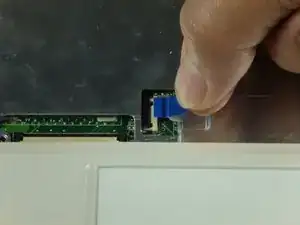
Unlock the tan locking pin from the black connector by pushing the pin to the right with a spudger.
-
-
-
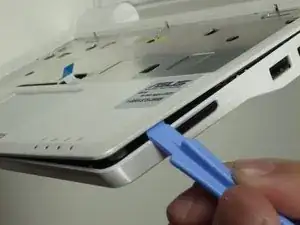
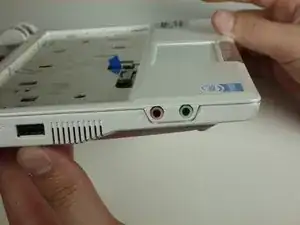
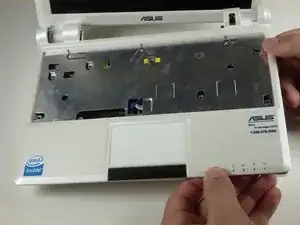
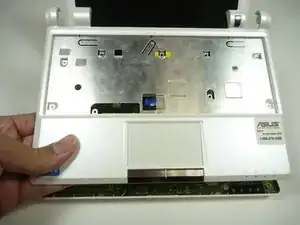
Use a plastic opening tool to gently detach the top cover from the laptop's base. See the next step for removing the cover.
-
To reassemble your device, follow these instructions in reverse order.
2 comments
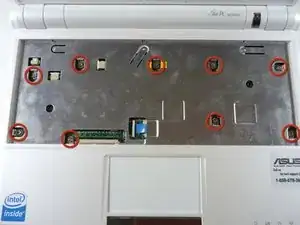
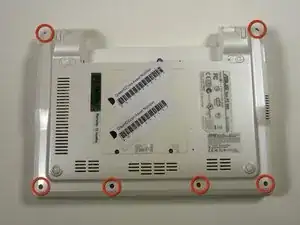
If you have a 900HD, there are only 8 screws in step 7. The ninth "screw" -- the second from the right in the bottom row, to the right of the blue ribbon -- is under the hard drive. You have to remove the hard drive cover on the bottom, remove the hard drive, then remove the screw there.
burneson -
how much the replacement of top and back cover of this laptop?

a (minor good, as liion batteries tend to degrade, esp in alltimeuse in bay: warm, max voltage=minimumlifespan) solution is:
try to revive the no more recognized one! first!!
either at the poles: need three connections: two at the ends, one in the middle like 1(+ -)-2-(+-)3
(need a hole through the casing/housing… (each of the two packs must be over 3.0volts: you can easily put a good charged liion from outside for a few moments to get a bit charge in to rise each pack over the 3.0 threshold that prevents pack of being recocknized as ok…)
or need a bridge at the connector to see realbatterypackvoltage there… check it out
good luck, thomas@biopilze.de
biopilz -