Introduction
Tools
-
-
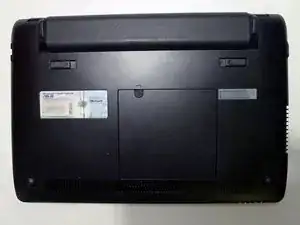
Turn the power off and turn the netbook upside down.
-
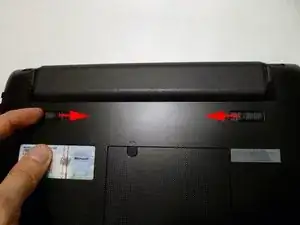
Slide both battery catches together to release the battery.
-
Slide the battery out.
-
-
-
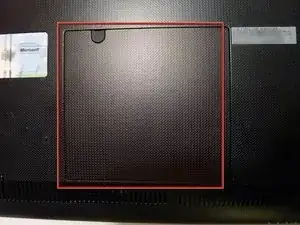
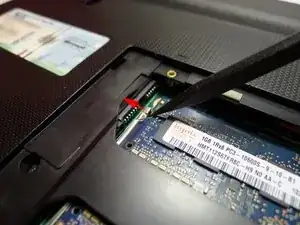
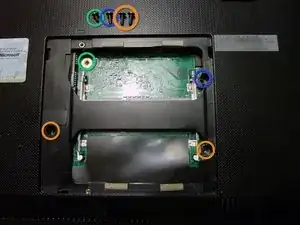
Locate the memory compartment.
-
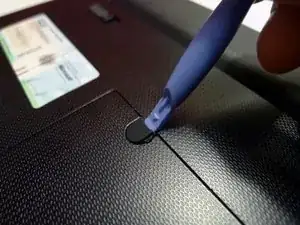
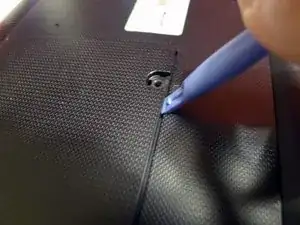
Using a Plastic Opening Tools, remove the screw rubber cover.
-
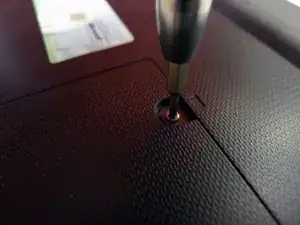
Remove the screw.
-
-
-
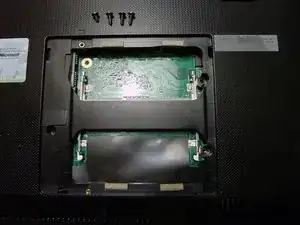
Remove the screws as necessary.
-
For top cover removing, only remove the 2 bottom screws.
-
The one short screw paterns to uper left screw hole directly on the PCB.
-
-
-
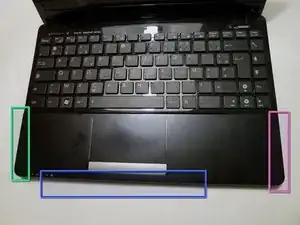
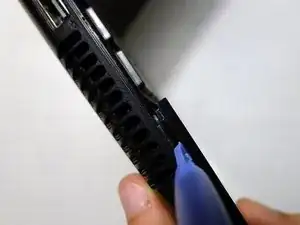
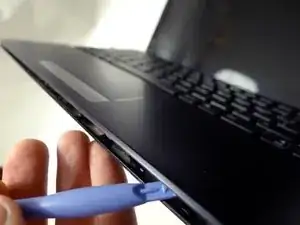
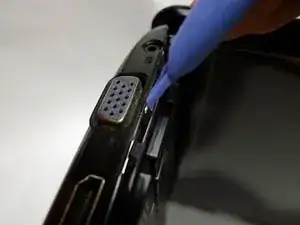
Use a Plastic Opening Tools to release the top cover.
-
Start from the left side.
-
Go around on the bottom
-
Finish with the right side.
-
-
-
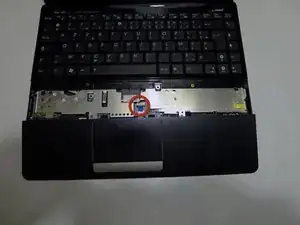
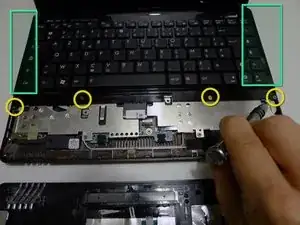
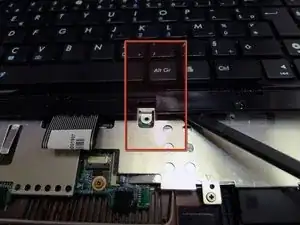
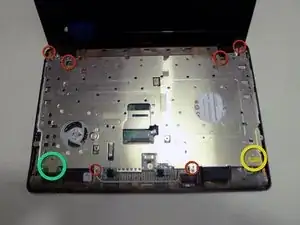
Remove the keyboard 4 screws on the bottom.
-
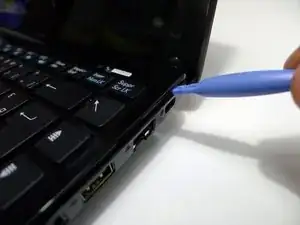
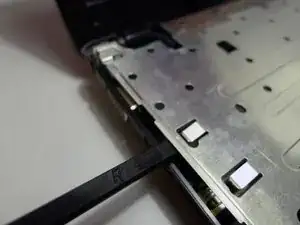
Use a Plastic Opening Tools to release the keyboard clips on the left and right side.
-
-
-
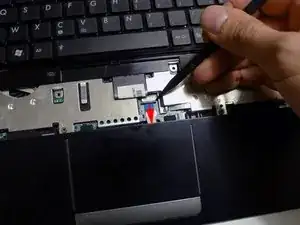
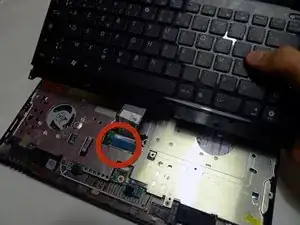
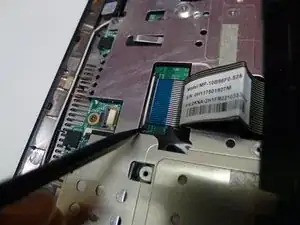
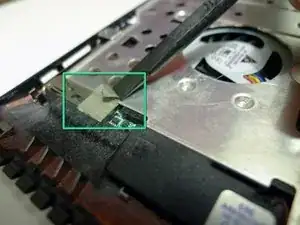
Peel off the protective tape at the bottom left corner.
-
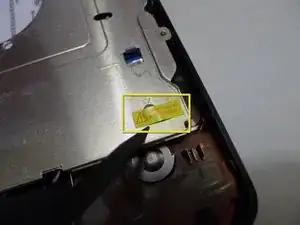
Peel off the warranty void at the bottom right corner and remove the screw below.
-
Remove the 6 other screws.
-
To reassemble your device, follow these instructions in reverse order.

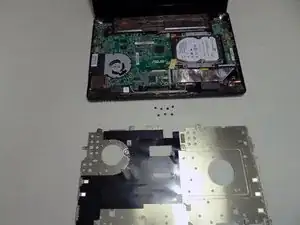

While there is a fairly long list of tools listed here, I was able to complete the entire guide using only a 3/64" flathead mini screwdriver (the kind you get for $0.99). I replaced the stock 500GB 5400RPM drive with the updated 7200RPM slim drive of the same line with no issues. The BIOS picked it up immediately, and I need only reinstall an OS.
Tolidano -
Missing step: remove the two screws under the battery, otherwise the keyboard won’t come off
Andrea Borgia -