Introduction

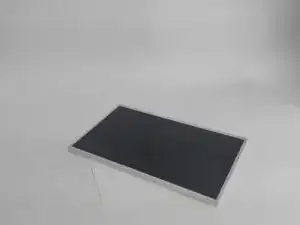
A faulty display is a very possible issue people have with their computers. If yours is faulty follow this guide to replace it in your Asus Eee PC 1201N.

  1. joVnobRQFHoem1a3
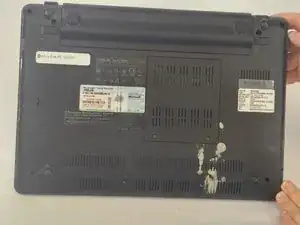
    • Flip the netbook over.

    • Be sure to unplug the netbook and power off the device while working.

  2. bLqOEyRLjVUxew6O
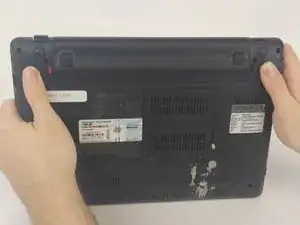
    • Push open both tabs on either side of the battery.

    • The tab on the left will click open and stay in place until you close it.

  3. l3xdVUKCEWTVWO2R
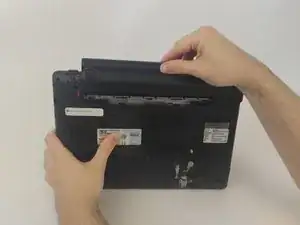
    • Pull the tab on the right open, while you remove battery with your other hand.

    • Pull the battery straight out ensuring that you don't damage any connectors.

  4. 2USLm4ku343STWJI
    2USLm4ku343STWJI
    FlHyDOYVhlTFqgwU
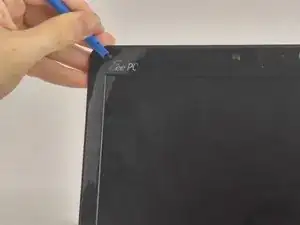
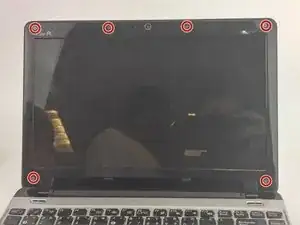
    • Remove the six screw on the front cover by using the plastic opening tool. Then, remove the six 4.6mm screws using the J0 Phillips head screwdriver.

  5. KGMSyXwqUvRGj5sU
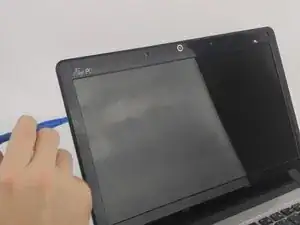
    • Using the plastic opening tool, separate the over from the netbook.

  6. LbRSVJbYF6yjKrhe
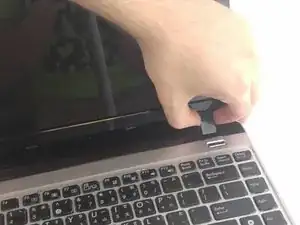
    • You must separate the hinge cover from the cover before removing the cover.

  7. FSBajtNHEHjDWsym
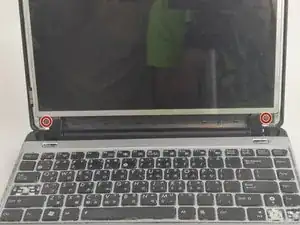
    • After removing the cover, remove the two 4.6mm screws using the J0 Phillips head screwdriver.

  8. WabCSLXoUETqaFof
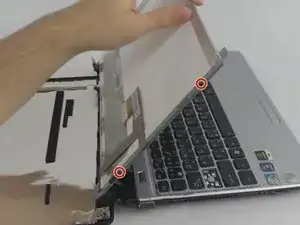
    • There are two screws on the left and right side of the display. Remove all four 3mm screws using the J0 Phillips head to separate the LCD from the display cover.

    • The left side will have a magnet covering the bottom screw remove the magnet. Be sure to replace when reassembling.

  9. dLcqoRoKpfWUV3lT
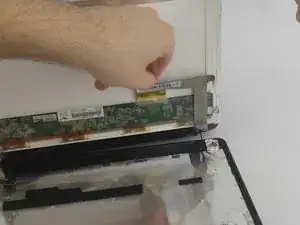
    • Pull up on the video cable on the back of the LCD display to remove it.

Conclusion

To reassemble your device, follow these instructions in reverse order.
Mohamed Al Mardhouf Al Saadi

Member since: 04/10/16

133 Reputation

0 comments