Introduction
Use this guide to replace the trackpad buttons in the Asus Eee PC 1005HA.
Tools
-
-
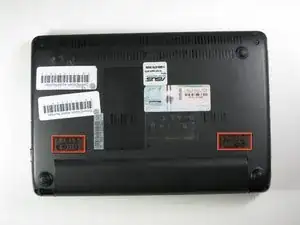
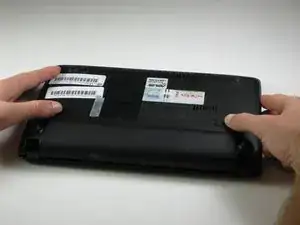
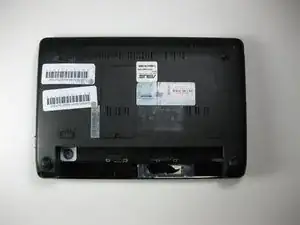
Slide the tabs outward to unlock the battery.
-
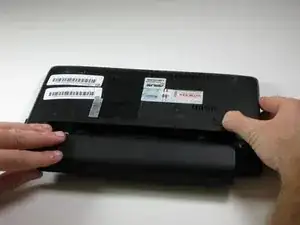
Holding the right tab open, slide the battery out of the laptop.
-
-
-
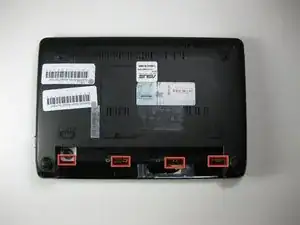
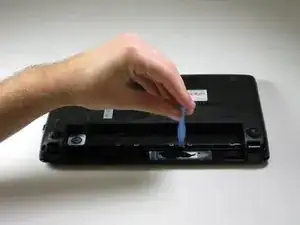
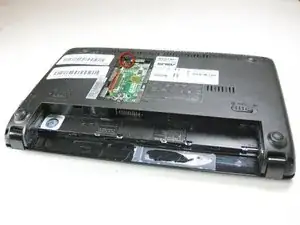
Use a plastic opening tool to pull up the four metal latches in the battery cavity that is located on the bottom of the laptop.
-
-
-
Flip the laptop over, and open the display.
-
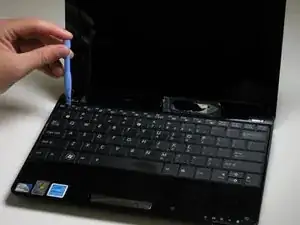
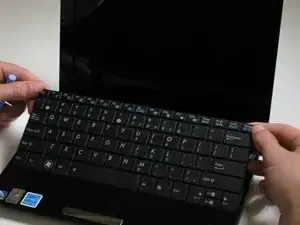
Use a plastic opening tool to lift the edge of the keyboard that is nearest to the screen.
-
Gently lift the keyboard and slide it toward the screen.
-
-
-
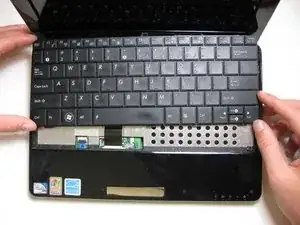
Use a spudger tool to release the tabs on the ribbon cable ZIF connector that is attached to the underside of the keyboard.
-
Once the ZIF connector tabs have been released, remove the keyboard.
-
-
-
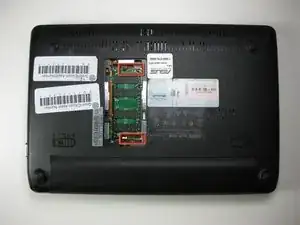
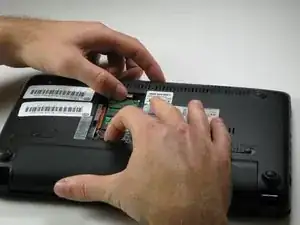
Remove the panel covering the RAM.
-
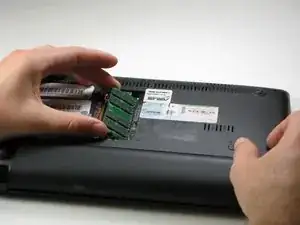
Pull the two RAM retaining arms away from the center of the RAM chip.
-
Gently pull the RAM chip out of its socket.
-
-
-
Flip the laptop back over and open the display.
-
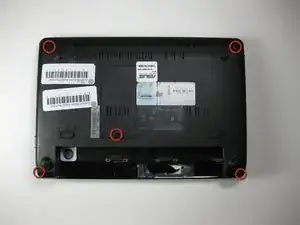
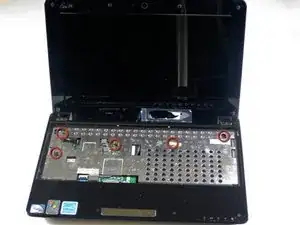
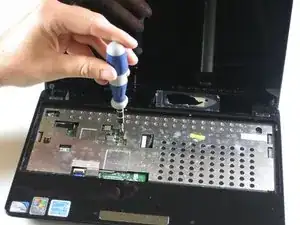
Remove the six 5.5 mm screws from the metal plate beneath the keyboard.
-
-
-
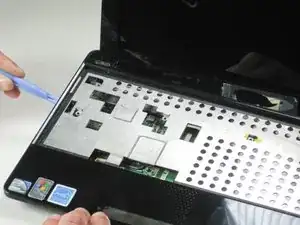
Using a plastic opening tool, detach the five plastic clips securing the upper case.
-
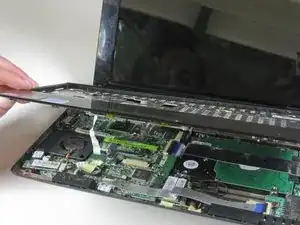
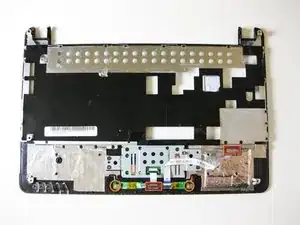
Carefully lift the upper case and flip it towards the front of the laptop.
-
-
-
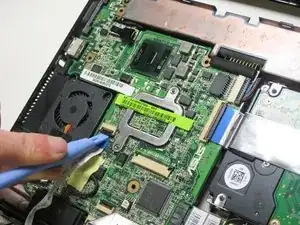
Flip up the retaining flap on the trackpad ribbon cable ZIF connector.
-
Slide the trackpad ribbon cable from its socket.
-
-
-
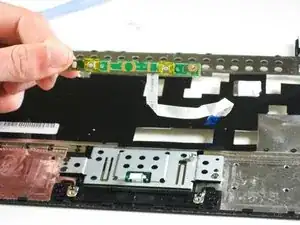
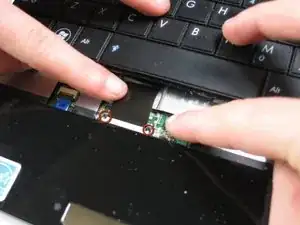
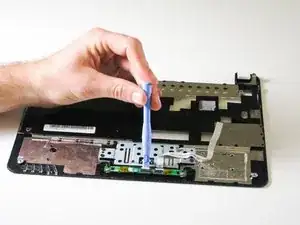
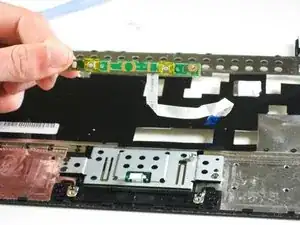
Flip up the retaining flap on the button ribbon cable ZIF connector.
-
Pull the button ribbon cable out of its socket.
-
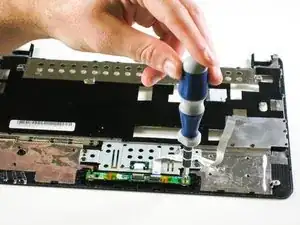
Remove the two 3.6 mm screws from the button assembly.
-
To reassemble your device, follow these instructions in reverse order.
One comment
About removing the touchpad ribbon:
- My mistake was to try to slide out the little comb black piece that holds the ribbon in position. Instead you should just lift it up gently - it rotates up to free the ribbon - and leave it in place. To insert back the cable you will only need to push the black piece back down.
- Trying to put back the black piece without a clue about what I was doing it started to break down and then simply flew away and disappeared in a creak of the floor. That wasn't much fun.
- Then I noticed an unused connector of the same size about 1 inch to the right and down of the touchpad connector on the MoBo and figured out that it was rotating when I - very gently this time - tried to remove it from its support. I was then successful in putting it into the touchpad slot the way the original was and it now can rotate and seal the ribbon in place.
dduck -
