Introduction
The motherboard is extremely important to the overall function of your Asus Chromebook C523N. It is a printed circuit board that allows for the overall communication between many of the components, including the CPU, RAM, and many other hardwares.
Usually, the only other solution to an unresponsive motherboard is to buy an entirely new laptop. Without the hub of your laptop, most functions are nearly impossible.
-
-
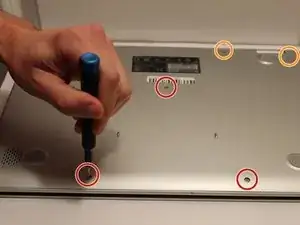
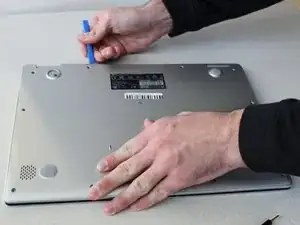
Remove the four 0.5mm JIS #00 screws from the bottom edge of the Chromebook and one in the center.
-
Remove the six 1.7mm JIS #00 screws from the sides and top edge of the Chromebook.
-
-
-
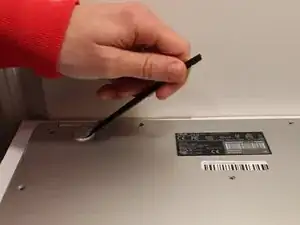
Using a spudger, lift the top left base pad and remove it to reveal a final screw underneath.
-
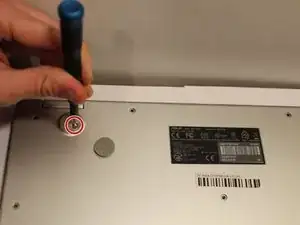
Remove the one 0.5mm JIS #00 screw underneath the base pad.
-
-
-
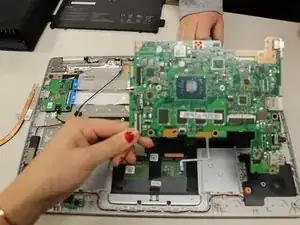
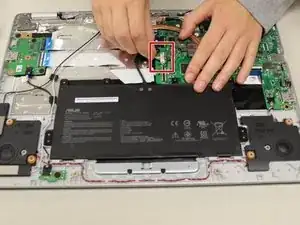
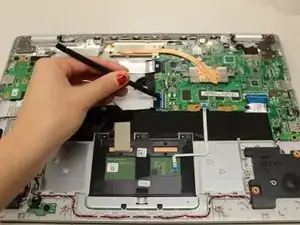
To disconnect the cable, use the tip of a spudger or your fingernail to flip up the small locking flap.
-
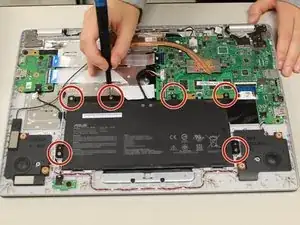
Gently disconnect the battery cable from the motherboard.
-
-
-
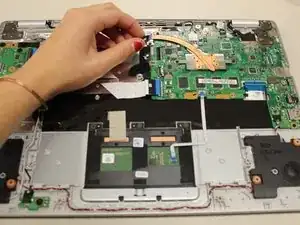
Using a spudger, disconnect the two side-by-side ribbon cables from their connectors, pushing in the direction of the ribbons (toward the left side of the Chromebook).
-
-
-
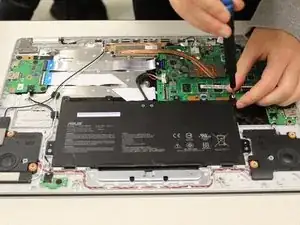
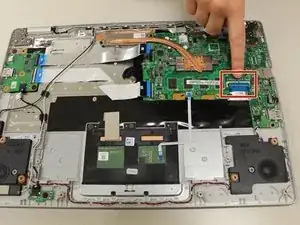
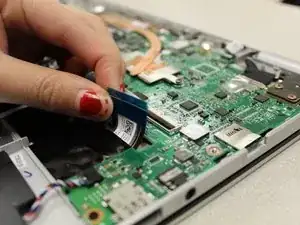
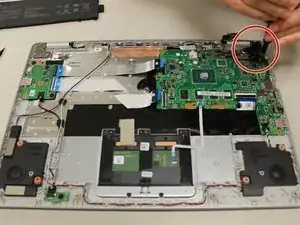
Disconnect the thick blue ribbon cable from the connector by pulling it away from the motherboard.
-
-
-
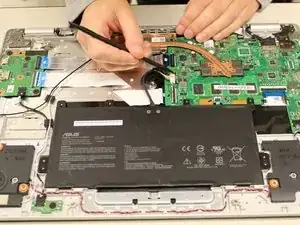
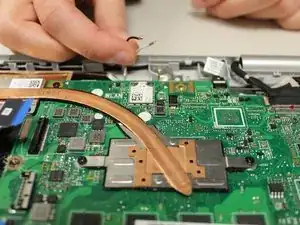
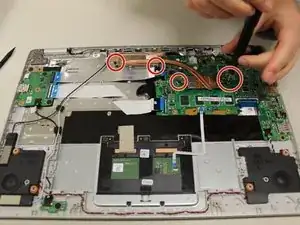
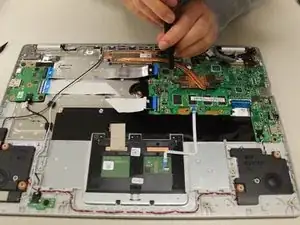
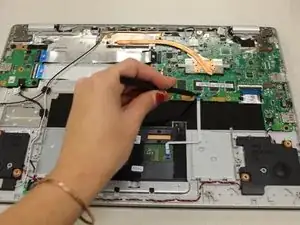
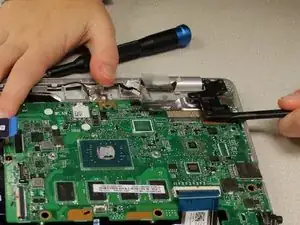
Remove the 0.4mm JIS #0 screws from the heat sink in the center of the motherboard.
-
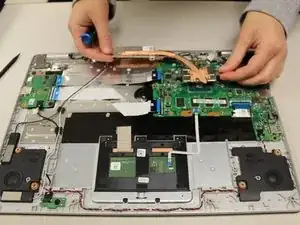
Lift and remove the heat sink.
-
-
-
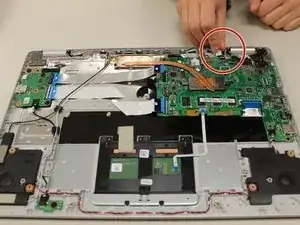
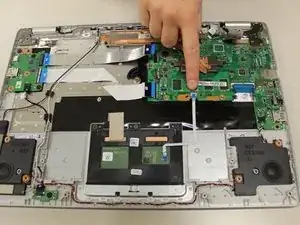
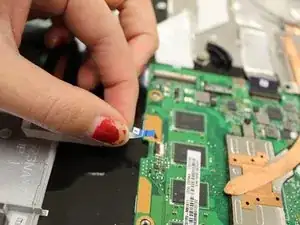
Gripping the thin white ribbon cable, gently pull it away from the motherboard to disconnect.
-
-
-
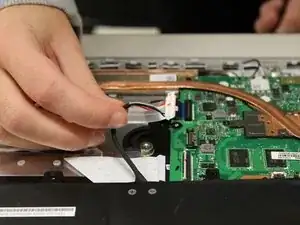
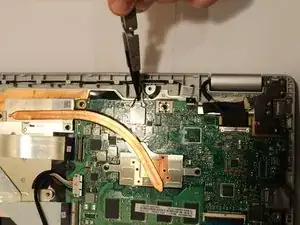
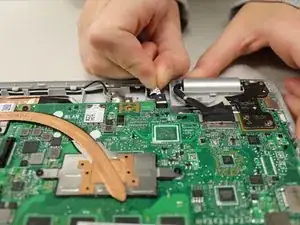
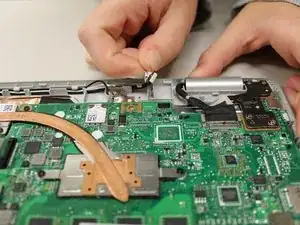
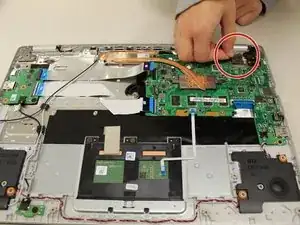
Remove the two 0.4mm JIS #00 screws at the bottom of the hinge (closest to the motherboard).
-
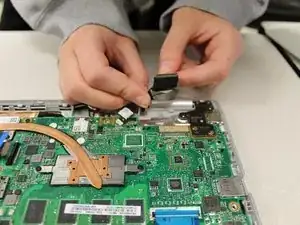
Using an opening tool, pry the hinge upward.
-
-
-
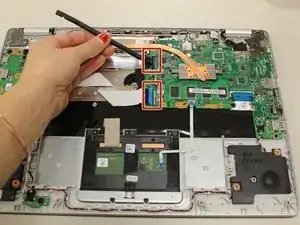
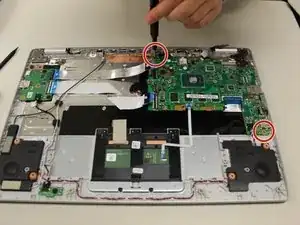
Remove the two 0.4 mm JIS #00 screws from the motherboard.
-
Gently lift and remove the motherboard.
-


To reassemble your device, follow these instructions in reverse order.
2 comments
Hi!
I assembled the motherboard but it isn't working. There is no power light. How to validate that the motherboard is functioning?
If I just connect power stream to its USBC power port the LED should be lighting?
mmm -
I was following this guide and I found there were actually four screws holding the MB down. The red/blue/white/black speaker cable must also be disconnected to get the board out entirely.