Introduction
If your Asus Chromebook C300SA-DS02 motherboard breaks or becomes damaged and you need to replace it, follow this guide. You will need to remove the back cover and keyboard to access it and follow several other prerequisite guides before you begin.
Tools
-
-
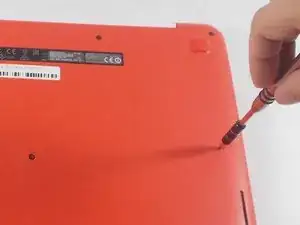
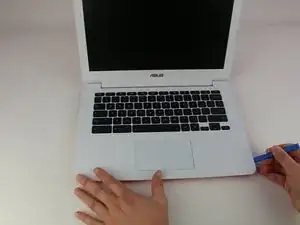
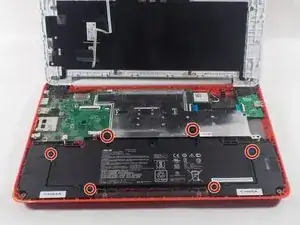
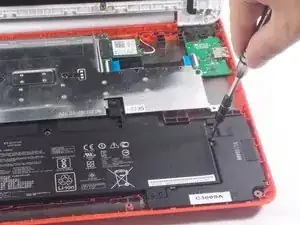
Remove the eight 8.0mm Phillips #0 screws on the bottom of the laptop.
-
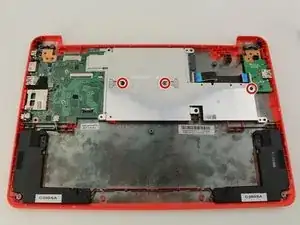
Remove the three 6.0mm Phillips #0 screws.
-
-
-
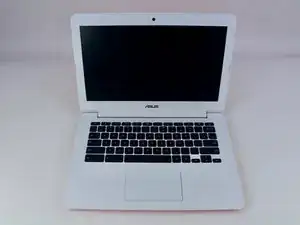
Open the laptop.
-
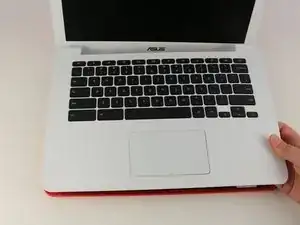
Using an iFixit opening tool, pry along the edges of the keyboard.
-
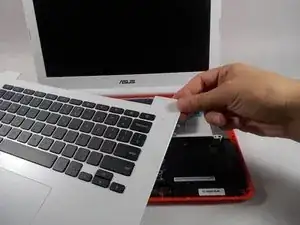
Lift the keyboard and slide it gently towards you.
-
-
-
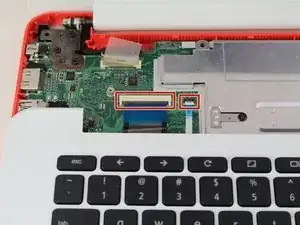
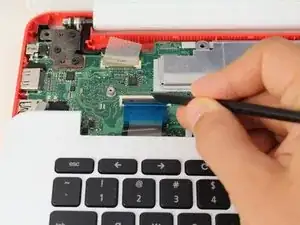
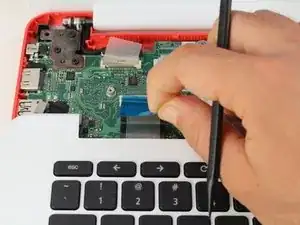
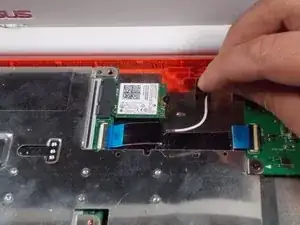
Disconnect the two ZIF connectors by prying up the locking bar with a spudger and removing the ribbon cable.
-
-
-
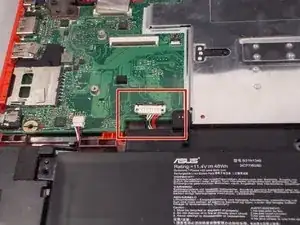
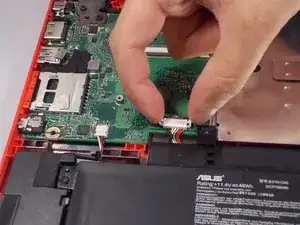
Using your thumb and index finger, pinch the multi-color cable and disconnect it from the motherboard.
-
-
-
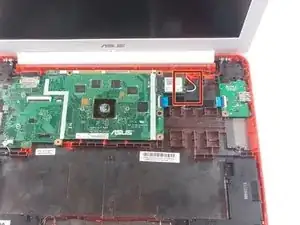
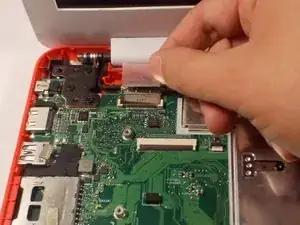
Peel back the tape covering the display cable.
-
Ease the cable towards the screen and out from the connector.
-
-
-
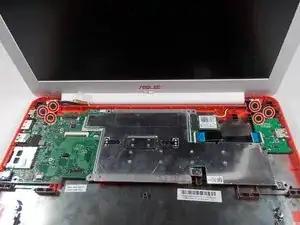
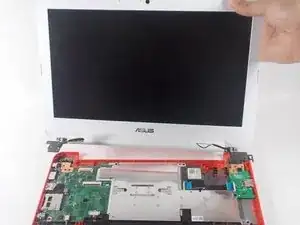
Use a Phillips #0 driver to remove the six 5mm screws on the top right and left display hinges.
-
-
-
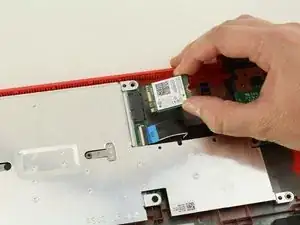
Remove the one 3.6mm Phillips #0 screw from the WiFi card.
-
Pull and lift the WiFi card away from the motherboard.
-
-
-
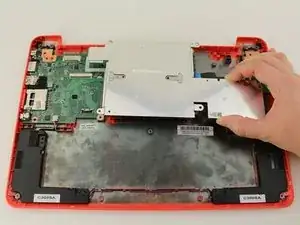
Using your Phillips #0 screwdriver, unscrew three, 3.6mm screws from the silver heatsink.
-
Remove the heatsink from the motherboard.
-
-
-
Remove the black tape from the motherboard covering the 4.2mm silver flat screw.
-
Using a Phillips #0 screwdriver, remove the 4.4mm screw on the right and the 4.2mm silver flat screw on the left from the motherboard.
-
-
-
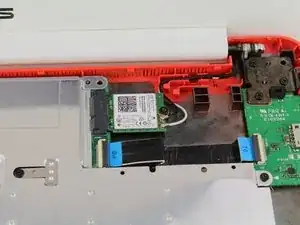
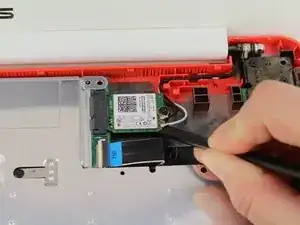
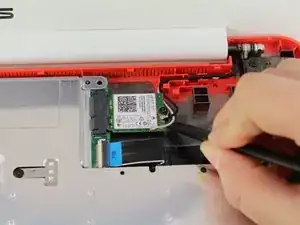
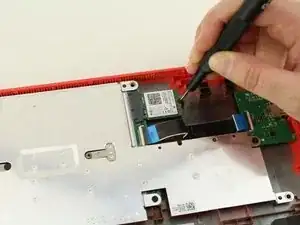
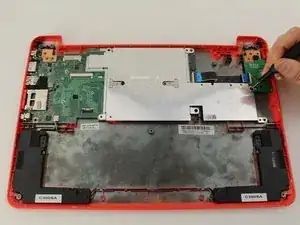
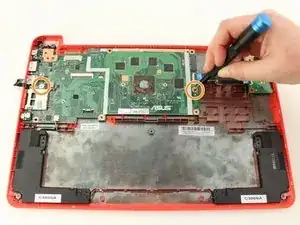
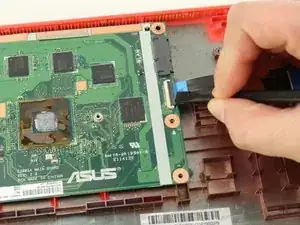
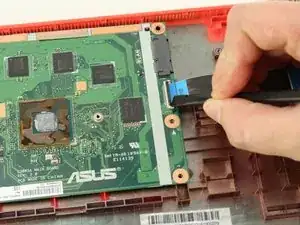
Using the black nylon spudger, unlock the black bar on the ZIF connector attached to the mid-right of the motherboard.
-
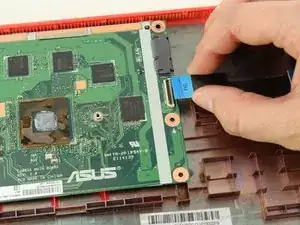
Remove the ribbon cable that attaches the motherboard to the daughterboard.
-
-
-
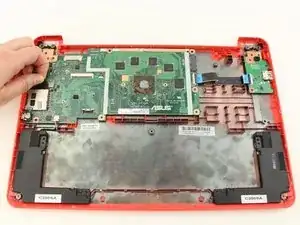
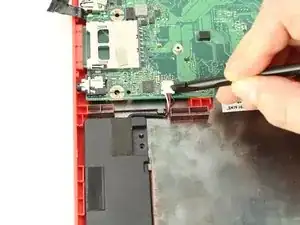
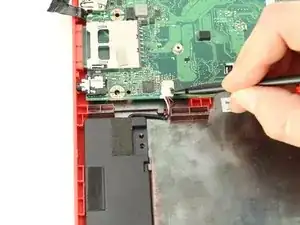
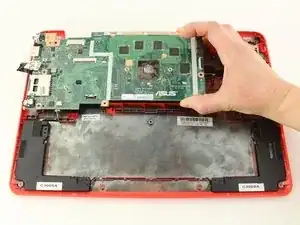
Using the black nylon spudger, carefully slide the speaker cable connector out from its attachment on the motherboard.
-
To reassemble your device, follow these instructions in reverse order.
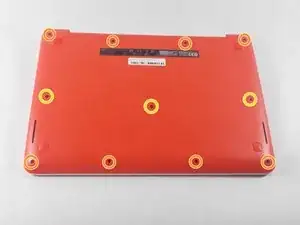

I appear to have FIVE of the smaller screws. The four securing the near edge and the one in the center are smaller than the four securing the far edge and the left and right sides. Either your diagram is wrong, or someone screwed mine together incorrectly.
brucegreer -
Mine is the same way — six long screws, five short ones. The screw paths seem to correspond accordingly.
Paul Wagenseil -