Introduction
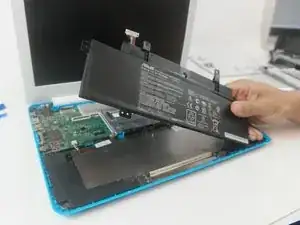
The battery is responsible for supplying power to the computer when the power adapter is not being used. You should get 10-11 hours of run-time with your battery. If the time is significantly shorter you should replace the battery even if it hasn't failed.
Tools
Parts
-
-
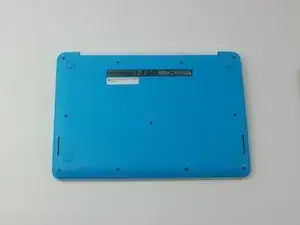
Flip the Chromebook over so that the underside is facing up.
-
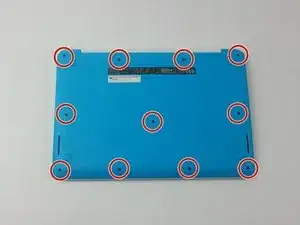
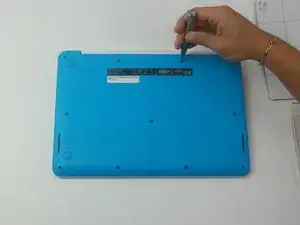
Using the Phillips PH #000 screwdriver, remove the 11 "4mm" screws on the back of the device.
-
-
-
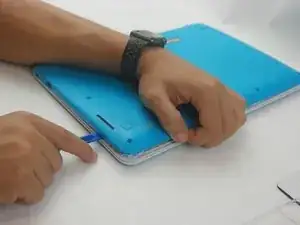
Wedge the plastic opening tool between the bottom cover of the laptop and the keyboard panel.
-
Apply pressure and move the plastic opening tool around the border of the laptop until it pops out.
-
-
-
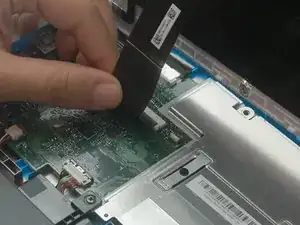
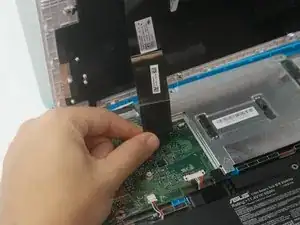
Once the keyboard panel pops out, slowly move it upwards so that the keyboard connection is visible.
-
Remove the keyboard connection from the motherboard by pulling it outwards from the connector.
-
-
-
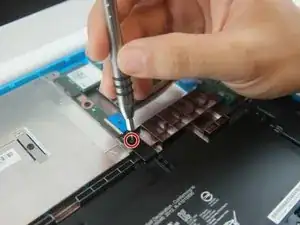
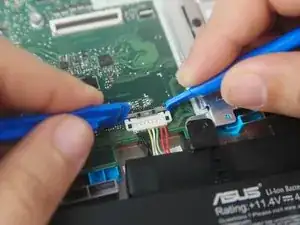
Placing two plastic opening tools on each side of the battery connector and gently pull with an even force on both sides of the connector until the connector pops out.
-
To reassemble your device, follow these instructions in reverse order.
