Introduction
This guide will provide step-by-step instructions on how to replace the motherboard on an Asus Chromebook C202.
The motherboard is the central hub of the computer on which all other system functions are dependent. There are many different functions that could be impacted by malfunctions in the motherboard. Do the ports on the left side of the Chromebook not work? Is the computer not working at all while the battery is still functional and filled? Then you may need to replace the motherboard.
Before using this guide to replace the motherboard, be sure to visit the troubleshooting page for this computer to determine if this is the best solution for your system issues.
-
-
Remove ten 8 mm Phillips #1 screws from the bottom of the Chromebook using a Phillips #1 screwdriver.
-
Two of the screws are hidden by rubber caps along the rubber rest of the device. Use tweezers to get them out.
-
-
-
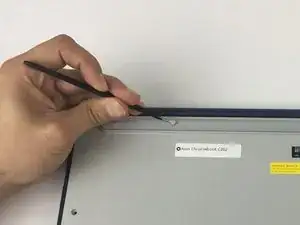
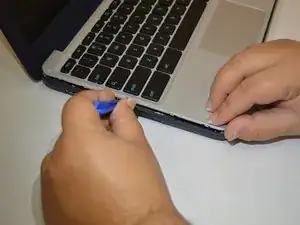
Place the plastic opening tool into the edges between the front of the Chromebook and the back of it with the upper scoop of the opening tool facing upward.
-
Push down on the plastic opening tool to unhinge the top portion of the Chromebook from its lower portion. Opening the Chromebook all the way where the display touches the ground helps in opening up the top edge.
-
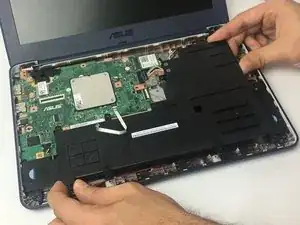
Use your hand to gently lift the top portion of the Chromebook from the bottom portion of it to avoid damaging the ribbon cables.
-
-
-
Gently disconnect the ribbon cable connecting the trackpad to the motherboard.
-
Gently disconnect the ribbon cable connecting the keyboard to the motherboard.
-
-
-
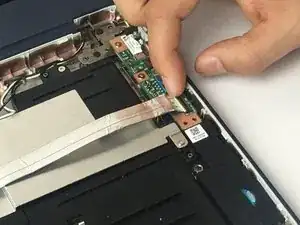
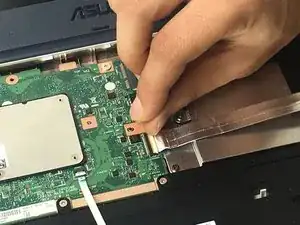
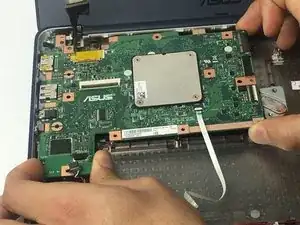
Pull the latch out on both the Input/Output board as well as the motherboard.
-
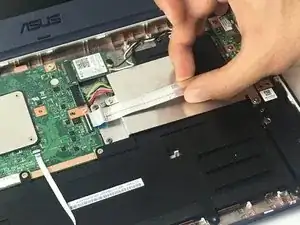
Gently remove the ribbon cable connecting the I/O board to the motherboard.
-
-
-
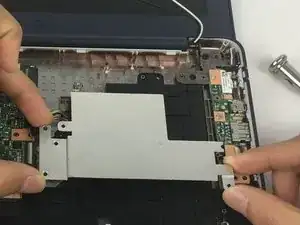
Remove two 4 mm Phillips #1 screws from the metal grate connected to the battery.
-
Remove metal grate from battery.
-
Remove six 4 mm Phillips #1 screws from the battery
-
-
-
Disconnect the battery from the motherboard.
-
Lift battery from the bottom portion of the Chromebook.
-
-
-
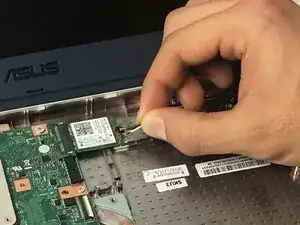
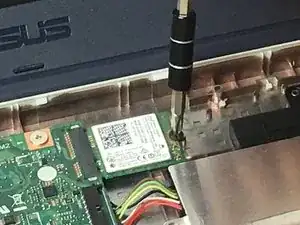
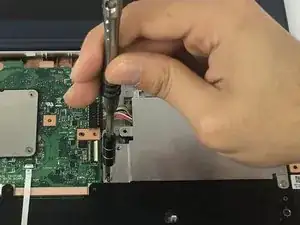
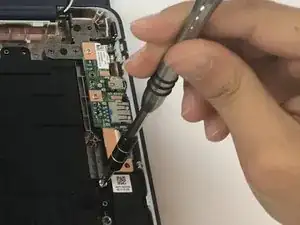
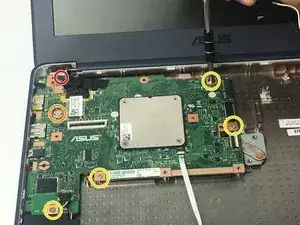
Unscrew one 3 mm Phillips #1 screw.
-
Unscrew one 2.5 mm Phillips #1 screw.
-
Unscrew four 4 mm Phillips #1 screws.
-
-
-
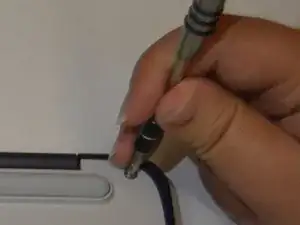
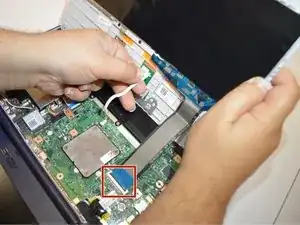
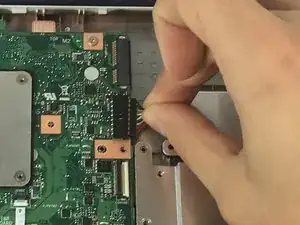
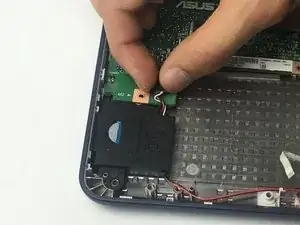
Disconnect the wires that connect the motherboard to the speakers.
-
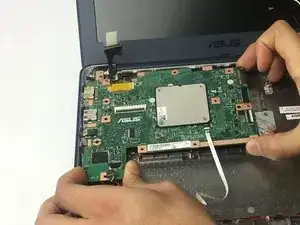
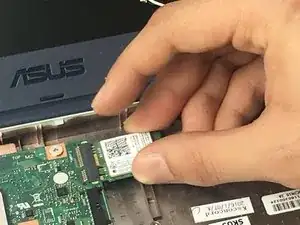
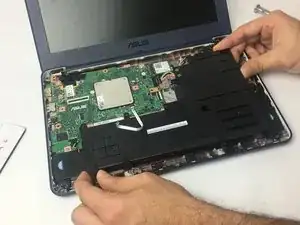
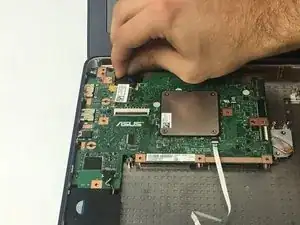
Disconnect the motherboard from the display.
-
To reassemble your device, follow these instructions in reverse order.