Introduction
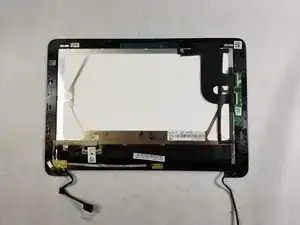
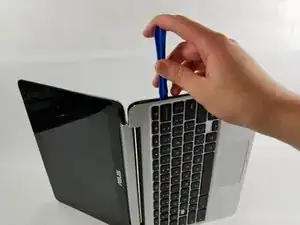
The touch screen on the ASUS Chromebook C101P is great for work as a tablet or as a simple screen. Like other laptop screens, this one is equally susceptible to breaking or not responding. Replacing it is a little tricky, requiring not only the screen, but the hinge to be removed as well. It is advised to turn off the Chromebook before taking apart the screen.
-
-
Reorient the Chromebook so the right side is facing upwards.
-
Wedge an opening tool or spudger between the keyboard (upper case) and the lower case of the bottom portion of the Chromebook.
-
-
-
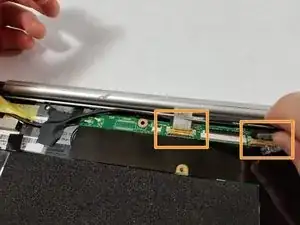
Pull back the black lever on the base of the cable. While pulling back, take your tweezers and pull back on the large ribbon cable.
-
Pull back the black lever on the base of the cable. While pulling back, take your tweezers and pull back on the small ribbon cable.
-
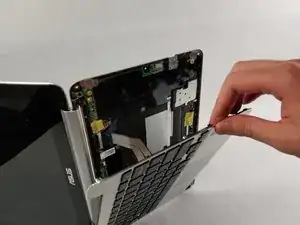
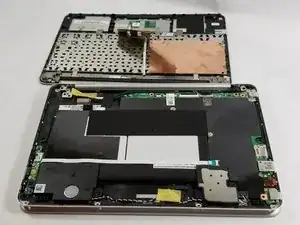
Separate the keyboard from the rest of the laptop.
-
-
-
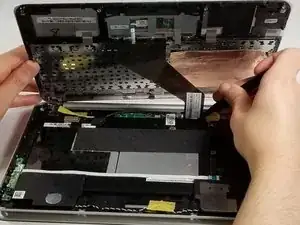
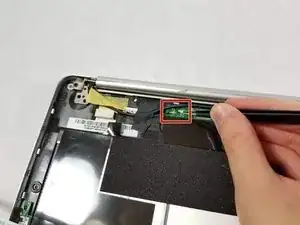
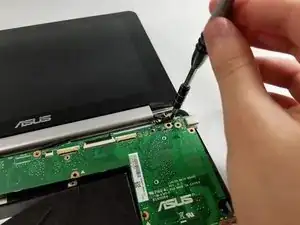
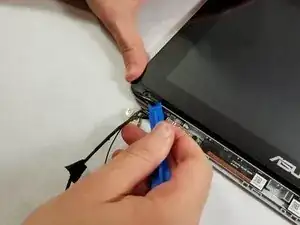
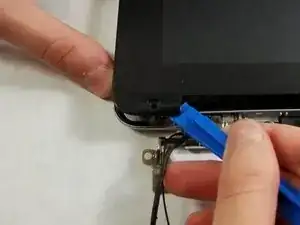
Detach the the screen cables from the motherboard using a pair of tweezers.
-
Peel off the tape or seal to easily remove the screen cables.
-
-
-
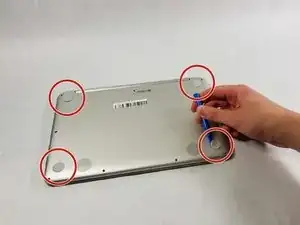
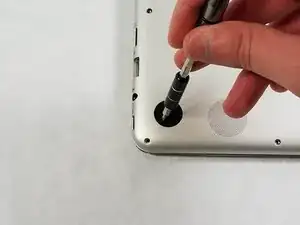
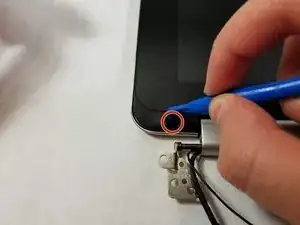
Use the iFixit opening tool to pop out the black rubber grips near the bottom of the screen.
-
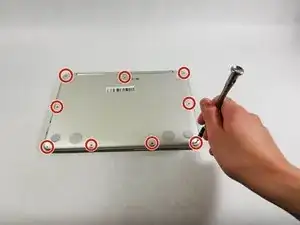
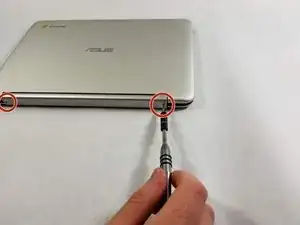
Use a Phillips 00 screwdriver to remove the screws beneath the rubber grips.
-
-
-
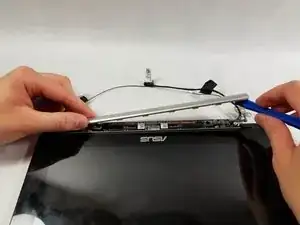
Use the iFixit opening tool to pry around the screen.
-
Once open, slide the wires that are in the hinge out. The screen should now be fully detached from the case.
-


To reassemble your device, follow these instructions in reverse order.
Looks like there are nine screws in the picture.
Prime Force -