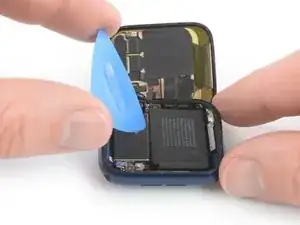
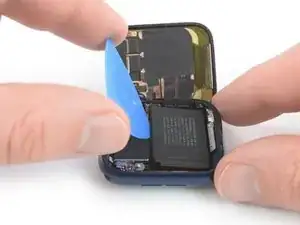
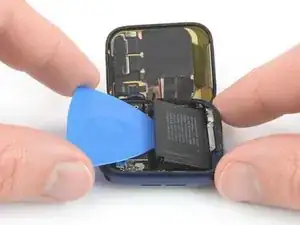
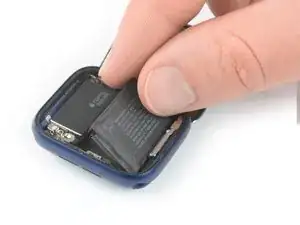
Introduction

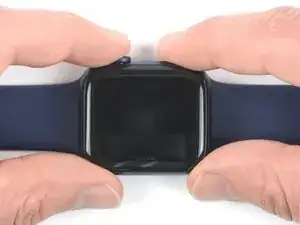
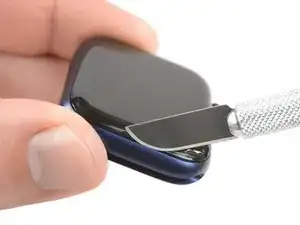
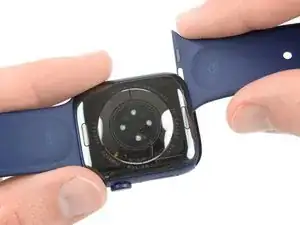
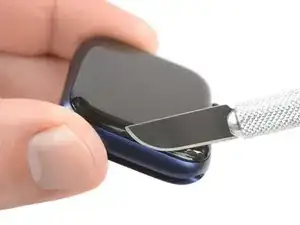
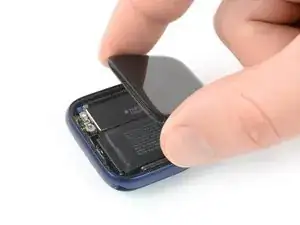
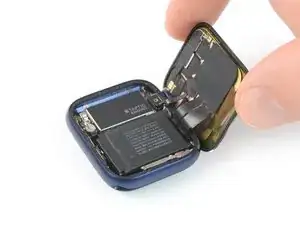
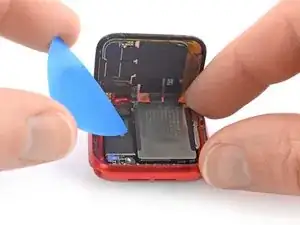
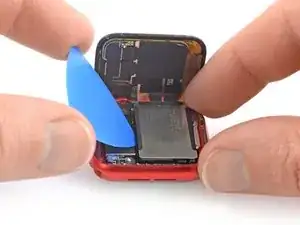
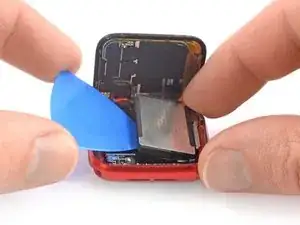
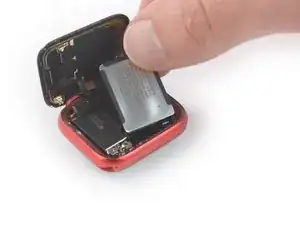
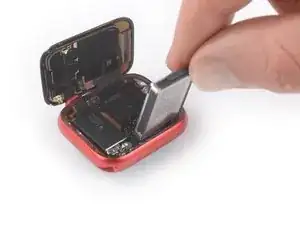
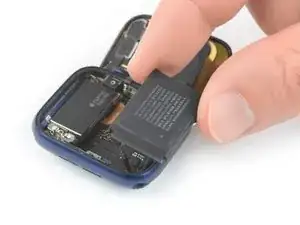
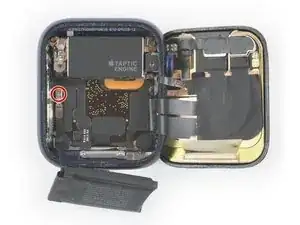
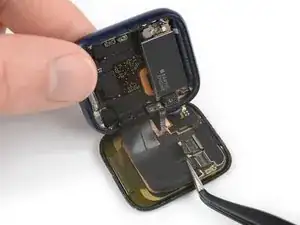
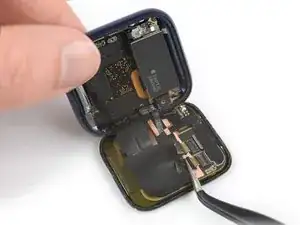
Use this guide to replace a broken, cracked, or defective display on your Apple Watch Series 6.

Replacing the display can cause issues with Apple Pay. If possible, to reduce the likelihood of problems, delete all your Apple Pay account info before the replacement, and then re-enter it with the new display installed.

This guide shows the procedure on the cellular/LTE version of the watch, but the standard GPS-only version is similar.

You’ll need replacement adhesive to reattach components when reassembling the device.

  1. EFWbVKXYaNDQU4cM
    EFWbVKXYaNDQU4cM
    plhMwOSuZPthNHWj
  2. MFZ6muLZdUPbU3fM
    MFZ6muLZdUPbU3fM
    wSfvILMQH4VKhbKi
    dhhRiMVS15uMFZQ5
    • Because the gap between the screen and watch body is so thin, a sharp blade is needed to separate the two. Read the following warnings carefully before proceeding.

    • Protect your fingers by keeping them completely clear of the knife. If in doubt, protect your free hand with a heavy glove, such as a leather shop glove or gardening glove.

    • Be careful not to apply too much pressure, as this might cause the knife to slip and cut you, or damage the watch.

    • Wear eye protection. The knife or glass may break, sending pieces flying.

    • Attach or remove the watch band as needed to provide more control as you make repairs.

  3. SJDuMHt1uN6hhhMO
    • Prepare an iOpener (or use a hair dryer or heat gun) and heat the face of the watch to loosen the display adhesive.

    • Leave the iOpener on the watch for at least two minutes to fully heat the screen and soften the adhesive holding it to the case.

    • You may need to reheat the iOpener and repeat this procedure several times until the display adhesive softens.

  4. A2bxrliYwW3GrG6i
    A2bxrliYwW3GrG6i
    ee2YtARrWbppAK2R
    IDVBJeACdDH1FCSe
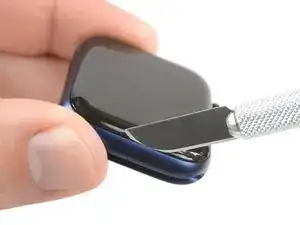
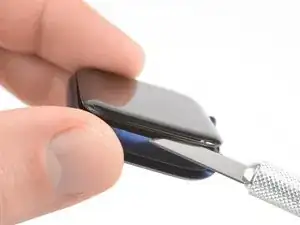
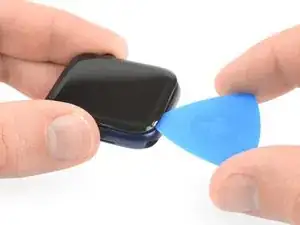
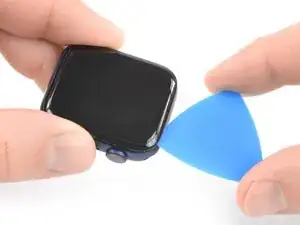
    • Place the edge of a curved blade into the thin gap between the display and the outer case. Start at the short side of the display, most distant to the digital crown.

    • Press firmly straight down into the gap.

    • Once inserted, tilt the blade to pry the display open slightly.

  5. wAEV4a5D1hdEDTlZ
    wAEV4a5D1hdEDTlZ
    lX2xwBgODWaXQwWg
    gpF5XWQClblDN1kT
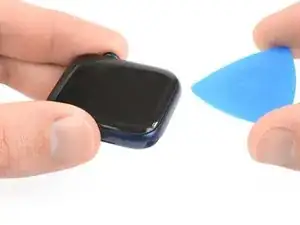
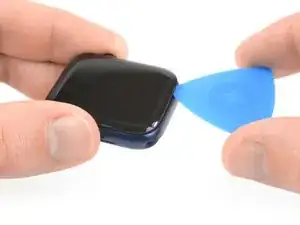
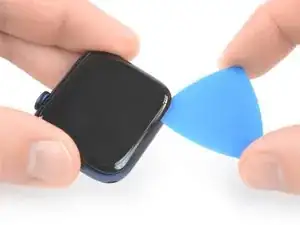
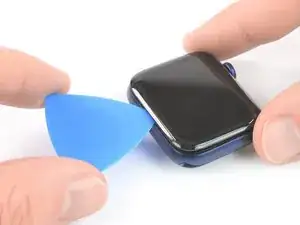
    • Insert an opening pick in the gap your created.

    • Slide the opening pick along the short edge of the watch to cut the adhesive.

  6. aOnHpiBid6lABfXJ
    aOnHpiBid6lABfXJ
    6SMKHYXr4oYVJGOX
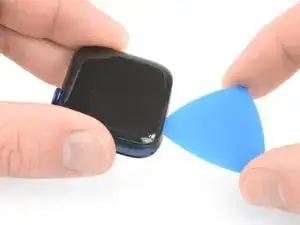
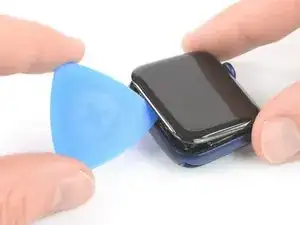
    • Slide the opening pick around the corner and along the long edge on the opposite side of the watch crown to cut the display adhesive.

  7. PpRZOvOqTaGv2voL
    PpRZOvOqTaGv2voL
    yNNfImYpFYF3Odyi
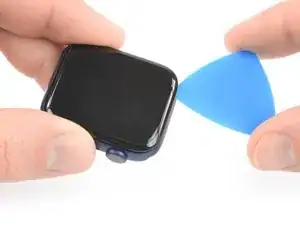
    • Slide the opening pick around the corner to cut the remaining adhesive on the short edge of the watch next to the watch crown.

  8. pMOFHYoITTKgSeim
    pMOFHYoITTKgSeim
    5DOQBaWSeGHBX5Od
    • Place the watch on a flat surface and use an opening pick to slice through any remaining adhesive.

    • Try not to slice near the watch crown to prevent damaging the display cables. If you must slice near the crown, don't insert the opening pick deeper than 1/16th of an inch (~2 mm).

    • Slide an opening pick under the opposite display edge of the watch crown.

    • Twist the opening pick to loosen the display off the watch case.

    • Don't try to remove the display. It is still connected to the watch assembly.

  9. QlaHvAE26VMHYsim
    QlaHvAE26VMHYsim
    JBpuPYbbpcZEA5bG
    mUOFFRKtJRWwMxyw
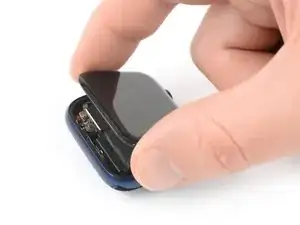
    • Be careful not to strain the display cables when you fold the display to the side.

    • Lift the display and carefully pull it towards the watch crown.

    • Swing the display open to an upward position.

    When I opened my watch I saw two layers of adhesive or are they gaskets? I broke one accidentally but not sure if I should keep the undamaged one in there? Or should both side be totally bare and the adhesive itself is also the seal?

    Also I think I damaged my battery when prying it up since it won’t hold a charge now. I bought a replacement battery and will try that but is there anything else it could be?

    Melina Jefferson -

  10. JgLAptdXYs3jPpbj
    • Prepare an iOpener (or use a hair dryer or heat gun) and heat the rear side of the watch to loosen the battery adhesive. Leave the iOpener on the watch for at least two minutes.

  11. XVfNScAogslfrFJs
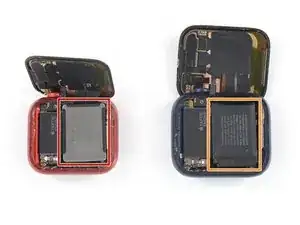
    • From this point, the battery removal procedure for the 40 mm watch differs slightly from the 44 mm version.

    • If you're replacing the battery for a 40 mm watch, continue with this step.

    • If you're replacing the battery for a 44 mm watch, continue with this step.

    These links for replacing the battery for the 40mm and 44mm are going to the battery section of the screen replacement instructions page. They should go to the battery replacement instructions below instead. (This is likely a copy-paste error from that other page)

    Beopaul -

    Yeah, bad links in step 11

    Christopher Truesdell -

    I have edited the links to stay on the correct guide so they should work right once the edit is approved by the admins.

    Jerry Wheeler -

  12. jSAHPOormJWJsQpQ
    jSAHPOormJWJsQpQ
    fhcMwhX35nmenYrG
    2vboKXxkboqgqClV
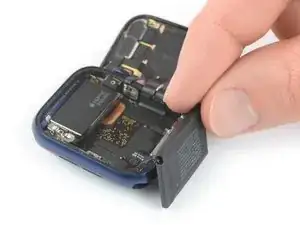
    • The following four steps show how to remove the battery from a 40 mm Apple Watch Series 6.

    • Insert an opening pick between the battery and the Taptic Engine.

    • Use constant, steady pressure to slowly pry the battery up, separating it from the adhesive securing it to the mainboard.

    • Make sure you don't puncture or deform the battery, as it can catch fire and/or explode if damaged.

    • Don't try to remove the battery all the way yet. It is still connected to the watch assembly.

  13. tgj6aDPPOiEBJPfJ
    tgj6aDPPOiEBJPfJ
    JFHEtoXMpLQeiAw5
    1dEHQLFiNaD5uqgV
    • The battery flex cable is long enough to allow you to place the battery outside the watch case, but avoid straining the cable when you lift the battery out of its recess.

    • Carefully lift and swing the battery out of its recess.

  14. QDBq12laXOGXGegh
    QDBq12laXOGXGegh
    OGINSWZCWMCXOPIo
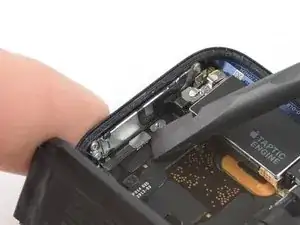
    • Use the flat end of a spudger to pry up and disconnect the battery connector.

  15. oqmwN1OTVpFqLHXJ
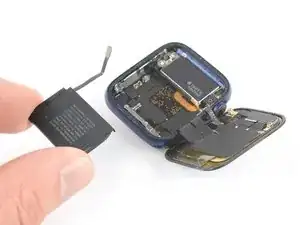
    • Remove the battery.

    • Don't reinstall a damaged or deformed battery, as doing so is a potential safety hazard.

    • If you're reusing your old battery during reassembly, you can reuse the existing adhesive to secure the battery during reassembly.

    • Alternatively, remove the old adhesive with high concentration isopropyl alcohol and a lint free cloth and use a small piece of double-sided tape such as Tesa 61395, or a dab of liquid adhesive such as E6000.

  16. 6XaDBcHdYXWfhMoG
    6XaDBcHdYXWfhMoG
    yRCqjU62NCuKYDEB
    gmjPYlvVNro1npF4
    • The following four steps show how to remove the battery from a 44 mm Apple Watch Series 6.

    • Insert an opening pick between the battery and the Taptic Engine.

    • Use constant, steady pressure to slowly pry the battery up, separating it from the adhesive securing it to the mainboard.

    • Make sure you don't puncture or deform the battery, as it can catch fire and/or explode if damaged.

    • Don't try to remove the battery all the way yet. It is still connected to the watch assembly.

    My watch has a metal shield in between the battery and screen?

    Eric Macfadyen -

    Hi Eric,

    I assume you own the 40mm version of the Apple Watch series 6 which has a slightly different build. The one you see here is the 44mm version.

    Dominik Schnabelrauch -

    Is removing the battery really necessary if you are only replacing the display? I can't see in the following steps where the battery would get in the way of detaching the old screen.

    Christopher Truesdell -

  17. CVOKxSjaO2NRdIZk
    CVOKxSjaO2NRdIZk
    mAJ4dPYlkjoNuFVy
    PQ2vegO2PZ2wR5HA
    • The battery flex cable is long enough to place the battery outside the watch case during the following procedure but avoid straining it when lifting the battery out of its recess.

    • Carefully lift the battery out of its recess and place it outside the watch case opposite to the Taptic Engine.

  18. vMTf5UqsvMvTPSbf
    • Remove the single 1.2 mm-long tri point Y000 screw.

  19. SsonvQBnnOKZXVvs
    SsonvQBnnOKZXVvs
    xrDPZ6DCl3UVa3kt
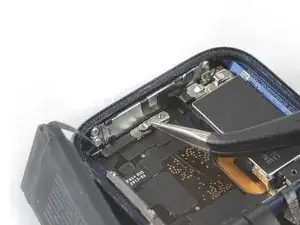
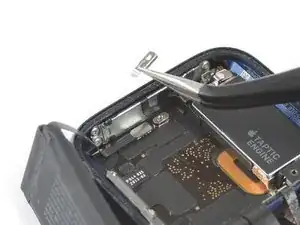
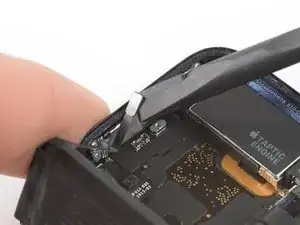
    • Use a pair of tweezers to remove the metal shield covering the battery connector.

  20. bOeJTZWogCpqXaOu
    bOeJTZWogCpqXaOu
    ByGtXXogeBOGKZiC
    • Use the flat end of a spudger to pry up and disconnect the battery connector.

  21. mPa1MThFppERQEBG
    • Remove the battery.

    • Do not reinstall a damaged or deformed battery, as doing so is a potential safety hazard.

    • If you are reusing your old battery during reassembly, you can reuse the existing adhesive to secure the battery during reassembly.

    • Alternatively, remove the old adhesive with high concentration isopropyl alcohol and a lint free cloth and use a small piece of double-sided tape such as Tesa 61395, or a dab of liquid adhesive such as E6000.

  22. sOZA4gua3CGRSJNt
    sOZA4gua3CGRSJNt
    2cXbmcFH33ZhIuRk
    4n6KAvwUTVBXRBZU
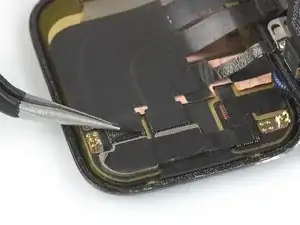
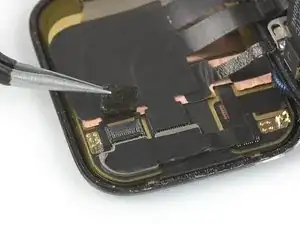
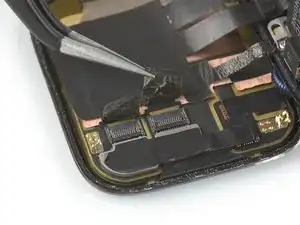
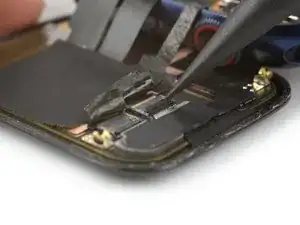
    • Use a pair of tweezers to carefully peel the black protective tape off both display connectors.

    why do you have to remove the watch back from Face. You're going.to repace it. Isn;t there enough room to get the display positioned right upon re- assembly?

    Bill Brennan -

  23. 6uBMfVTO3U2VJJ4a
    6uBMfVTO3U2VJJ4a
    1tLYIIe2RcShJi6e
    1EMjMBpT1pqSPEPO
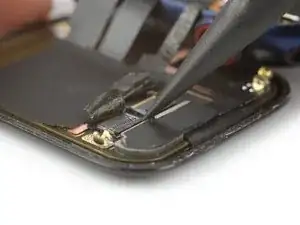
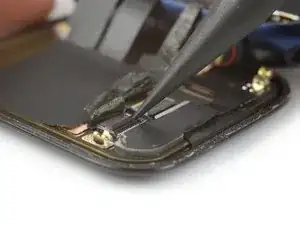
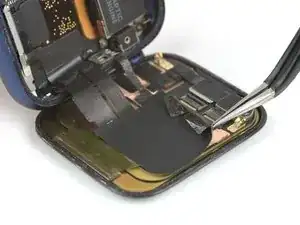
    • Use the pointed end of a spudger to pry up the lock bars on both ZIF connectors securing the display cables.

  24. 4rXMuHwRfRgQWou2
    4rXMuHwRfRgQWou2
    xn6oTNLBQY3uRv2H
    Igt2TYTZBGtbn2IS
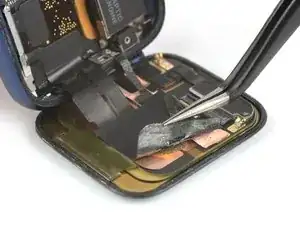
    • Use a pair of tweezers to carefully peel off the edges of the sticker which adheres the display and the grounding cable to the rear side of the screen.

    An dieser Stelle muss ich aufgeben. Die Elemente sind sehr stark miteinander verklebt und das Erdungsband reisst sehr leicht.

    Thomas Link -

  25. Jk3wHKlHMHsHt2OJ
    Jk3wHKlHMHsHt2OJ
    vy5eOIFRjAuvawsn
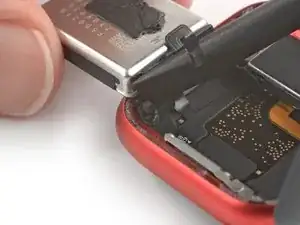
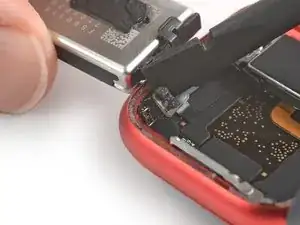
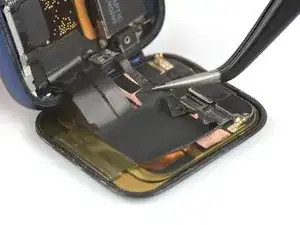
    • Use a pair of tweezers to pull both display cables out of the ZIF connectors.

    • Do not pull on the watch assembly, or you may rip the display cable.

    This says nothing about the grounding cable..

    Eric Macfadyen -

    Oh. Is that was that was. 👀 I knew I wasn't supposed to break this but the device turned on and functions properly. I'll keep an eye on things and see if my wrists sets on fire at some point. Thank you for pointing this out!

    Paul B. -

    I also have managed to break 👏

    Nick -

    I damaged the grounding foil/sticker when opening. It’s like tissue paper thin 😱 I was able to reconnect it in a hacky way but is there a replacement part for that available? That part didn’t come up with the rest of the display cable sticky assembly.

    @paul is your watch still functioning properly?

    Melina Jefferson -

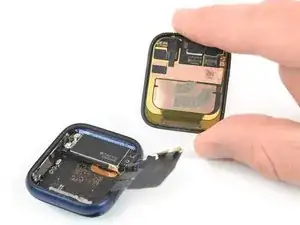
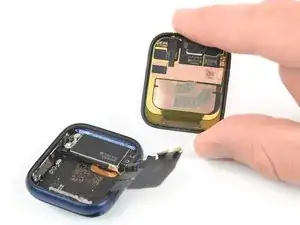
  26. psbpm3nHVKXwiogs
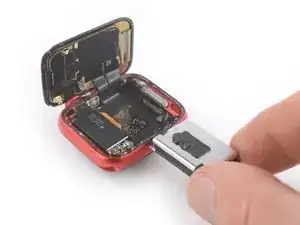
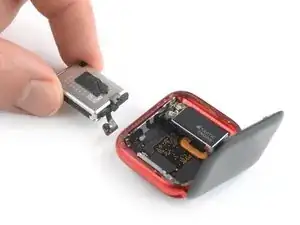
    • Separate the watch assembly and the screen.

    Can we get the application process of the replacement adhesive added to this guide? I ended up messing up my adhesive (completely my fault) and have to buy another set. I thinking adding the guide into this one would be beneficial to the community. Thanks!

    Nathanial Bosteder -

Conclusion

To reassemble your Apple Watch Series 6 follow these instructions in reverse order to reattach the screen and the battery.

Apply a little bit of high isopropyl alcohol (>90%) to a Q-tip or use a cleaning pad to gently remove the leftover adhesive on the edges of the watch case and the screen before installing new adhesive.

Take your e-waste to an R2 or e-Stewards certified recycler.

Repair didn’t go as planned? Check out our Answers community for troubleshooting help.

Dominik Schnabelrauch

Member since: 23/11/16

201132 Reputation

20 comments

Can anyone tell me what that 3rd cable is (circled red in the pic linked below)? It’s linked to the metal back in the phone?

https://imgur.com/0meecS9

gauntletmm -

I think it is just a grounding wire.

Daniele Carminati -

Did you ever find out what that third wire is?

Antonio Silva Carrillo -

I want to know too, I break it while pulling the battery yesterday, but the watch seems working fine

Coco -

It’s a shield (grounding) line to control EMI noise

Dan -

Siete magnifici

Romeo Del Guasta -

Dommage qu’il n’y ai pas de lien d’une batterie à acheter ainsi qu’un lien pour trouver le joint d’étanchéité.
jeremy_110 -

Hello, do we lose the Apple Pay functionality if we replace the screen?

jolan lecomte -

No, i dont think so.
Burak -

Where to buy the replacement glass for series 6 Watch?

Peter Mazzara -

Hallo, bei öffnen habe ich versehentlich das Erdungskabel abgerissen. Läuft die Uhr auch ohne dieses Kabel?

Dominik Müller -

Why would you leave out the steps for replacing or reattaching the screen? It’s not the same in reverse as you have to replace adhesive what’s the process or best practice? Do you reheat the adhesive before replacing screen?

KEVOUGHN ROWE -

Ich finde nirgendwo einen Ersatz Akku für die Apple Watch Series 6, 44mm, steht dieser zur Zeit nicht zur Verfügung oder passt der von der Series 5 ebenfalls, so das dieser nicht separat angeboten wird ?

philipp.lang.621 -

Mil gracias por Tu generosidad al compartir Tu conocimiento con los demás.

Olga Gaviria Gomez -

Can just the top touch glass if lcd is fine?

colin -

Which Tesa 61395 Tape width should I buy for a 44mm watch?

arno nabos -

Is there a way to just replace the glass, or do you have to replace the whole screen?

Aaron Sowma -

Not really, the crystal is glued to the panel with a special optical glue

Someone with the needed heater and vacuum chamber could but one has to have the skills as well. Remember we all can’t be brain surgeons!

Dan -

how separate the digitizer from the crack screen?

William -

This is an assembly where the crystal and LED screen are glued together. If you damaged the crystal the you will need to replace the full assembly which has the panel attached.

Dan -