
Introduction
Use this guide to replace the Force Touch gasket in your Apple Watch Series 4.
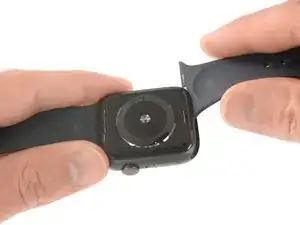
In order to replace the Force Touch gasket we recommend to remove the display first. However if you’re feeling confident, it’s possible to remove the Force Touch gasket without removing the screen.
Make sure to update your Apple Watch to watchOS 5 or later (and the paired iPhone to iOS 12 or later) to avoid pairing issues after a display replacement.
Replacing the display can cause issues with Apple Pay. If possible, to reduce the likelihood of problems, delete all your Apple Pay account info before the replacement, and then re-enter it with the new display installed.
This guide shows the procedure on the standard, GPS-only version of the watch, but the cellular/LTE version is similar.
Tools
-
-
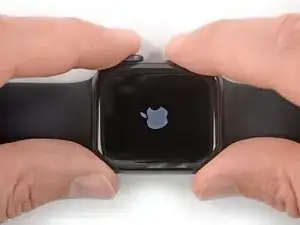
Before starting repairs, take your watch off the charger and power it down.
-
If your touchscreen is broken and prevents powering off the watch, use this alternate method to power it down.
-
-
-
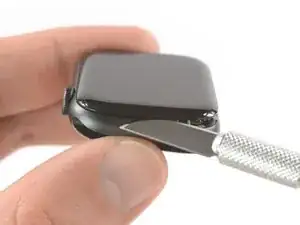
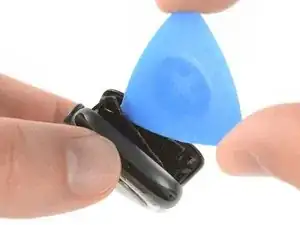
Because the gap between the screen and watch body is so thin, a sharp blade is needed to separate the two. Read the following warnings carefully before proceeding.
-
-
-
Prepare an iOpener (or use a hair dryer or heat gun) and heat the face of the watch to loosen the display adhesive.
-
Leave the iOpener on the watch for at least two minutes to fully heat the screen and soften the adhesive holding it to the case.
-
-
-
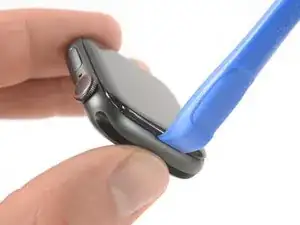
Place the edge of a curved blade into the thin gap between the display and the outer case. Start at the short side of the display, closest to the digital crown.
-
Press firmly straight down into the gap.
-
Once inserted, tilt the blade to pry the display open slightly.
-
-
-
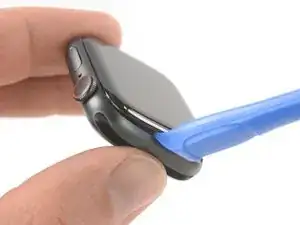
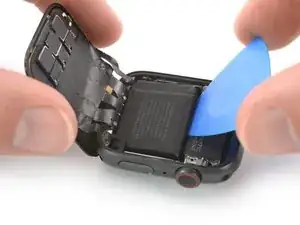
Once you've opened a small gap with the curved blade, remove the blade and insert the thinner edge of an opening tool into the gap.
-
Push the opening tool into the gap, using your thumb as a pivot to lift the display open a bit farther.
-
-
-
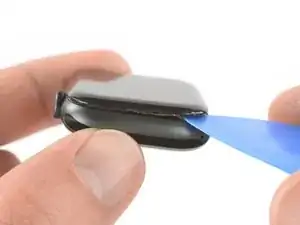
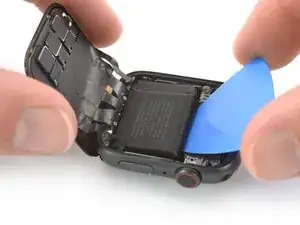
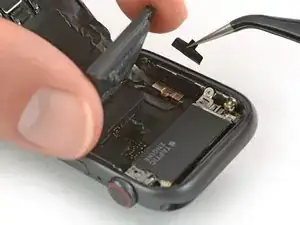
It's likely that the Force Touch sensor will stick to the display frame instead to the watch's body. In this case, insert an opening pick under the display and carefully separate the Force Touch gasket from the display.
-
Slide the pick around the display to separate the adhesive between the Force Touch gasket and the display.
-
-
-
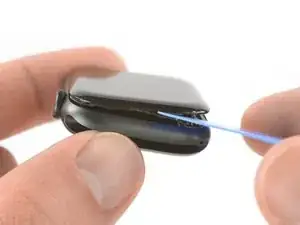
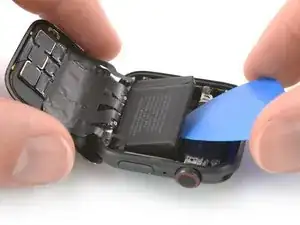
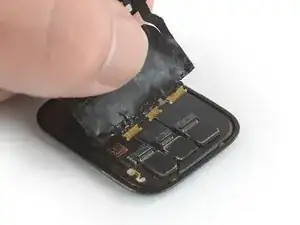
Open the display at max. to an 45° angle, and use tweezers to peel off the adhesive between the display and the Force Touch gasket.
-
Thread the adhesive around and behind the display cables to get it off completely. Since the adhesive needs to be replaced anyway, you can cut it if that makes removal easier for you.
-
-
-
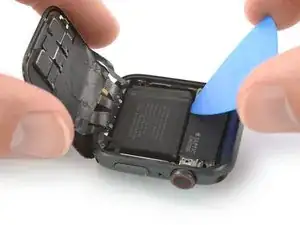
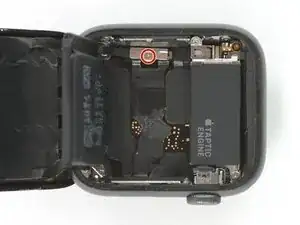
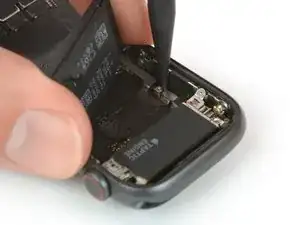
Carefully fold the screen to the back until you get enough space to pry out the battery.
-
Insert an opening pick between the battery and the Taptic Engine.
-
-
-
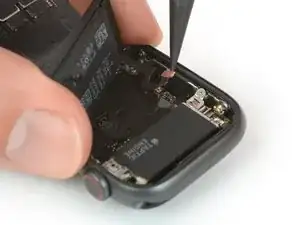
Slide the opening pick along the edge of the battery to loosen the adhesive.
-
Use constant, steady pressure to slowly pry the battery up, separating it from the adhesive securing it to the system board.
-
-
-
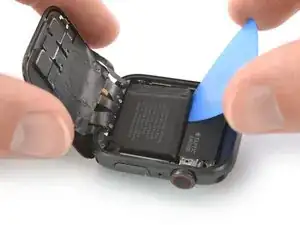
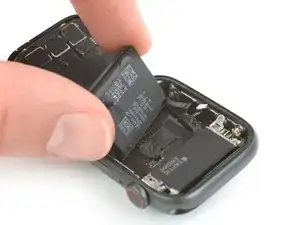
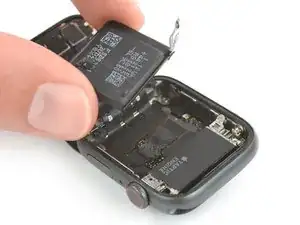
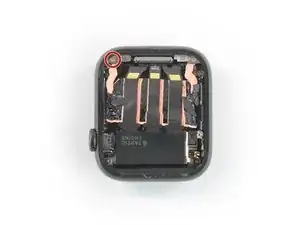
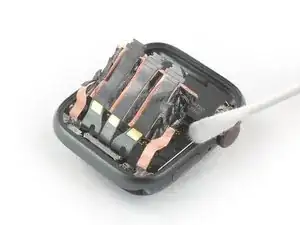
Carefully lift the battery and bring it in a 75° angle.
-
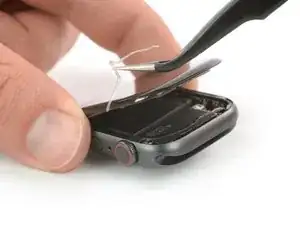
Use a pair of tweezers to peel the black sticker off the metal plate which covers the battery connector.
-
-
-
Apply a little bit of high isopropyl alcohol (>99%) to a Q-tip and apply it to the black adhesive foil. Let it penetrate the adhesive for about two minutes.
-
Alternatively you can place an a heated iOpener on top of the screen to loosen the adhesive. Apply the iOpener at least for two minutes.
-
-
-
Use a pair of tweezers to carefully peel off the tape covering the three display cable connectors.
-
-
-
Use one arm of a pair of tweezers to carfully open the three ZIF connectors on the rear side of the screen.
-
-
-
Use a pair of blunt nose tweezers to peel up the sides of the black foil which adheres the cable to the rear side of the screen.
-
-
-
Lift the body of the watch up and carefully slide a spudger underneath the display flex cable to loosen remaining adhesive.
-
-
-
Carefully pull the display flex cables out of their ZIF connectors.
-
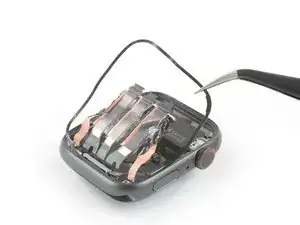
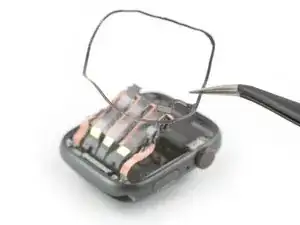
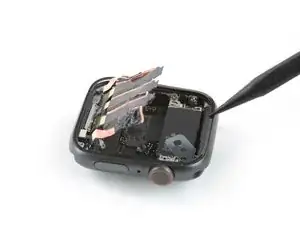
Separate the watch assembly and the screen.
-
-
-
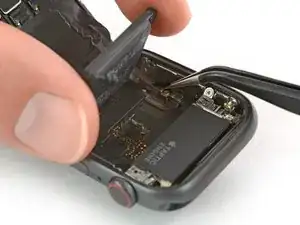
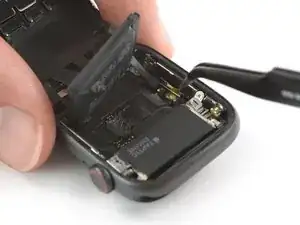
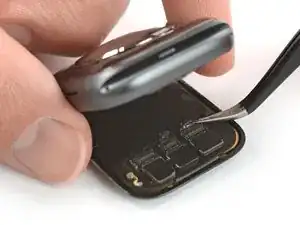
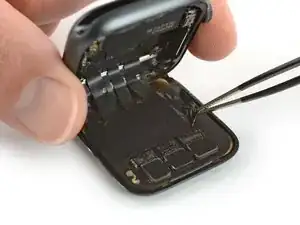
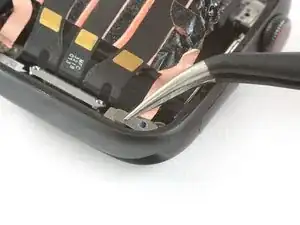
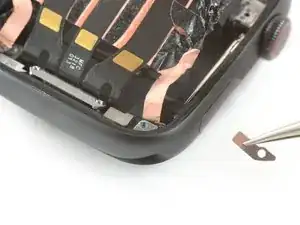
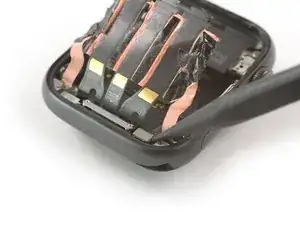
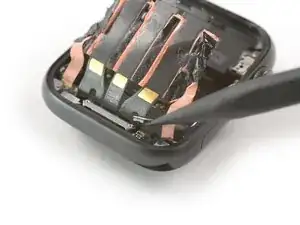
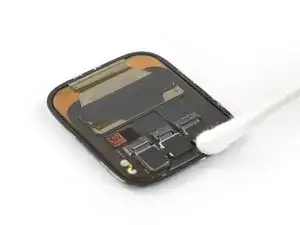
Use a pair of tweezers to remove the metal plate which covers the Force Touch gasket connector.
-
-
-
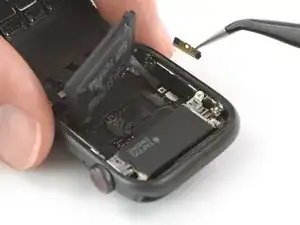
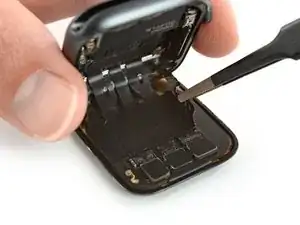
Place a heated iOpener on the Force Touch connector to loosen the adhesive underneath. Apply the iOpener for at least two minutes.
-
-
-
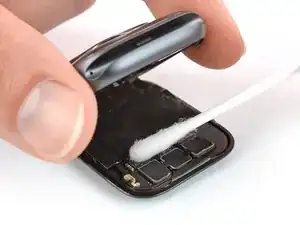
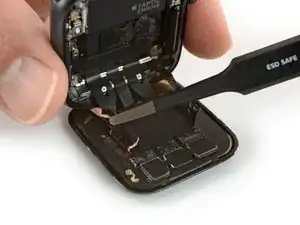
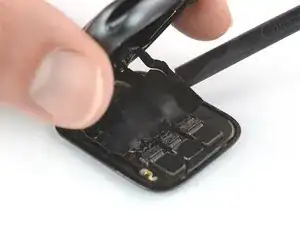
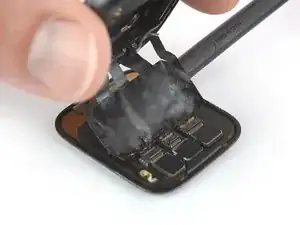
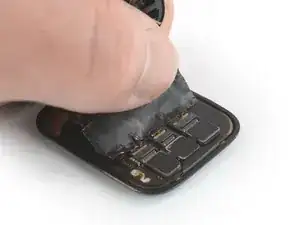
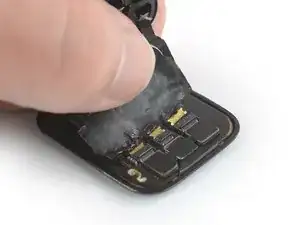
Apply a little bit of high isopropyl alcohol (>99%) to a Q-tip or use a cleaning pad to gently remove the adhesive leftovers from the Force Touch gasket on the case and on the screen.
-
-
-
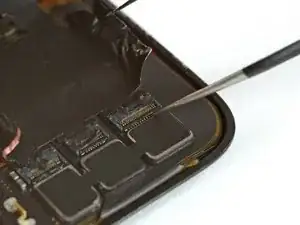
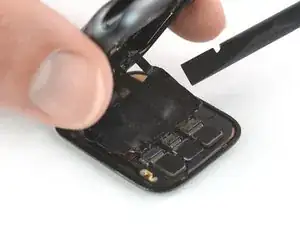
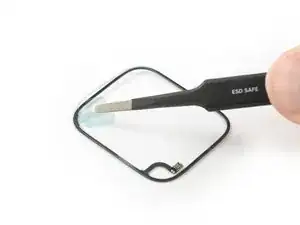
Use a pair of tweezers to peel the new Force Touch gasket off the see-through backing film. Make sure you peel off the Force Touch gasket with both protective foils attached to it.
-
Peel off the protective foil from the bottom side of the Force Touch gasket. The bottom side is where the Force Touch connector faces.
-
-
-
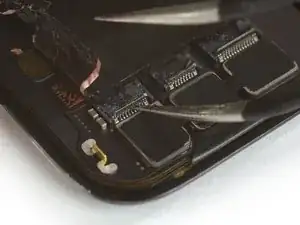
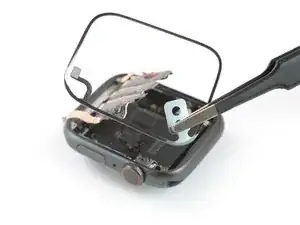
Hold the Force Touch gasket diagonally to thread it over the display cable. Make sure to position the Force Touch connector next to the home button.
-
Use the pointed end of a spudger to make final adjustments and press the Force Touch gasket into place.
-


To reassemble your Apple Watch Series 4 follow these instructions in reverse order to reattach the screen and the battery.
Take your e-waste to an R2 or e-Stewards certified recycler.
Repair didn’t go as planned? Check out our Answers community for troubleshooting help.

7 comments
Do I have to put also new adhesive or adhesive at the force touch is fine ?
cucflek -
I have an Apple Watch SE 40mm that had a very cracked screen after falling on a tiled floor. Gift from my daughters for father's day, ouch!
Reputable service wanted 140.00 to replace the screen. I got cheap and got a kit on Amazon that had a screen with digitizer. Looked at videos on Apple Watch SE screen replacements on YouTube. Some great, & some bad. Watched over and over again the good ones.
Was able to get the screen off using heat gun. Released the latches and gently removed the three ribbon cables. Removed the adhesive strip that was kind of clear in appearance. Saw a light brown strip in the channel around the base of the watch. Thought it was part of the adhesive and pulled it out. Then I thought, sh*^t, was that the Force Touch Gasket! To make matters even worse the two ribbon cables on each side tore. I think they insulate the signals?? Looks like my beloved SE is toast thanks to me being a bone head! Should have sent it in for 140.00!
Do I need to replace the Force Touch gasket even though it isn‘t used anymore sine WatchOS 7?
I mean while replacing a display glass do I need to keep the Force Touch intact?
Yes because you need to glue and fix the Display. It’s also for the water resistants. :)
Hi. I changed the screen on an apple watch series 4, now the screen works, whcih is great, but when I charge it, the green snake comes on but never charges. It heats up the bottom, gets very warm. Could it be the battery itself? Maybe needs a new one? Is rthere anything else that woudl be causing the battery to not charge and or heat up on the bottom when chaging the screen?
Derrick Brewer -