Introduction

Replace your Apple TV's 1st Generation logic board.

  1. gTflMGU1GDKH1UAF
    • Flip the Apple TV over so that the bottom of the unit is facing up.

    • You need to remove the rubber base to get access to the screws.

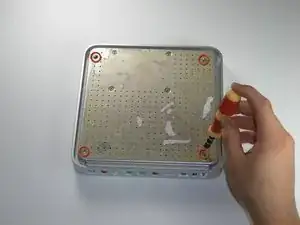
    • Starting at one side of the device, use a hairdryer or a heat gun to soften the adhesive holding the rubber base in place.

    • The rubber base will be hot after heating, take extreme caution while proceeding to avoid personal injury.

    • While the adhesive is still warm, peel the bottom of the rubber base upwards to detach it from the metal plate.

    • The rubber base can tear if the adhesive hasn't been softened enough.

    • Repeat the procedure described above until the rubber base has been completely removed.

  2. WioHQQFh1XKyBajy
    • Remove the four T10 Torx screws that secure the lower case to the upper case.

  3. FXlCjU12J1gYLa5T
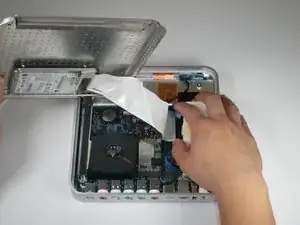
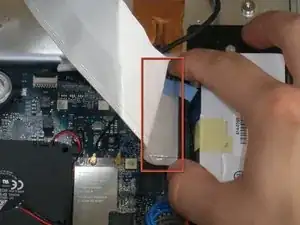
    • Carefully lift the lower case from the upper case enough to allow access to the internals of the Apple TV.

    • Be aware that the hard drive is physically attached to the lower case and that a ribbon cable runs from the drive to the logic board in the upper case.

  4. N3pRWNSQOGGDcX4e
    N3pRWNSQOGGDcX4e
    ARGsWiEFTPRgevA5
    • Carefully pull the hard drive data cable straight up from its socket on the logic board.

    • During reassembly, make sure the hard drive data cable is firmly seated in its socket on the logic board; otherwise, during boot-up you will see a flashing question mark "?".

  5. erqytmdkhKtNY2NT
    • The fan is held in place by three rubber posts.

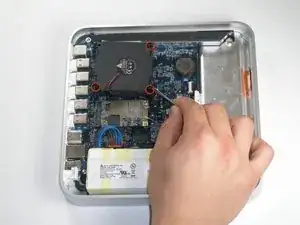
    • Using a pair of tweezers, squeeze the top of each post and push the post down into the hole. Repeat for all three posts.

    • During reinstallation, it helps to lubricate the rubber posts. Try weaving a string through the holes in the posts to pull them up through the mounting points.

    • Do not excessively pull on the posts, as they may rip.

  6. MZsDNcUC3LCAr2ZV
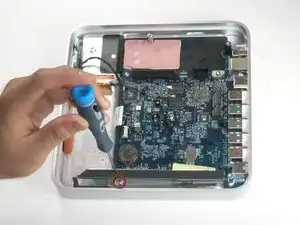
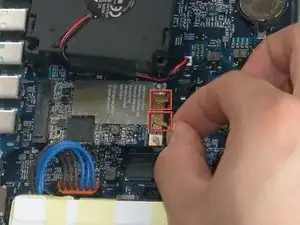
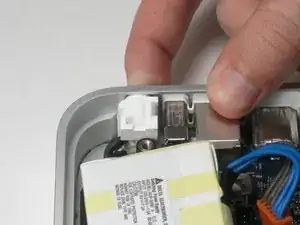
    • Using a pair of tweezers, pull the fan connector straight up from its socket on the logic board.

    • Lift and remove the fan out of the upper case.

    I've been looking for a replacement fan to go with this guide, do you guys sell ATV fans? They're not standard to my knowledge

    Kevin -

  7. M2fPmIXvCkIPTi3V
    • Pry the AirPort antenna cables straight up from their sockets on the logic board.

  8. HEcreBKgZEbogB5h
    • Remove the single T8 Torx screw securing the AirPort card to the logic board.

  9. h4MTdtpCgDoECAw2
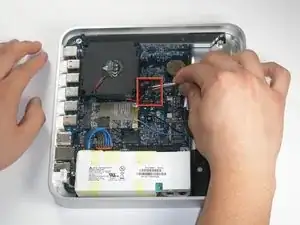
    • Cautiously lift the AirPort card and pull it straight away. Slide it from its socket on the logic board.

  10. ZiChEvHgxgJCVX6O
    • Disconnect the power cable straight up from its socket on the logic board.

    • There is a release tab that must be pushed inwards in conjunction with pulling to release the power cable

    • Make sure to pull the connector straight up from its socket and not toward the face of the logic board.

  11. YKCXlcsHQjqJERiZ
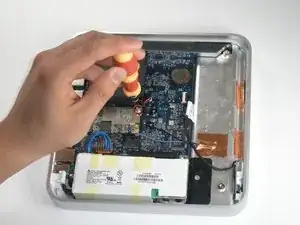
    • Remove the following three screws securing the power supply to the upper case:

    • One 4.8 mm T8 Torx screw

    • Two 5.8 mm T8 Torx screws

  12. pkrODmQ61pTvyU3X
    pkrODmQ61pTvyU3X
    GoGTMnhqUTNlHC4Z
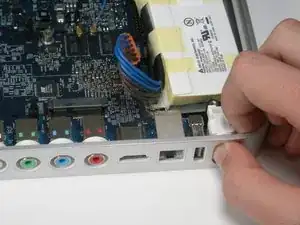
    • Use your finger to push and dislodge the AC power connector inwards, towards the power supply.

    • This should pop out easily.

  13. HGslJDZeqPnKlFVD
    • Power supply remains.

  14. ygDPoloumoiMkCVg
    • Remove the T8 Torx screw securing the metal shield to the case.

    • To remove the T8 screw, you must insert the screwdriver through the access hole in the metal shield. The access hole is located near the PRAM battery.

  15. q6pMSfVKTgFYiQVD
    q6pMSfVKTgFYiQVD
    fZICh6pa3pCbqUNx
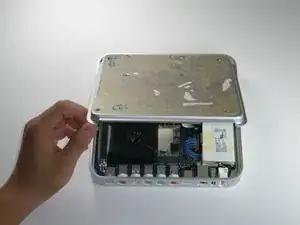
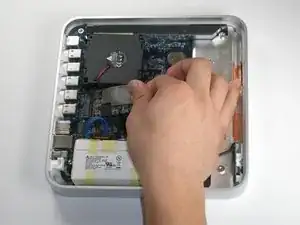
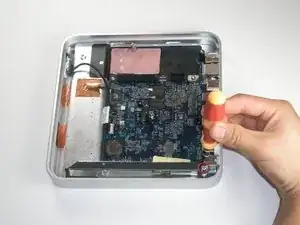
    • Remove the T20 screw located near the digital audio port.

    • Lift and remove the metal shield from the upper case of the Apple TV.

  16. INcFEdGkMoATWlDy
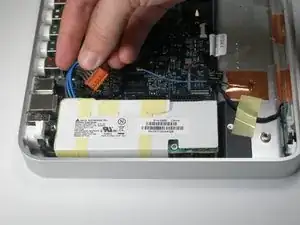
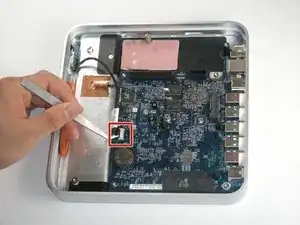
    • Use a pair of tweezers to pull the IR cable straight away from its socket on the logic board.

    • Make sure to pull the connector parallel to the face of the logic board. Do not pull the connector straight up.

  17. FW2JVoPIQEG3sgeR
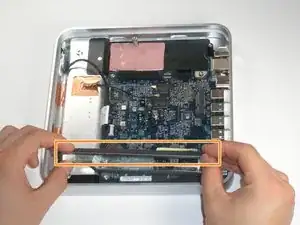
    • Lift the left edge of the logic board (nearest the PRAM battery) upwards and slide it out of the case, away from the ports.

    • Be careful not to damage the ports when sliding the logic board out of case.

    • The logic board remains.

Conclusion

To reassemble your device, follow these instructions in reverse order.

kelsey8800

Member since: 11/11/09

481 Reputation

0 comments