Introduction
If your Amazon Fire HD 8 12th gen USB port is malfunctioning or damaged, use this guide to replace the USB port. This guide gives instructions on how to access the motherboard, which contains the USB port. The USB port allows you to charge your tablet, along with other compatibility purposes. Use caution when removing the parts of the motherboard, as they are very fragile and hard to replace if done incorrectly. Make sure your battery is unplugged before working on the mother board.
Tools
-
-
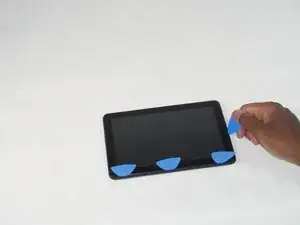
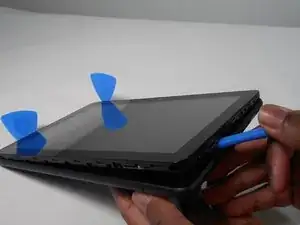
Put picks around the corner and move them along the edge to pry the case off.
-
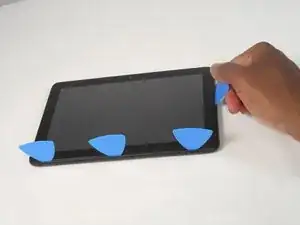
Once there is separation between the case and the screen, place a pick in between the screen and on the corner of the back case.
-
-
-
With the corners lifted, take the opening tool and pry each corner off.
-
Repeat this for the corner diagonal from the initial corner.
-
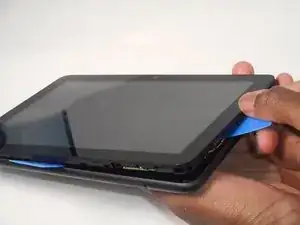
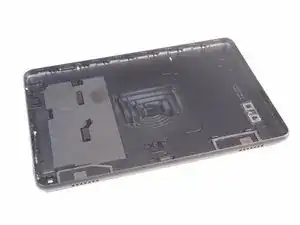
Once both corners are pried off, gently take the back case off the device.
-
-
-
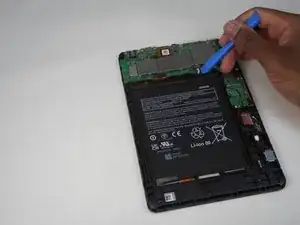
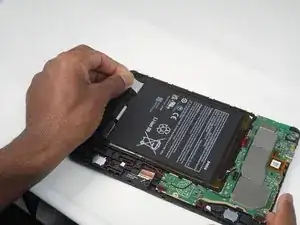
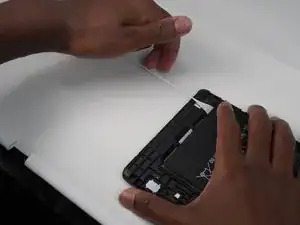
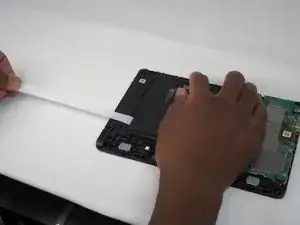
Slowly and gently, pull and remove the 3 adhesives under the old battery.
-
Remove all 3 by pulling the adhesive, signified by a black flap with white adhesive. You will know it is removed when the adhesive has come out from under the battery and you are now able to move the battery.
-
-
-
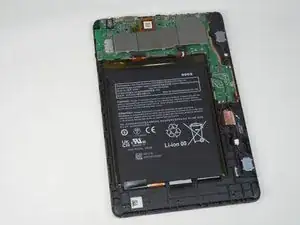
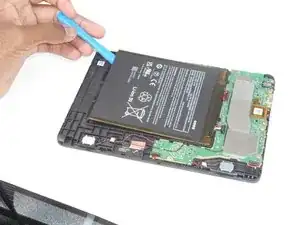
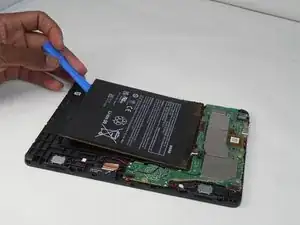
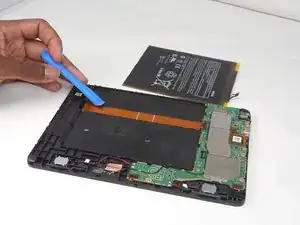
Remove the old battery from the device using the opening tool.
-
If necessary, clean under your old battery and then insert the new battery with new adhesive to ensure the battery stays in place.
-
-
-
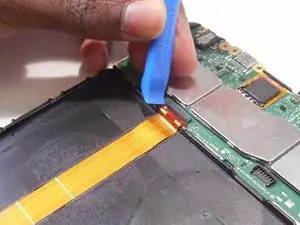
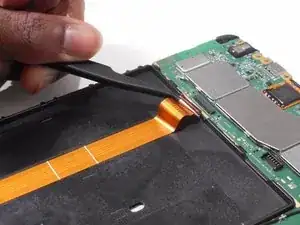
Remove the yellow-orange strip from the back of the device by disconnecting it from the motherboard.
-
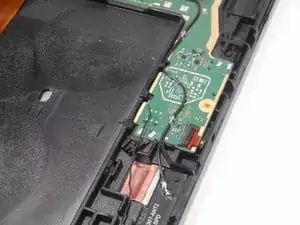
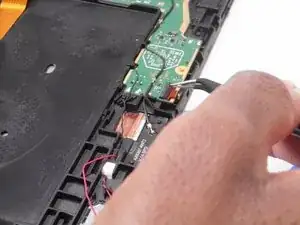
Disconnect the black wiring on the motherboard.
-
-
-
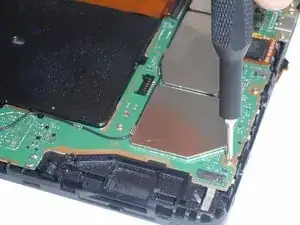
Unscrew the motherboard from the device. 7 Screws total should be unscrewed. (0+ screwhead used from iFixit tool kit. 2.5 mm screw)
-
Disconnect the front camera from the motherboard by disconnecting the yellow orange strip.
-
-
-
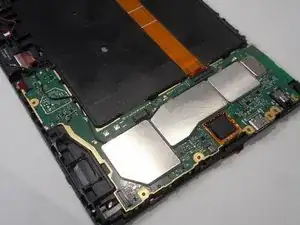
Once the motherboard is fully disconnected from the device, lift and remove the motherboard from the device using an opening tool.
-
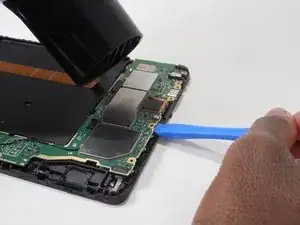
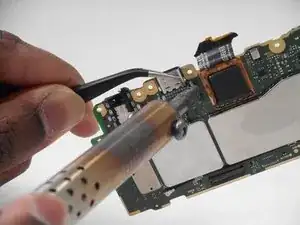
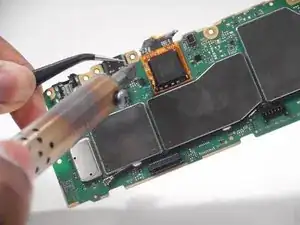
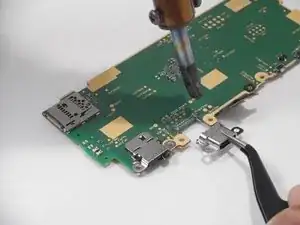
Heat up the motherboard area under the usb/charging ports using a soldering iron or hair dryer. (Connection ports)
-
-
-
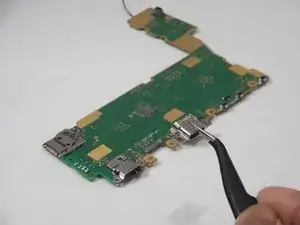
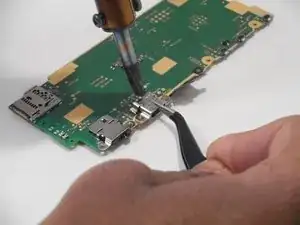
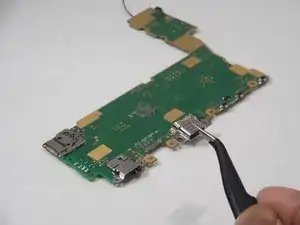
Once area is heated, gently pull the charging port while still heating the connection ports.
-
The charging port should come out its position and be ready to be replaced.
-
To reassemble your device, follow these instructions in reverse order.
