Introduction

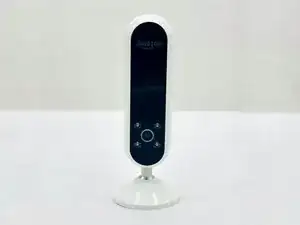
This guide will go more into detail about how to replace the speaker for the Amazon Echo Look device. The speaker is responsible for one of the main functionalities of the device which is to let Alexa relay information to the user.

  1. TGwbm1ay2ZQKUJWG
    • Ensure the device is completely powered off and disconnected from any power source by removing the charger adapter point from the back of the device.

  2. rZPneHpTrqJPHIoB
    rZPneHpTrqJPHIoB
    SNHSY2eEMRW2EeXP
    XHG2yQRJnXFwE6UX
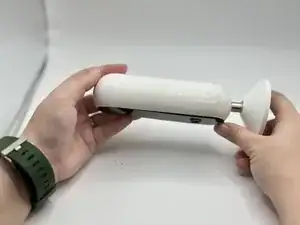
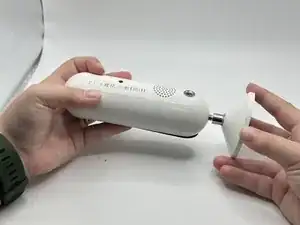
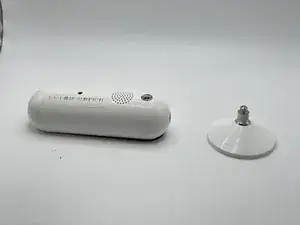
    • If the device stand is attached, remove it by twisting the device's base toward yourself until detached.

  3. HeQ5CSUxDW3NPv6D
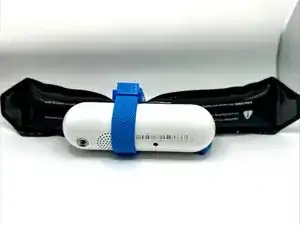
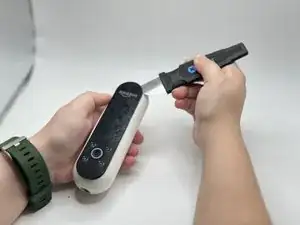
    • Heat the front panel with an iOpener.

    • It may help to secure the iOpener to the device.

    • Heat the device for 5-10 minutes to loosen the glue.

    • CAUTION: The iOpener and the device may be hot.

  4. EnFuYjNRCZqllMe6
    EnFuYjNRCZqllMe6
    sGjNUCcyesHBy2YJ
    AyOyVHhnQSDD5LoP
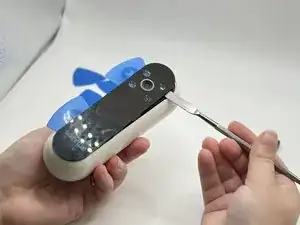
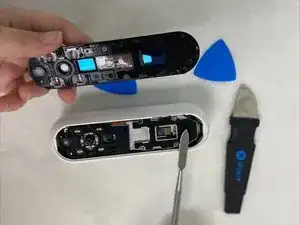
    • Lever the Jimmy between the screen and the device until an opening is formed.

    • Insert opening picks to hold the opening as needed.

    • Use a spudger to circle the border of the front panel and disconnect any lingering glue.

    • Step 3 may need to be repeated as Step 4 is time-sensitive.

  5. a3gwANTxxvv2b4kM
    a3gwANTxxvv2b4kM
    efjFAugZwJOIsxNJ
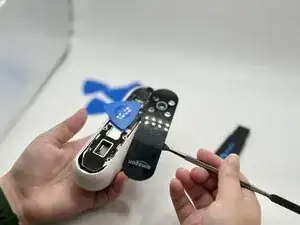
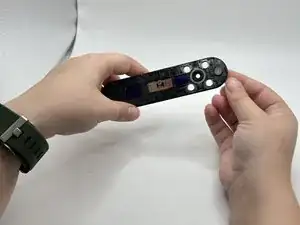
    • Remove the front panel by levering the spudger at the top of the device.

  6. hCyxJ42UbLCvwFqq
    hCyxJ42UbLCvwFqq
    5SLWr1H15Ourn2sO
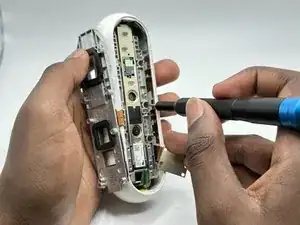
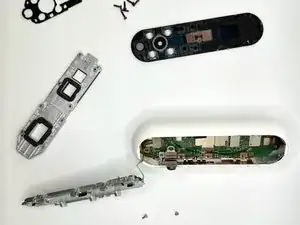
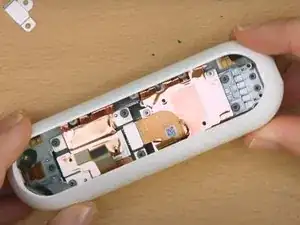
    • Remove the screws from the midframe with a Torx T5 screwdriver.

    • Lift up the midframe

    • Remove the eight screws attached to the gray metal piece using a Torx T5 screwdriver.

  7. ckySFW5Z5tyPETtm
    ckySFW5Z5tyPETtm
    XtloY1WCZtGMR1if
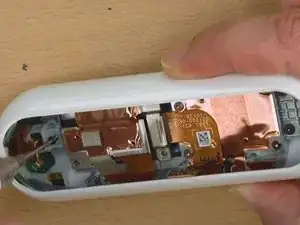
    • Use a spudger to gently lift up the ribbon until it detaches.

  8. NTdpWxadQuqZRVsQ
    • Use a spudger to pry the Wi-Fi module away from the motherboard.

  9. aEeAuK3Q6gVbEjZD
    aEeAuK3Q6gVbEjZD
    1aUeN56mWEBLnDY5
    5nYJVpRreIvqEQoo
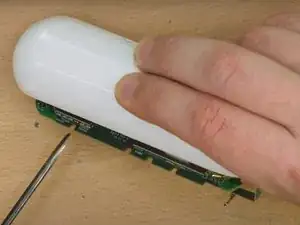
    • Remove five screws from the motherboard with a T4 Torx screwdriver.

    • Remove all attached parts.

    • Tilting the device, angle the motherboard for removal.

  10. o1LWt3L2XvEvuHHK
    • Remove screws with a T4 Torx screwdriver.

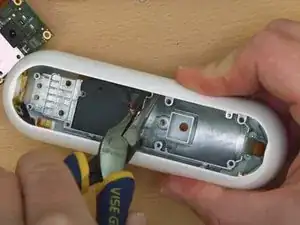
    • Using pliers, remove the copper-plated sections.

  11. EM4CVpPRXYLYIFiR
    EM4CVpPRXYLYIFiR
    6UkMyBx2IOuh1ePp
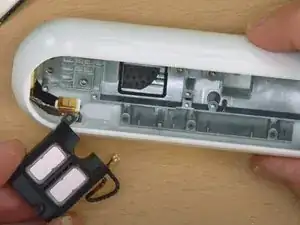
    • Remove the speaker with pliers.

Conclusion

To reassemble your device, follow these instructions in reverse order.

Ryánn Gillen

Member since: 12/09/23

428 Reputation

0 comments