Introduction

  1. TGwbm1ay2ZQKUJWG
    • Ensure the device is completely powered off and disconnected from any power source by removing the charger adapter point from the back of the device.

  2. rZPneHpTrqJPHIoB
    rZPneHpTrqJPHIoB
    SNHSY2eEMRW2EeXP
    XHG2yQRJnXFwE6UX
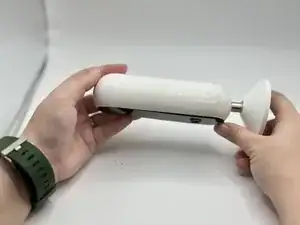
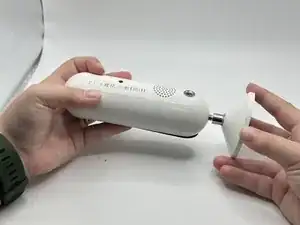
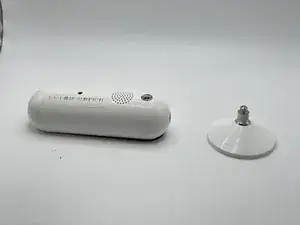
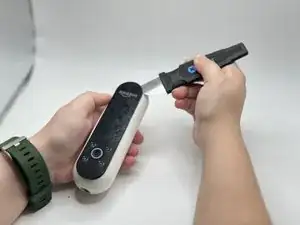
    • If the device stand is attached, remove it by twisting the device's base toward yourself until detached.

  3. HeQ5CSUxDW3NPv6D
    • Heat the front panel with an iOpener.

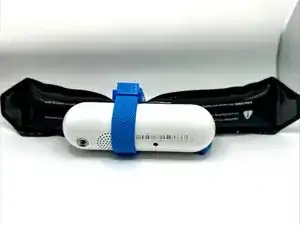
    • It may help to secure the iOpener to the device.

    • Heat the device for 5-10 minutes to loosen the glue.

    • CAUTION: The iOpener and the device may be hot.

  4. EnFuYjNRCZqllMe6
    EnFuYjNRCZqllMe6
    sGjNUCcyesHBy2YJ
    AyOyVHhnQSDD5LoP
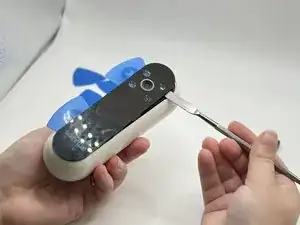
    • Lever the Jimmy between the screen and the device until an opening is formed.

    • Insert opening picks to hold the opening as needed.

    • Use a spudger to circle the border of the front panel and disconnect any lingering glue.

    • Step 3 may need to be repeated as Step 4 is time-sensitive.

  5. a3gwANTxxvv2b4kM
    a3gwANTxxvv2b4kM
    efjFAugZwJOIsxNJ
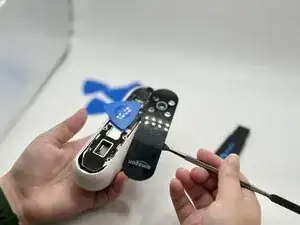
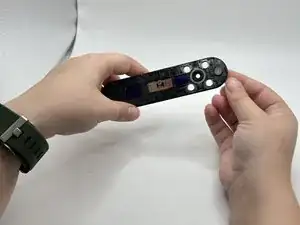
    • Remove the front panel by levering the spudger at the top of the device.

  6. hCyxJ42UbLCvwFqq
    hCyxJ42UbLCvwFqq
    5SLWr1H15Ourn2sO
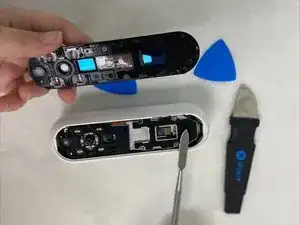
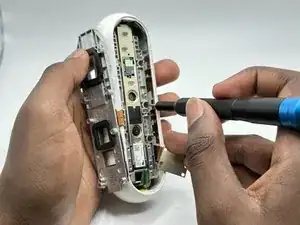
    • Remove the screws from the midframe with a Torx T5 screwdriver.

    • Lift up the midframe

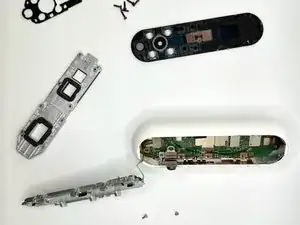
    • Remove the eight screws attached to the gray metal piece using a Torx T5 screwdriver.

  7. ckySFW5Z5tyPETtm
    ckySFW5Z5tyPETtm
    XtloY1WCZtGMR1if
    • Use a spudger to gently lift up the ribbon until it detaches.

Conclusion

To reassemble your device, follow these instructions in reverse order.

Prince Boateng

Member since: 12/09/23

88 Reputation

0 comments