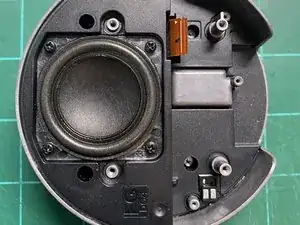
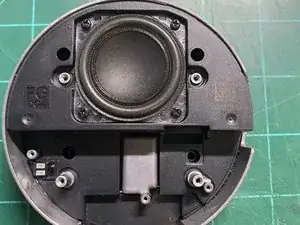
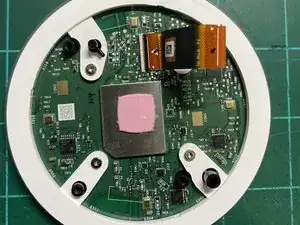
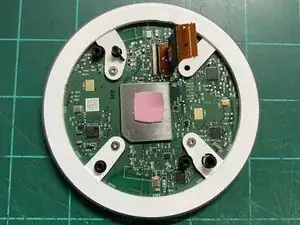
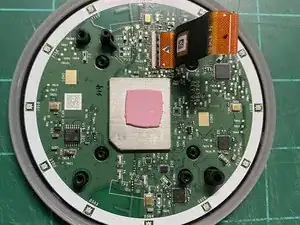
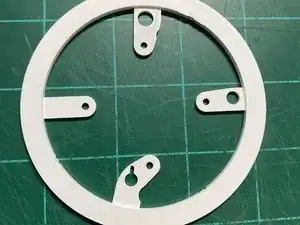
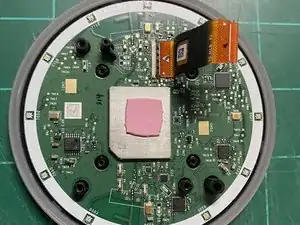
Introduction
Tools
-
-
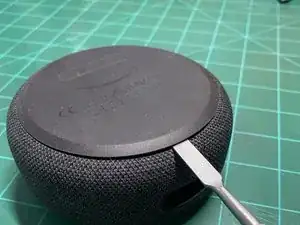
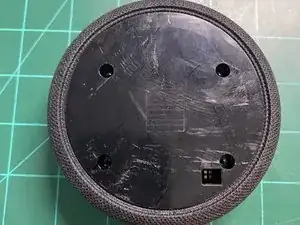
When Prying the bottom off, insert the Metal Spudger under the bottom where the ports are
-
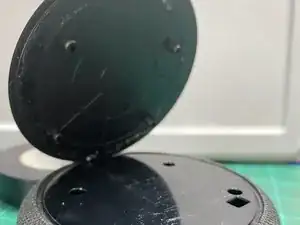
Avoid letting the Adhesive touch anything, lay the plate on the branded side
-
If the adhesive is to strong use a hair dryer to soften it
-
-
-
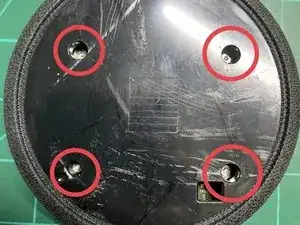
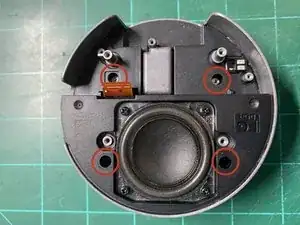
Use a TORX T6H bit to remove the four screws on the bottom
-
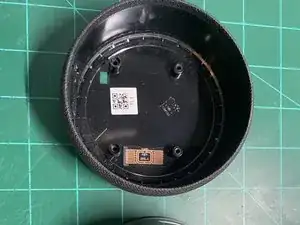
When all the screws are taken out lift up and the covering should slide off
-
-
-
To get the further screws on the bottom, use a 4 mm nut driver and put the TORX bit in the nut driver as an extension
-
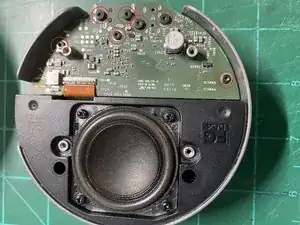
Pull up on the metal to release the top from the rest
-
-
-
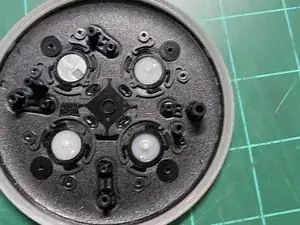
The two should separate if you hold the edge, if it doesn't push a button on top and it should pop out
-
To reassemble your device, follow these instructions in reverse order.
2 comments
Parabéns pelo tutoria de desmontagem do aparelho ALEXA ECHO DOT 3ª geração! Excelente trabalho!!!
Eu recebi um aparelho desse para efetuar a manutenção, pois este estavatotalmente inoperante, por dois motivos:
1° ADAPTADOR FONTE AVARIADO, gerando tensão de saída DC oscilante;
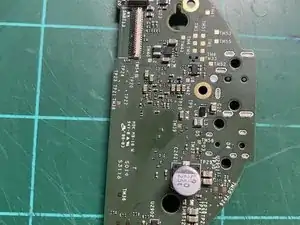
2° MAL-CONTATO NO CABO FLEXÍVEL INTERNO que conecta as duas placas eletrônicas internas.
How can I convert Amazon Echo Dot power from AC to DC?
