Introduction
Before you start this project, you should take proper precautions. Before you start anything, you need to unplug the computer from the wall. Unplugging the computer is a must to avoid electrocution. It is recommended to take precautions against ESD by using an anti-static mat and a grounding cable. The only tool you will need for this fix is a screwdriver. You will also need a replacement CPU and thermal grease.
Tools
Parts
-
-
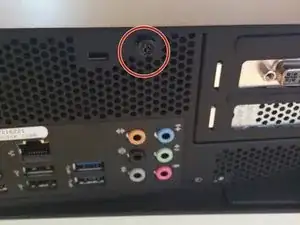
The first step is to unscrew this screw. After that you want to slide the case cover off of the computer.
-
-
-
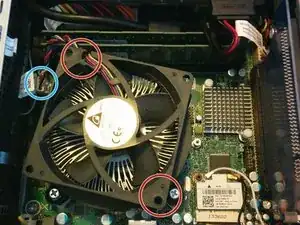
You will need to unscrew two screws from the fan cover. The screws are located in the red markers. Then you will gently lift the cover out of the case.
-
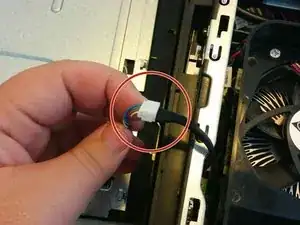
Afterwards, you will need to unplug the fan from the motherboard at the blue marker.
-
-
-
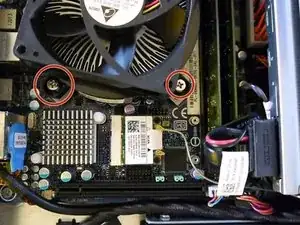
Using the screwdriver, unscrew the 4 screws securing the heat sink and fan to the motherboard. THE SCREWS DO NOT COME OUT ALL THE WAY.
-
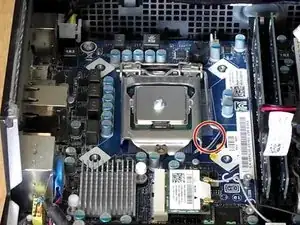
Afterward, lift the heat sink out of the case to reveal the processor.
-
-
-
If there is already thermal paste on the heat sink and/or processor, clean it off using the ArctiClean.
-
Carefully move the lever to release the processor bracket. Then, flip the bracket over, and CAREFULLY remove the processor BY THE EDGES.
-
To reassemble your device, follow these instructions in reverse order with the new processor installed. Don't forget to apply thermal grease to the new CPU.
