Introduction

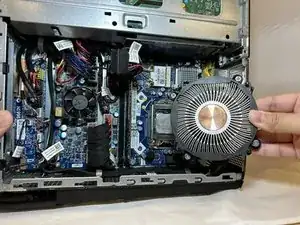
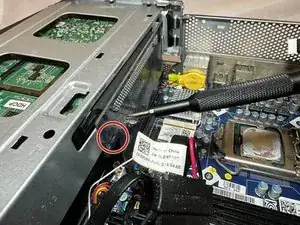
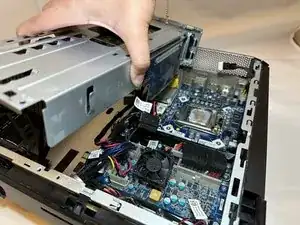
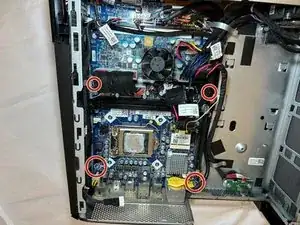
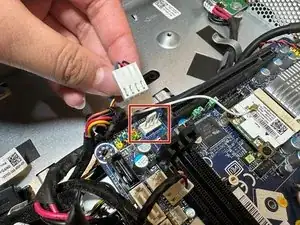
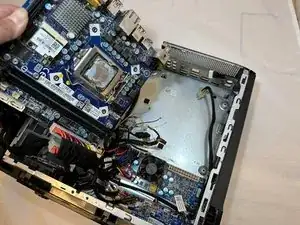
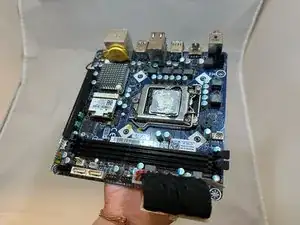
If your Alienware X51 PC begins to shut down randomly or cannot fully process commands, you may need to replace the motherboard (refer to our Troubleshooting Guide for more details). Replacing the motherboard will help with any random shutdowns. Overall, the replacement can be complicated, but if done correctly, this guide will fix your PC.

  1. lF6T2kEYRC5JRnMb
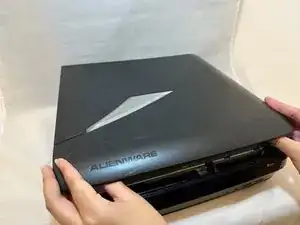
    • Place the PC so the name "Alienware" is on top and facing you.

    • Slide the front panel towards you and lift up.

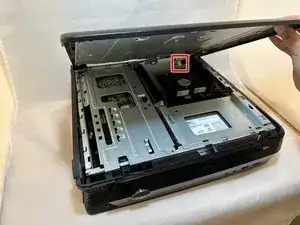
  2. peIl5XWGAFTHafil
    • Fully disconnect the panel by unplugging the lighting cord going into the PC's internal system.

    • Remove the front panel from the rest of the device.

  3. Ng6PMV6faCcjbYNp
    Ng6PMV6faCcjbYNp
    ClhXLqYD3tccv322
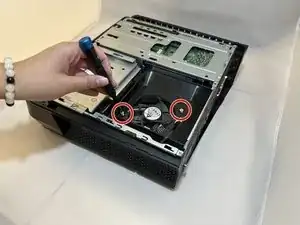
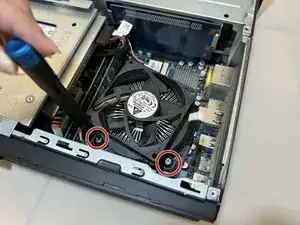
    • Remove the two 2.0 mm screws holding the fan protector in place using a Phillips #1 screwdriver.

    • Remove the protector holding the fan in.

  4. QS6PWnGMVAPRvmeW
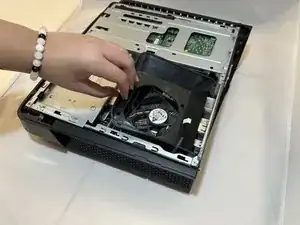
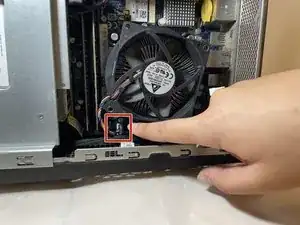
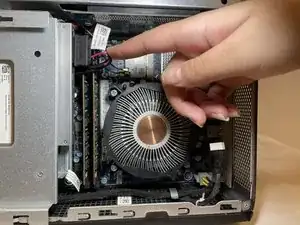
    • Disconnect the Molex KK connector from the fan.

  5. BTYFYdeDvxiSHSei
    BTYFYdeDvxiSHSei
    JiUPGSDOxqDCbG3O
    bWkrsPC1MfRqyfMe
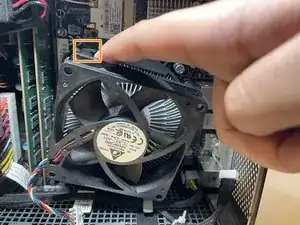
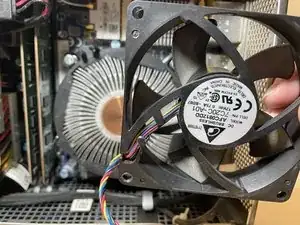
    • Use a Phillips #1 screwdriver to loosen the four spring screws around the fan until you hear a click.

    • Gently pull back the clips and remove the fan by pulling it out.

  6. hYcVgThEbPR5ILW1
    hYcVgThEbPR5ILW1
    Lo6TBxyMQOoNjoul
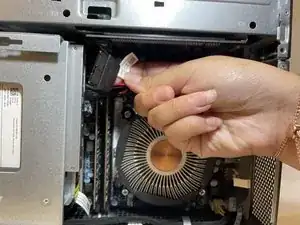
    • Disconnect the optical-drive data and power cable.

  7. OY5oKB2mLH2xMAhr
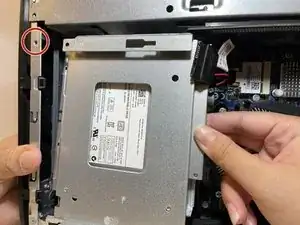
    • Remove the one 1.0 mm screw using a Phillips #1 screwdriver.

    • Remove the disc drive from the PC.

  8. dKfNqBYCFtpT1hgF
    dKfNqBYCFtpT1hgF
    QUWBQSlceKAHlRHi
    UO6BjophUbLkpwfm
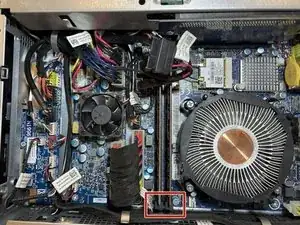
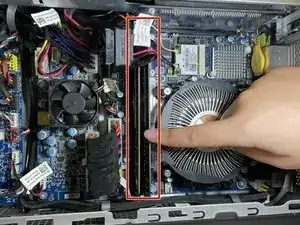
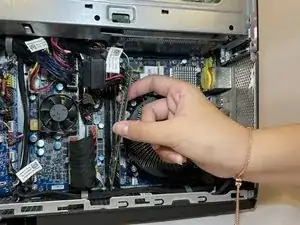
    • Pull apart the clips that hold the RAM sticks in place.

    • Remove the RAM sticks.

  9. ccogf3SlwfqTLNQs
    ccogf3SlwfqTLNQs
    JNL5AreJ4XVIld6p
    bCDyFHoT2ErCLN6D
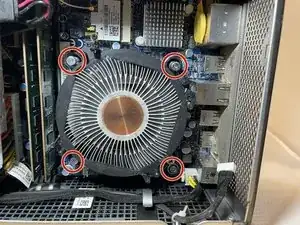
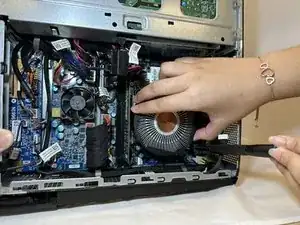
    • Loosen the four 10.0 mm screws around the heatsink with a Phillips #1 screwdriver until you hear a click.

    • These are captive screws and cannot be fully removed.

    • Remove the heatsink by gently prying and lifting it up.

  10. 5dfrTF6N6PoPy6OE
    5dfrTF6N6PoPy6OE
    uHKcXJEaDErgllMk
    • Remove the single 1.0 mm screw with a Phillips #1 screwdriver.

    • Firmly remove the internal PC system by lifting it out of the PC.

  11. KvRRlVUTIkBeMxhi
    KvRRlVUTIkBeMxhi
    WH4LAFUwys3cSxpb
    • Loosen the four 1.0 mm screws holding down the motherboard using a Phillips #1 screwdriver.

  12. VfsYBDdfUx2ouEcj
    VfsYBDdfUx2ouEcj
    fEmJCg4MBQPsWXCp
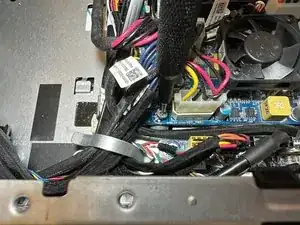
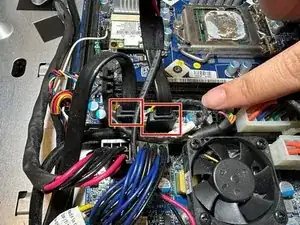
    • Disconnect the two SATA plugs going into the motherboard processor.

  13. y2HUbJkqiqQyvHuD
    • Disconnect the rectangular power supply plug from the motherboard into the other circuit board.

  14. F2OLY2YCcjNOsdoy
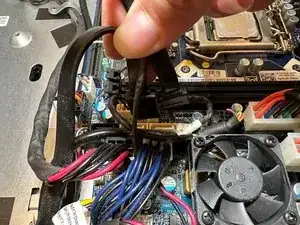
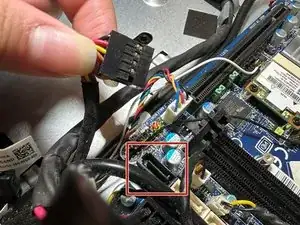
    • Disconnect the bundled cable connector going into the motherboard.

  15. jDCpVGSn6WRVtftI
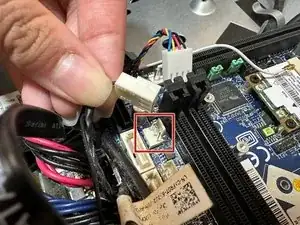
    • Disconnect the white bundled cable connector from the motherboard.

  16. ANWNsDwrU65e2RUL
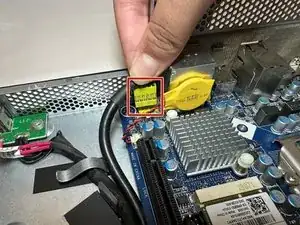
    • Disconnect the rectangular yellow bundled cable connector plug going into the motherboard.

  17. lBPqBKThIXrtVCqA
    • Disconnect the power supply.

  18. 5XVKUVXgA4ldIvTL
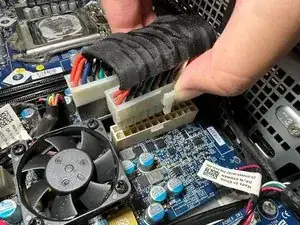
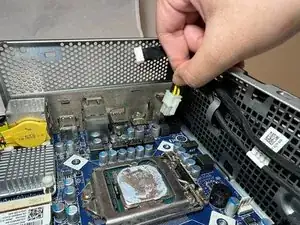
    • Disconnect the rectangular white bundled cable connector going into the motherboard.

  19. SHntbJjS6bAfPs2o
    SHntbJjS6bAfPs2o
    1bI1IvVqMcSrxgBf
    • Gently slide and lift out the motherboard from the PC.

Conclusion

To reassemble your device, follow these instructions in reverse order.
Braedon

Member since: 04/10/23

402 Reputation

0 comments