Introduction

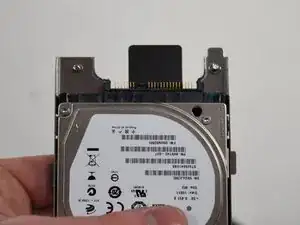
This guide provides instructions on how to upgrade or replace the hard drive in an Alienware M15x.

  1. KNadbJ2gEtTxIdaH
    KNadbJ2gEtTxIdaH
    s631b5AtwvKGOcaP
    eqR1LpVgZGUd4NwG
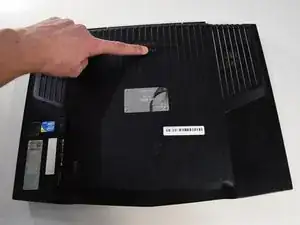
    • Remove the battery by sliding the latch to the left and pulling the battery up.

  2. 6NSM2tnYCsQJXROV
    6NSM2tnYCsQJXROV
    4ufvmVCkAT6Gjm3x
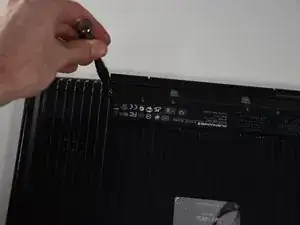
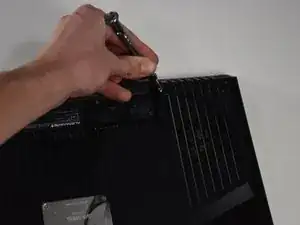
    • Remove the two 4-mm screws that hold the compartment door to the rest of the computer using a PH#0 screwdriver tip.

  3. DshXcP2iSBWDjuL3
    DshXcP2iSBWDjuL3
    cNTDOJkhGGEliQ1F
    EQEmAlXroJPvjU3I
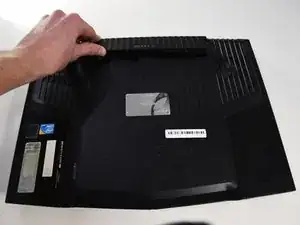
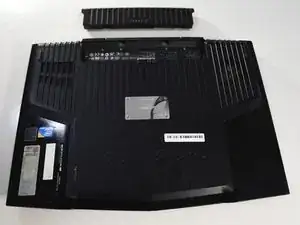
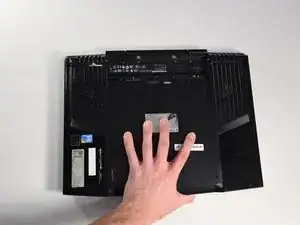
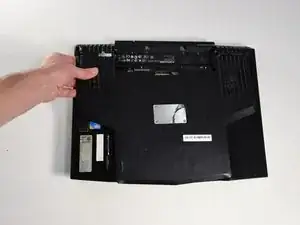
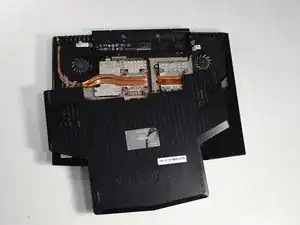
    • Slide the compartment door towards the front of the computer and lift.

  4. Wcp3NpvKSwgvI4OE
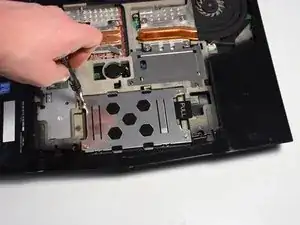
    • Use Phillips #1 screwdriver to loosen the four screws on the hard drive enclosure.

  5. 1FWGebge5klTERZY
    1FWGebge5klTERZY
    VvIoghFKERWNL5Ib
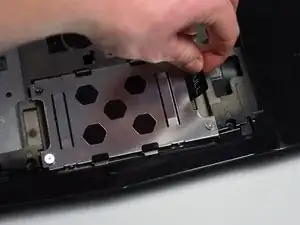
    • Once the screws are loosened use the "PULL" tab to remove the current hard drive from the computer.

  6. 3gcNYAZepIYtntNI
    3gcNYAZepIYtntNI
    1QSixtRT4SwWp1lR
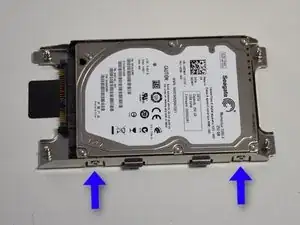
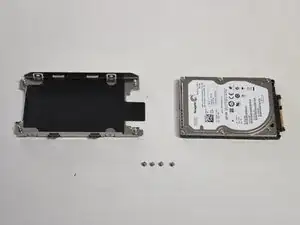
    • Remove the four small screws indicated to remove the casing to the hard drive.

  7. A1c3YEGLOMEnVRWX
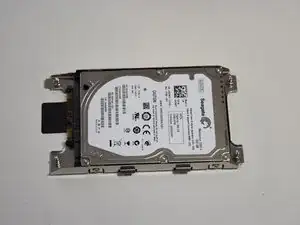
    • Now take off the SATA converter and then connect it to the drive you would like to replace it with.

Conclusion

To reassemble your device, follow these instructions in reverse order.
David Sann

Member since: 23/01/18

111 Reputation

0 comments