Introduction

How to remove and replace the Display Assembly.

  1. gCsGXutqssf4CcGh
    • WARNING: Before working inside your computer, read the safety information that shipped with your computer.

    • CAUTION: To avoid electrostatic discharge, ground yourself by using a wrist grounding strap or by periodically touching an unpainted metal surface (such as a connector on your computer).

    • Disconnect the antenna cables from the Mini-Card(s).

  2. UdVG2T6wiT2kiKpK
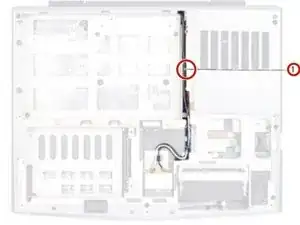
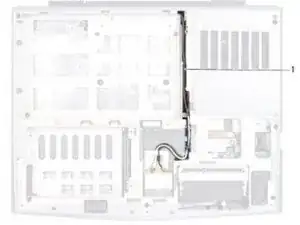
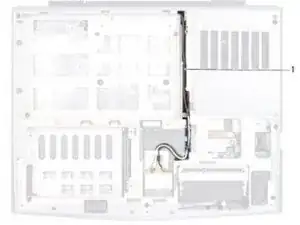
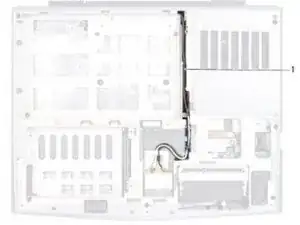
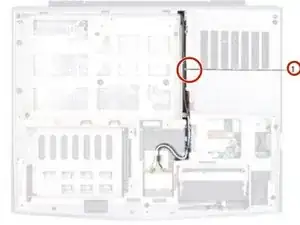
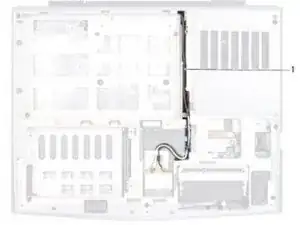
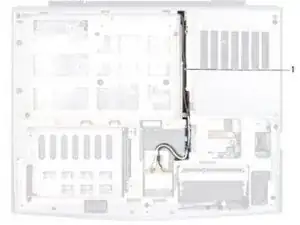
    • The routing of the Mini-Card antenna cables and remove them from the routing guides on the computer base.

  3. NKOjK3FUGWColneN
    • Turn the computer over and open the display as far as possible.

  4. o1YeFMXaFCE2iEuK
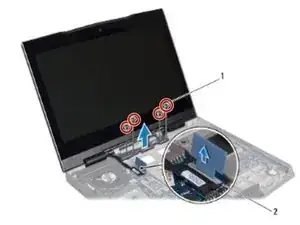
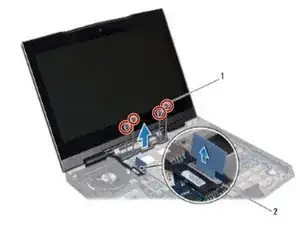
    • Pull the pull-tab to disconnect the display cable from the connector on the system board.

  5. CNvjNFHFeeIFFGBR
    • Remove the four screws that secure the display assembly to the computer base.

  6. msmPUI3OkiOpFxAt
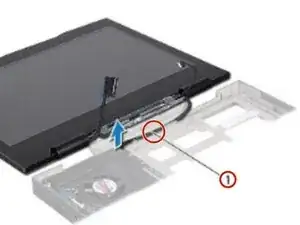
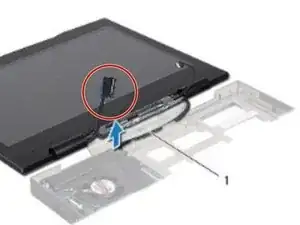
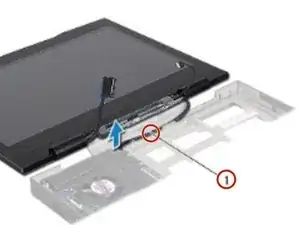
    • Gently slide the Mini-Card antenna cables out through the slot on the computer base.

  7. PASlossItwkoqkWB
    • Lift the display assembly off the computer.

  8. AqBThmAvUIWLXWWN
    • Slide the antenna cables in through the slot on the computer base.

  9. XmwRJRTsuyvHAWtv
    • Place the NEW display assembly in position and replace the four screws that secure the display assembly to the computer base.

  10. NIkC2ZBmlVaG3eVT
    • Connect the display cable to the connector on the system board.

  11. PJ3QX63KZmEV62pC
    • Turn the computer over and route the Mini-Card antenna cables through the routing guides on the computer base.

  12. pJudvBAmCRq5EIN1
    • Connect the Mini-Card antenna cables to the Mini-Card(s).

darrius

Member since: 26/03/18

5213 Reputation

0 comments