Introduction

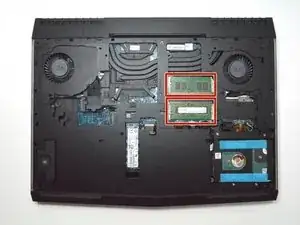
This guide will teach you how to replace your RAM card allowing you to upgrade or simply replace your card.

  1. NdSG2LdLeRRBWTAC
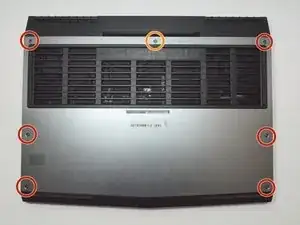
    • Use a PH1 screwdriver bit to remove the six M2.5x13 screws (2.4 mm) on the back of the laptop.

    • Use a PH1 screwdriver bit to loosen the one M2x3 screw (1.9 mm).

    • The M2x3 screw (1.9 mm) does not come out completely.

  2. beRHXrgQkAkOvkrd
    beRHXrgQkAkOvkrd
    tXvjyDKKEQkinPcV
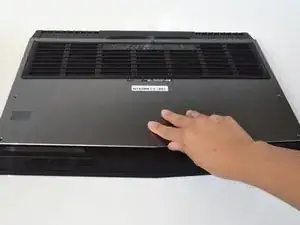
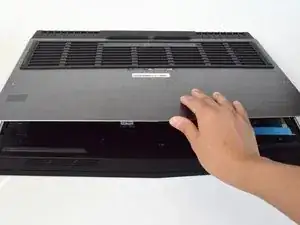
    • Pull the base cover up to remove it.

    • If you are having trouble, insert a plastic opening tool into the divots along the laptop's edges to loosen.

    • Removing the cover may require some force.

  3. LXaDIBYgRH41Dcfo
    LXaDIBYgRH41Dcfo
    TPIKGg2O1d3xGlgI
    QmWq143l3qMN5B4S
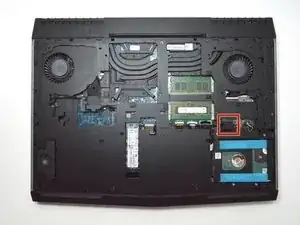
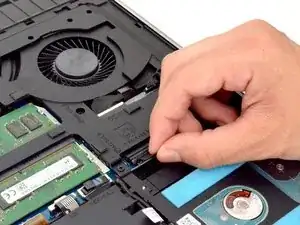
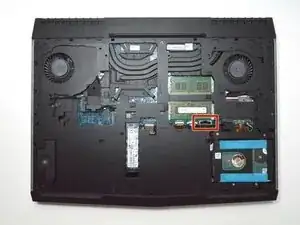
    • Disconnect the battery connector cable, located on the right side of the laptop, above the hard disk drive.

    • Once you have removed the cable, wait 5-10 minutes to allow the laptop to power down.

    • Failure to remove the battery connector cable properly may damage other parts of the laptop.

  4. b2UbrOj3NF2qvRTp
    b2UbrOj3NF2qvRTp
    AASF1YnfaRS4OhfC
    VRbgCWO1HZVntZRh
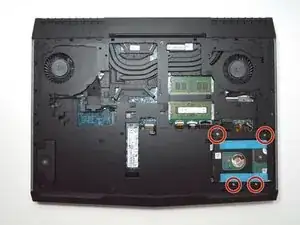
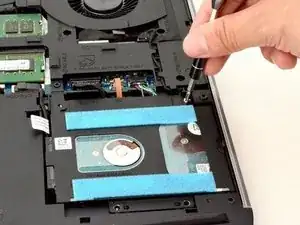
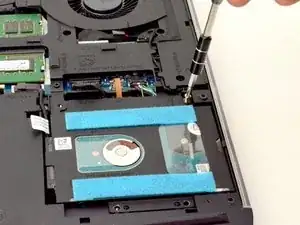
    • Use a PH1 screwdriver bit to remove the four M2.5x5 screws (2.4 mm) on the hard disk drive.

  5. EN1WpeWEmHsCQiyC
    EN1WpeWEmHsCQiyC
    I4bKNhZL3eYWRXAZ
    ASHMUmmJ6Bk5BJvQ
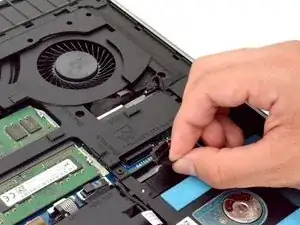
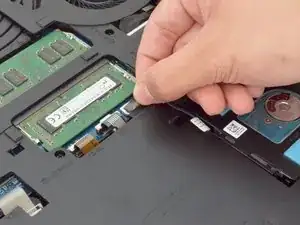
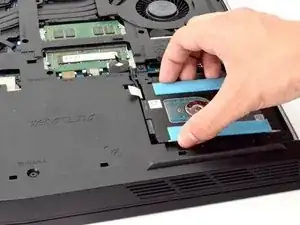
    • Gently lift the HDD cable to disconnect it from the laptop.

  6. NJnUYoNLGSyqrSXW
    NJnUYoNLGSyqrSXW
    IEnodJDclrknEWKj
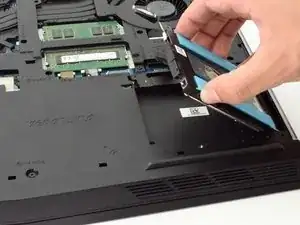
    • Pull the hard drive up to remove.

  7. kMMt3VZUHx5UwqEY
    kMMt3VZUHx5UwqEY
    tiBZidYQmVmTrLsn
    URV6mwWDtElFBGsN
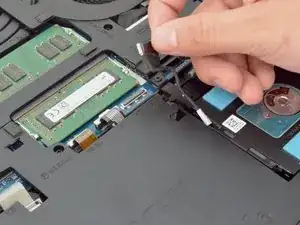
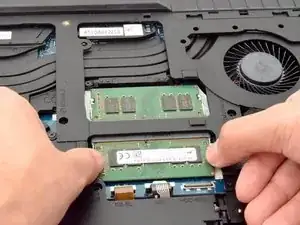
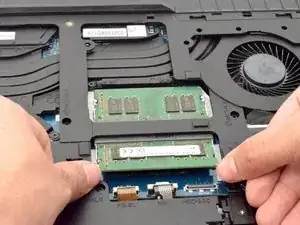
    • Move the metal sidings outward to release the RAM card.

  8. VnQAFYKhS4d6JNeE
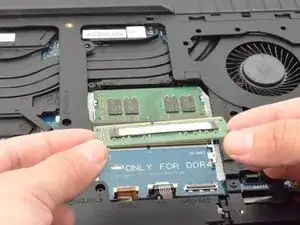
    • Slide the RAM card out towards yourself to remove it.

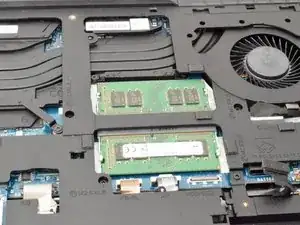
    • Repeat the same step for the RAM card above.

    • Slide the RAM card out carefully to avoid damaging it.

Conclusion

To reassemble your device, follow these instructions in reverse order.
Hector Mendez III

Member since: 11/09/17

1280 Reputation

0 comments