Introduction

Removing the motherboard is a significant task that is necessary for the replacement of several other components. Make sure, that when using the metal spudger that may cause electrostatic discharge, to ground yourself by touching a metal object before using the spudger.

  1. BNPa3kBkOyYGNZh6
    • Shut down the device

    • Flip the phone so that the screen is facing the surface you are working on

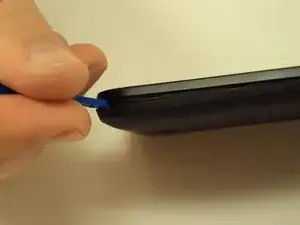
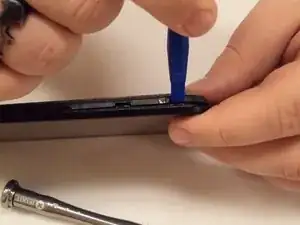
    • Aggressive prying may result in damaging the back panel or the internal contents of the phone.

    • Use the plastic opening tool to gently pry off the back panel. There is a small notch in the bottom left corner of the phone that you can use for increased leverage.

  2. x4JL6LoTftMthWIm
    x4JL6LoTftMthWIm
    mcI52rF5CoUFqjfI
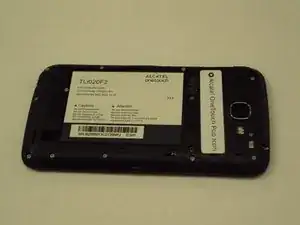
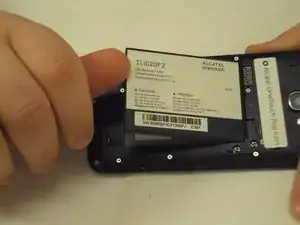
    • Use your thumbnail to lift the battery from the phone.

  3. IlR5FFRuVFGecqnv
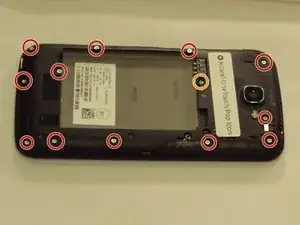
    • Using the J000 Phillips screwdriver, remove the twelve silver 3mm screws.

    • Using the J000 Phillips screwdriver, remove the one green 3mm screw.

  4. fmNAUSJMKwUPAYul
    • With the screen facing you and the front facing camera to your right, insert the plastic opening tool between the screen and the interior back panel and gently pry it off.

    • Make sure all of the clips come undone when you pry the seam loose.

  5. YZwmMj5E4nSDs6lq
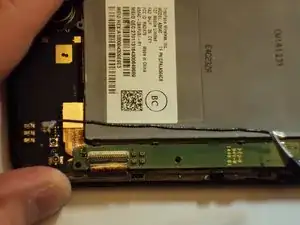
    • Lift the latch and gently remove the ribbon from the latch.

  6. FfWnkebnSNlBSx6e
    FfWnkebnSNlBSx6e
    QWRmkjaVtdBAZFLR
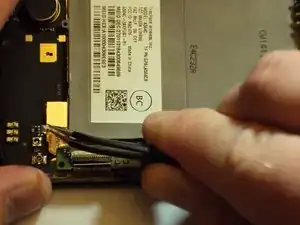
    • Use the metal spudger to gently pry the control buttons from the case.

    • The control buttons are glued to the case and are on a computer ribbon. When removing them it is best to move between them so as to avoid damaging them.

    • Make sure to use a plastic opening tool or nylon spudger before attempting to use a metal spudger. Metal spudgers can potentially damage your device.

  7. 5HvjpTcnby1DoHAc
    5HvjpTcnby1DoHAc
    NjjDBDHmmKe4B12O
    iqd1ZoVwDEXYDAek
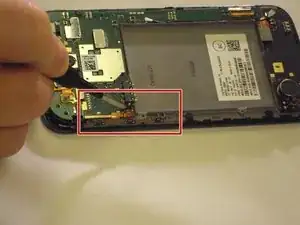
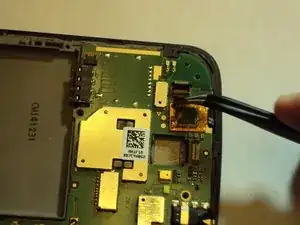
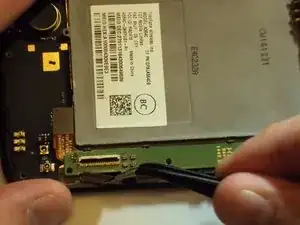
    • Using tweezers, carefully detach the antenna from the motherboard.

  8. qJSBOA6kYNwn4IS4
    qJSBOA6kYNwn4IS4
    dmmPDtXjODfRjUZ1
    LbHiRT5OMJxCnSCo
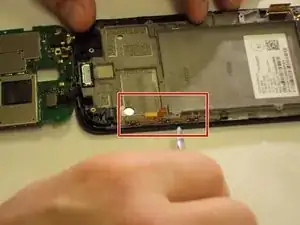
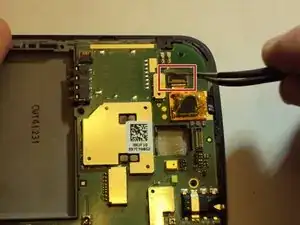
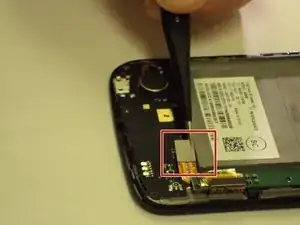
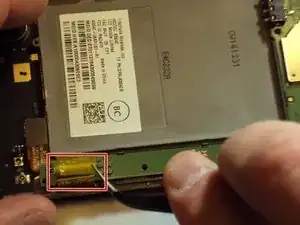
    • Remove the tape on top of the ribbon.

    • Lift the black latch to release the ribbon.

    • Remove the ribbon from the latch.

  9. xjIVHecgbYNmG1VW
    • Lift the tab from the casing.

  10. S64BTxTUUR6pTen6
    S64BTxTUUR6pTen6
    MIbo6G5cysAbHUBe
    xAAYrJnfVFjdDg2h
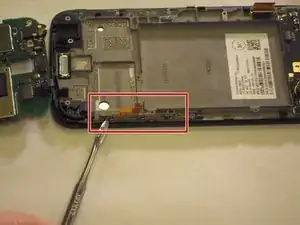
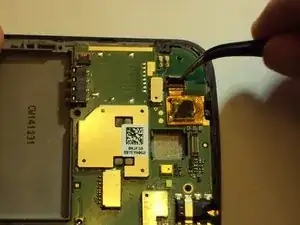
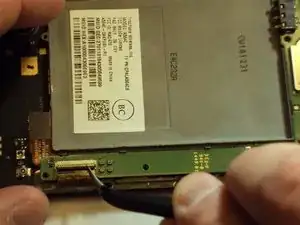
    • Use the tweezers to remove tape the from the top of the latch. Still using the tweezers, lift the black latch to release the ribbon.

    • Remove the ribbon from the latch.

  11. oTUgC2Sg6OewctsB
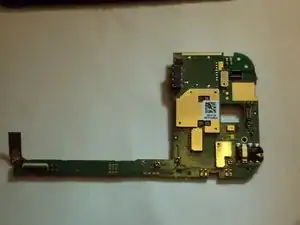
    • Remove the motherboard from the casing.

Conclusion

To reassemble your device, follow these instructions in reverse order.
John Halsey

Member since: 02/04/16

1000 Reputation

0 comments