Introduction
This guide is fairly straightforward. You will, however, remove three different types of screws. Keep track of the screws; be careful with the delicate parts, and may the device work ever in your favor.
-
-
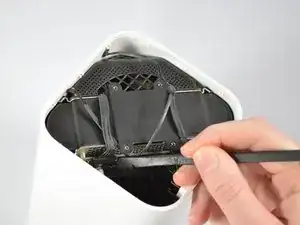
To detach the small clips from the connectors, place the flat end of the plastic spudger underneath the clip and gently lever it away from the center of the device.
-
To detach the large clip from its connector, place the flat end of the spudger on the clip and lever it upward out of the connector.
-
-
-
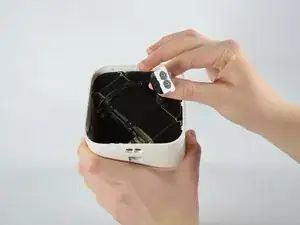
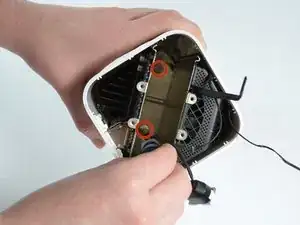
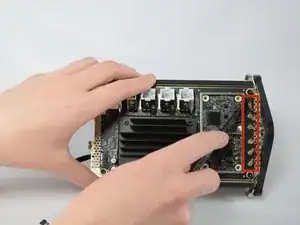
Using two fingers, pinch the power supply wire and gently lift it upward. Move it away from the metal plate.
-
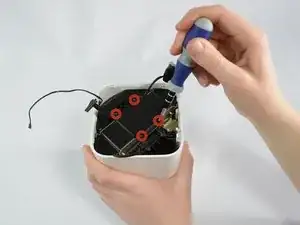
Next, unscrew the four 3.3mm T8 Torx screws and remove the metal plate.
-
-
-
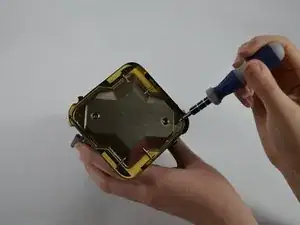
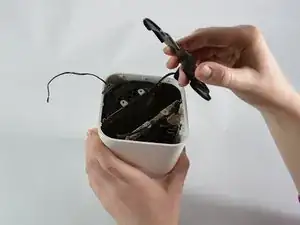
Remove the T8 Torx screwdriver head and replace it with the 60 mm extension; then, add the T9 Torx head.
-
Loosen, but do not remove the two screws at the bottom of the 1.2-inch wide gap in the middle of the internal structure.
-
-
-
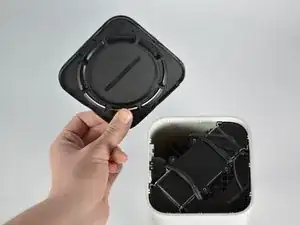
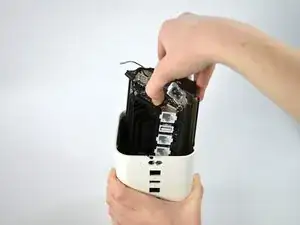
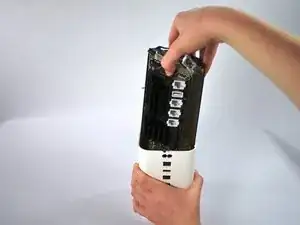
Using only your fingers, gently compress the internal structure and pull evenly upward to remove it from the white case.
-
-
-
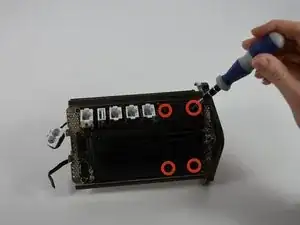
Rotate the internal structure so that the side containing the 5 white ports is facing upward.
-
Unscrew the four 10.25mm T8 screws holding the heat sink.
-
-
-
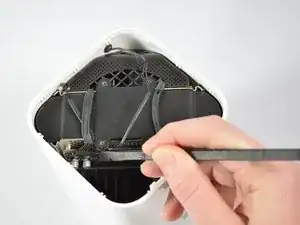
Wedge the corner of the plastic spudger under one of the silver antenna clips. Gently lever the tip of the spudger away from the logic board to detach the antenna clip.
-
Repeat this for all six clips.
-
-
-
Turn the internal structure upside down so that the metallic plate (antenna array) is facing upward.
-
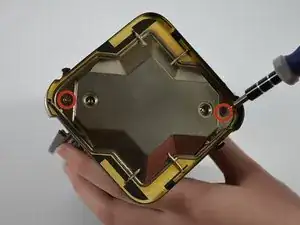
Unscrew the two 2.8 mm T6 Torx screws and remove the antenna array.
-
To reassemble your device, follow these instructions in reverse order.
One comment
It says you need no parts? How about a replacement Antenna Array?
Andrew -
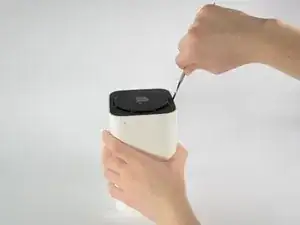
The black cover is about 1/8 to 1/4 inch thick and is held in with pressure points. Might be good to use two spudgers or thin, flat screwdriver tips.
John Vitali -