Introduction

The unthinkable has happened. Your AGD4675YQ3 Admiral Dryer won't turn! The wet clothes are starting to stink and every company you call says the earliest they can get someone out there is 3 days away. Not to worry friends, the dryer is a much simpler machine than you might think. The most likely culprit is your dryer belt has fallen off its axel or snapped. With this guide, you will be back to finishing laundry day in no time. Bonus: You will also have newfound mechanical knowledge to brag to your friends about!

  1. smuQi4MTDLpPtlph
    • Unplug the dryer's power cord.

  2. jxEEQtoZEBkJoGJ3
    • Remove the lint catcher.

  3. x5Uowp4kCidsBryR
    x5Uowp4kCidsBryR
    w5dhjqrUTCnRYuqZ
    • When removing the screws, ensure that they do not fall into the lint chute. If this happens, a deeper disassembly will be required that this guide does not cover.

    • Use your Phillips #1 screwdriver and remove both 25.4 mm Phillips #1 screws.

  4. hjWuWZLJngtiIouX
    hjWuWZLJngtiIouX
    cWgYDvfYWuBa1ZAy
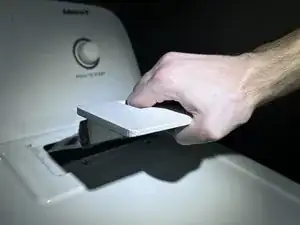
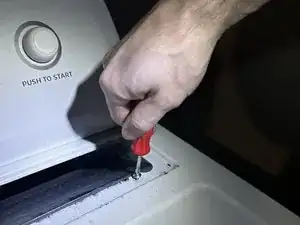
    • While keeping to the right corner, slip the butter knife in the slit above the dryer door.

    • If you cannot push the butter knife in, you are likely hitting the clip. Simply move the knife a bit more to the left till it slips in deep.

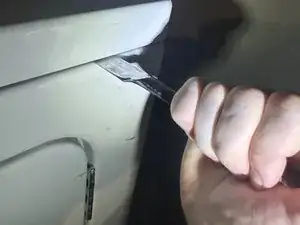
    • Pry up with moderate force and the clip holding the lid will pop up.

    • Repeat on the left side.

  5. OQFOAEbExuPMYq4K
    • Fully lift the lid so that it stays in an upright position.

  6. LLeHXUitDxb2L2SE
    • Disconnect the electrical harness on the right side.

  7. 4PErM5vGqONVTsUB
    4PErM5vGqONVTsUB
    4mQ35IQ2DnHgBgM2
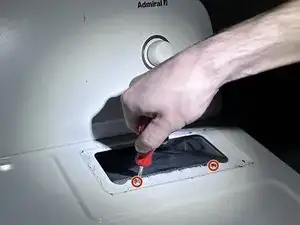
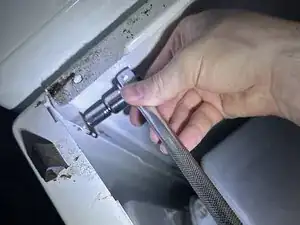
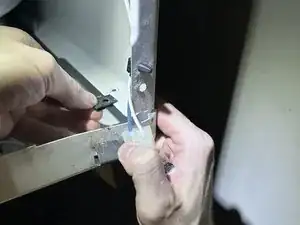
    • Remove the 18.4 mm hex cap screws on the left and right side with the 8 mm socket wrench.

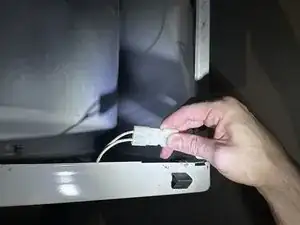
    • Remove the clips underneath the screws on the left and right side.

  8. u33WyTmMy1vC2Plg
    u33WyTmMy1vC2Plg
    DWsVdnFGuNQuyEkr
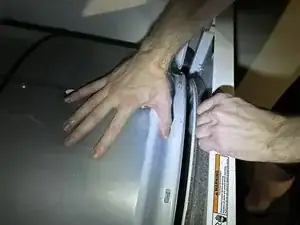
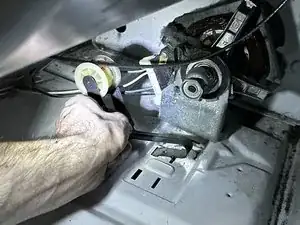
    • Using your thumb to hold the drum in place, pull the front panel of the dryer away from the drum.

    • There are two clips in the bottom left and right sides that will pop out when you pull.

    • Set the front panel to the side.

  9. pPNrTnbYuqXE6HD2
    • Place a shoebox sized item under the drum to hold the drum in place.

    • Keep the item as far to the left as possible so you will have room to work on the assembly underneath, located on the right.

  10. vjc5JQQ1rcVqLIlR
    vjc5JQQ1rcVqLIlR
    oZdVdkSLBXI6FjEH
    LMvVxEM2MWvUghIX
    • If your drum belt has snapped, you can just pull the old belt out and proceed to step 13.

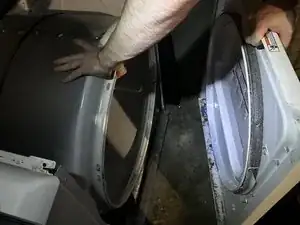
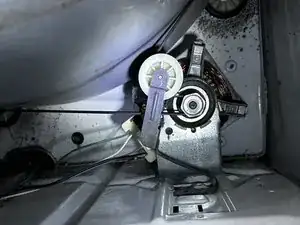
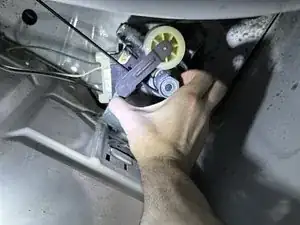
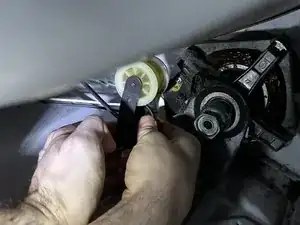
    • Grip the pulley bar and squeeze to push the pulley away from the drum.

    • Pull the belt off of the gear.

  11. mVvJyVKrAnYG3R5w
    • Remove the belt from the drum.

  12. RGiUO34dBQaXIInG
    • Place the new belt around the drum.

    • Make sure the grooved part of the belt is facing the grooved part of the drum.

    • The serial number and other identifying information on the belt should be facing up.

  13. pMlBUbAjO3T1F2Vu
    pMlBUbAjO3T1F2Vu
    fGpXME2od1twZifQ
    2sBHe6IWXVnKaQve
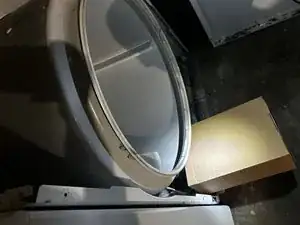
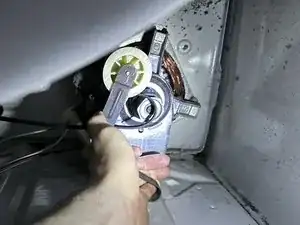
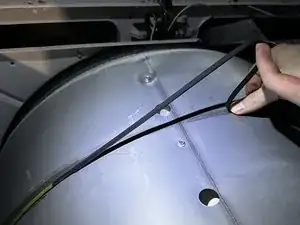
    • Form a loop with the belt and pull the loop under the pulley.

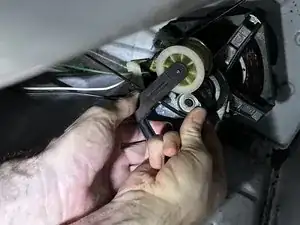
    • Squeeze the pulley bar and place the loop around the gear.

  14. BfFAHCgEvJZvx2KQ
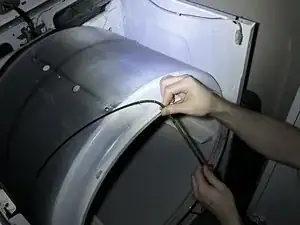
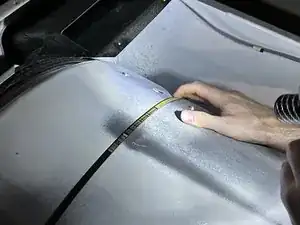
    • Rotate the drum counter clockwise and ensure the belt is covering the drum groove all the way around.

    • If the belt is out of place, simply tap it into place with your fingertips.

Conclusion

To reassemble your device, follow these instructions in reverse order.

Clayton Biehunko

Member since: 22/09/23

229 Reputation

One comment

Gear? Drive spindle?

Frederick Kardatzke -