Introduction

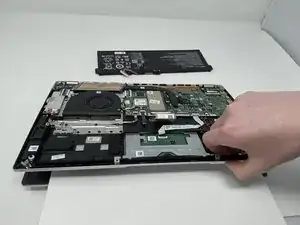
If your Acer Swift 3 2022 touchpad is losing its sensitivity, follow this guide to replace it. Before deciding to replace the touchpad make sure the settings are up to date. Before starting the replacement process make sure you have all the correct screwdrivers! For more information view our troubleshooting page.

  1. U6pFcVvydOOIY5nA
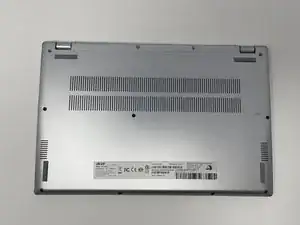
    • Be sure to power off the laptop before starting.

    • Flip the device over so the bottom panel is facing up.

  2. TFBXJ1e1DKKTqSXM
    TFBXJ1e1DKKTqSXM
    RkAMOyJCquMjZk6I
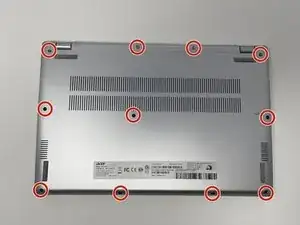
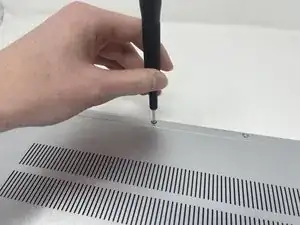
    • Remove the eleven 5 mm screws from the back of the device using a TR6 Torx screwdriver.

  3. tDWEsqN2Sy6gyImV
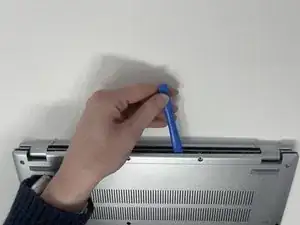
    • Use the iFixit opening tool to pry open the back of the device.

    • Remove the bottom cover from the laptop.

  4. Jnaf2Y1qwNUbnhKH
    Jnaf2Y1qwNUbnhKH
    VGbmOh4OTkV1mPyD
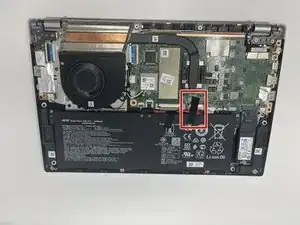
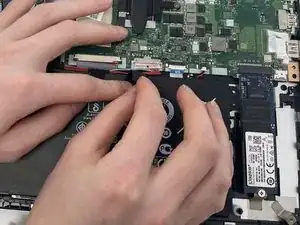
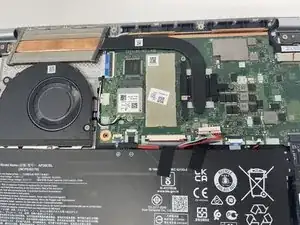
    • Peel back the strip of black tape.

  5. tgTkIdHcENpZ5MKU
    tgTkIdHcENpZ5MKU
    KK6SHyVcSUZxwhOD
    SJNMSgNowmnI2Fmb
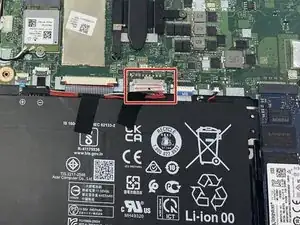
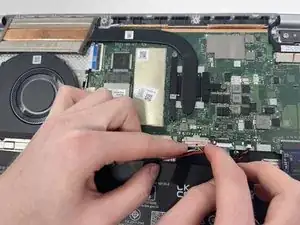
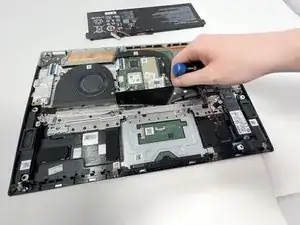
    • Unplug the group of wires by pulling the white plastic piece towards yourself.

    • Be careful, this piece can be easily damaged.

    Much easier to pry the plug out after the battery is lifted up on the hinges that are towards you.

    Thomas Hayes -

  6. if1hYvS3XyTnL2dx
    if1hYvS3XyTnL2dx
    s62uqWWXAbg144yM
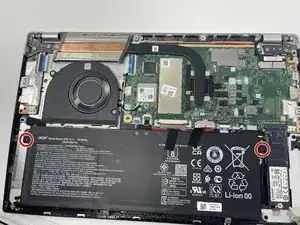
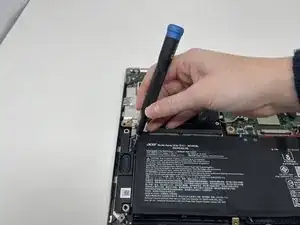
    • Remove the two 5 mm screws on the sides of the battery using a TR6 Torx screwdriver.

    My Swift314-54 used Torx 4. Also note the battery has hinges towards the edge of the laptop so left the side towards the svcrews first.

    Thomas Hayes -

  7. ZWuO52dQNahsqWxW
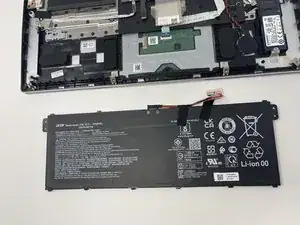
    • Remove battery.

    Tuck the wires in between the battery and the inside edges after the battery is screwed into place.

    Thomas Hayes -

  8. eYACIeENBSjZYVq6
    • Before disassembly, place a sheet of paper or cloth material between the touchpad and the screen.

  9. dPtPcJg35ukS22ZS
    dPtPcJg35ukS22ZS
    NYDqBVXTVQMJ4Saa
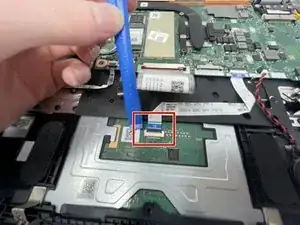
    • Using the iFixit opening tool, flip up the black plastic retaining flap holding the white ribbon cable.

    • It's like popping open a coke can!

  10. xGa4wg6uiGcfh15p
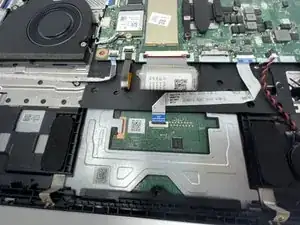
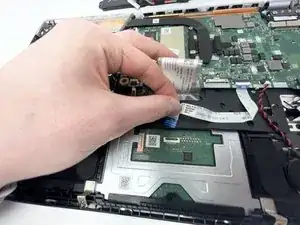
    • Pull the ribbon cable out.

  11. TpbeWq5k4AKZ5gkR
    TpbeWq5k4AKZ5gkR
    Pk5fFYGcGwpu1Buw
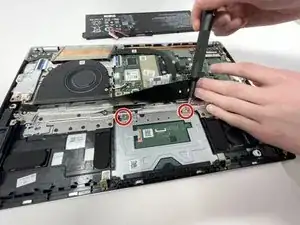
    • Pull the black flap of film up to identify the two screws.

    • Remove the two 2 mm screws using a JIS #1 screwdriver.

  12. jCIuHKt3WmZFuGg6
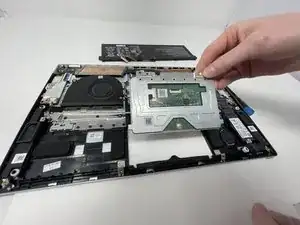
    • Take out the touchpad.

Conclusion

To reassemble your device, follow these instructions in reverse order.
Anna Miller

Member since: 26/09/22

807 Reputation

0 comments