Introduction
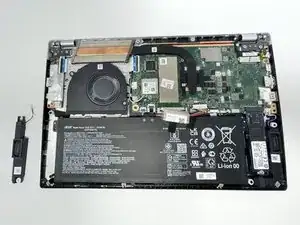
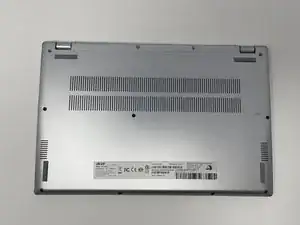
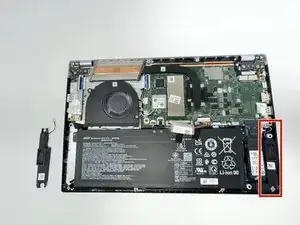
If your Acer Swift 3 laptop (model N20C12) speakers are no longer sounding pristine, but are sounding muffled or disoriented, use this guide to replace the two internal speakers.
It is important to look review the troubleshoot page to ensure replacing the speakers is the only solution for saving the quality of sound. It could be a settings issue, so be sure it is reset before proceeding.
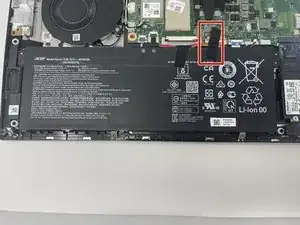
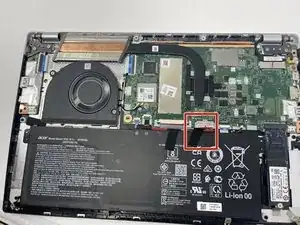
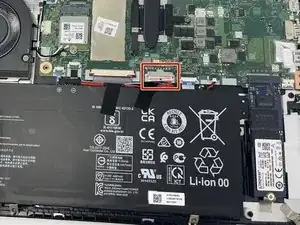
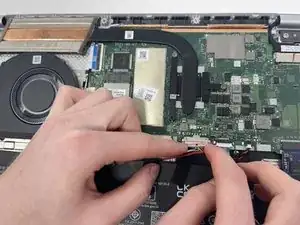
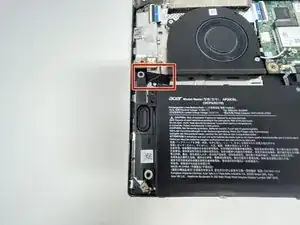
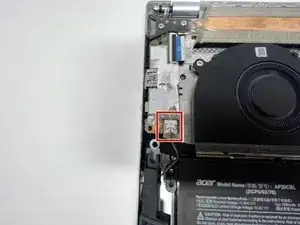
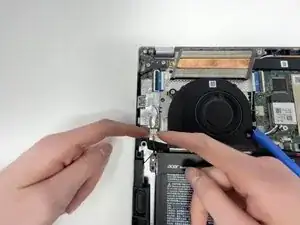
Step 10 requires you to remove a small plastic piece that connects into the motherboard of the computer. It is essential to be extremely careful while handling that piece because it can be easily damaged from removing it at an angle.
Tools
-
-
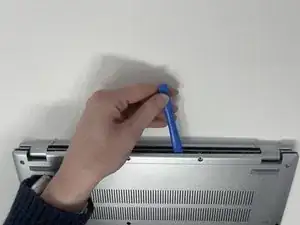
Use the iFixit opening tool to pry open the back of the device.
-
Remove the bottom cover from the laptop.
-
-
-
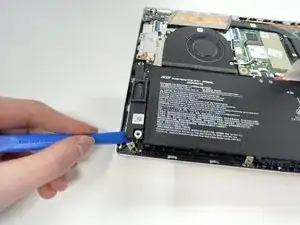
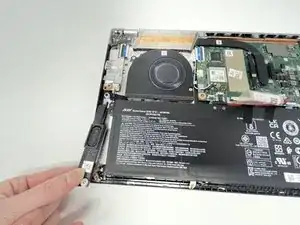
With the iFixit opening tool or your nail, gently lift the speaker up near the bottom attachment site.
-
-
-
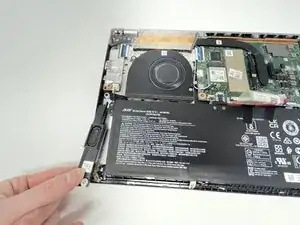
Pinch the end of the speaker to gently slide the the other end out towards you while still being attached to the white plastic piece.
-
-
-
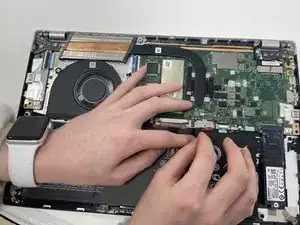
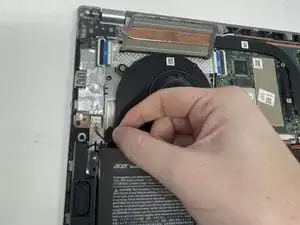
With your two fingernails, place them on both sides of the upside-down "T" and pull towards yourself.
-
To reassemble your device, follow these instructions in reverse order.
