Introduction
-
-
Flip the Chromebook face down.
-
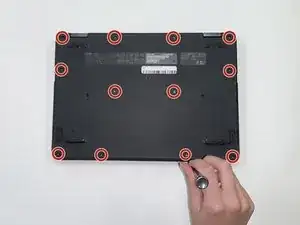
Use a Phillips #0 screwdriver to remove the twelve 6 mm screws that secure the bottom cover.
-
-
-
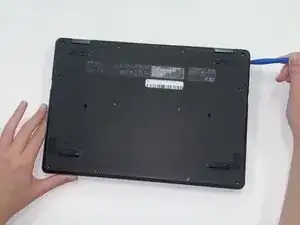
Insert an opening tool in the seam between the outer covers. Pushing down on the edge of the opening tool will cause the cover to lift up and reveal the internal components.
-
-
-
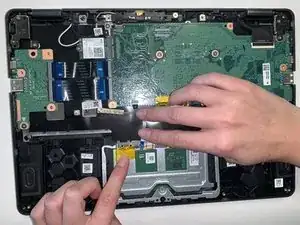
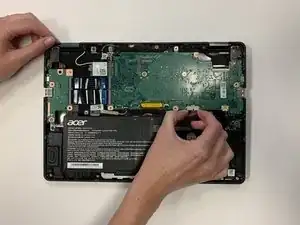
Grab the connecting cord between the battery and the motherboard and pull towards you to disconnect.
-
Remove any tape holding the battery cord down by pulling up on it.
-
-
-
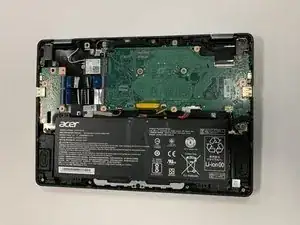
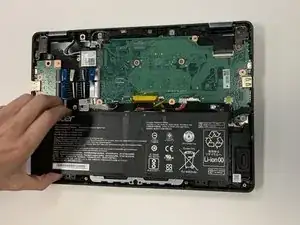
The battery is no longer connected to the Chromebook allowing you to lift up and remove the battery.
-
-
-
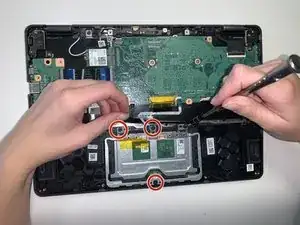
Pull the tape back and unplug the cable connecting the track pad to the motherboard by gently pulling back on it.
-
-
-
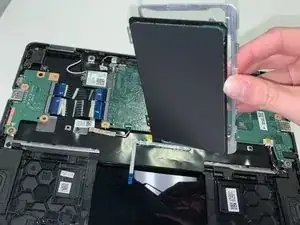
Use a Phillips #0 screwdriver to remove the four 3 mm screws that secure the track pad in place.
-
To reassemble your device, follow these instructions in reverse order.