Introduction

If the motherboard in your Acer Chromebook CP5-471-C0EX laptop (also known as Acer Chromebook 14) is faulty or damaged, it will most likely result in the laptop freezing, restarting, and showing frequent errors or the “blue screen of death.” You will likely have to replace the motherboard. Use this guide to remove and replace the motherboard.

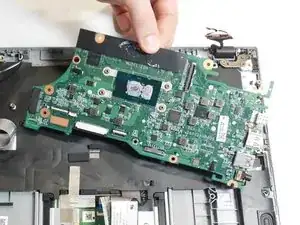
A functional motherboard allows the computer's components to interact.

Make sure to power down your device and disconnect from any power sources before you begin.

  1. 6tXeYVRULDQ33vCP
    6tXeYVRULDQ33vCP
    sTqZQsSU2WunDtLI
    • Carefully detach the ribbon cable connecting the battery and the motherboard.

  2. mgJW3hLVSfTQDiE5
    • Use your hands to lift the battery out of the device.

  3. LuEEHlY5qO3cT6q4
    LuEEHlY5qO3cT6q4
    PSInNVCBfMZpPpoy
    ZQVaXi5w5Bq2HKSu
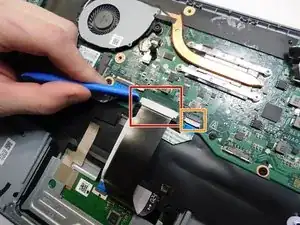
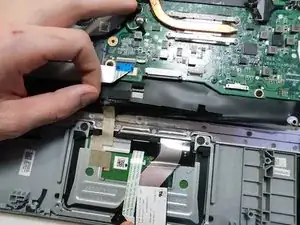
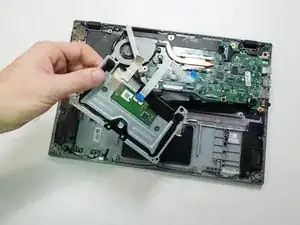
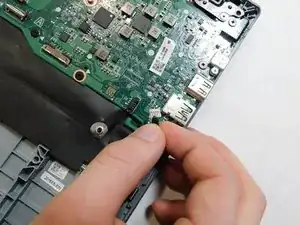
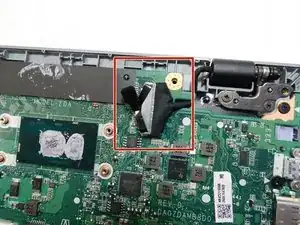
    • Disconnect the wide black ribbon cable from the motherboard using an iFixit opening tool.

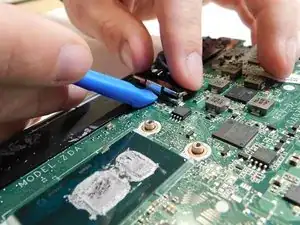
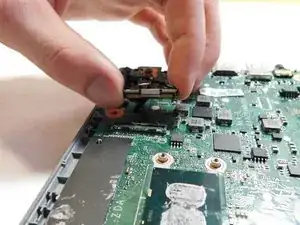
    • Disconnect the blue-tipped ribbon from the motherboard.

    • Be careful not to damage the motherboard while removing the ribbon cables.

  4. l4DyrNXjmhtjpqyq
    l4DyrNXjmhtjpqyq
    2IAfTtKQCu2rPqbX
    mJq63aHSWToHNvQr
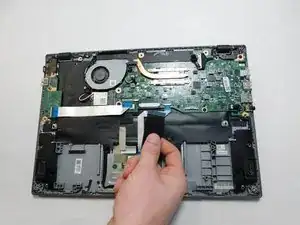
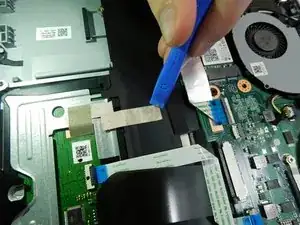
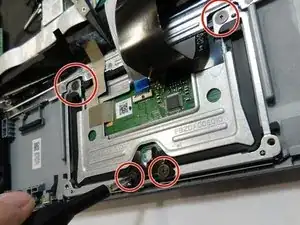
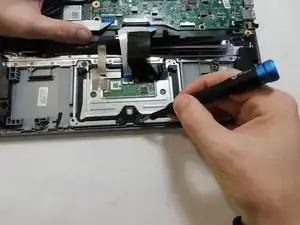
    • Remove the golden tape connecting the trackpad to the plastic divider using an iFixit opening tool.

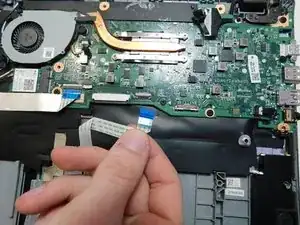
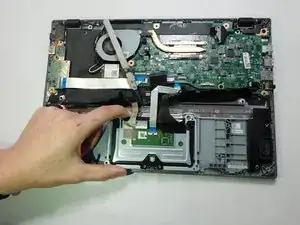
    • Peel back the black plastic divider that separates the motherboard and trackpad.

  5. raWn2VbByifGoIHT
    raWn2VbByifGoIHT
    2Wnbcg1PJNsdBb4U
    • Remove four 3 mm screws from the trackpad using a Phillips #1 screwdriver.

  6. x4HZPupKIavEHfns
    x4HZPupKIavEHfns
    6mHDUYcgavMKCept
    • Carefully remove the trackpad from the device.

  7. T4NbFRoRty4LdhXC
    • Gently pull the black and white cables up to disconnect them from the Wi-Fi card.

  8. aeNcBW1SmlbAP4w3
    aeNcBW1SmlbAP4w3
    ZsuynVJbtVJKnlep
    • Remove the single 3 mm screw using a Phillips #1 screwdriver.

  9. DQkbmGNUlnflJHVs
    • Gently pull the wireless card away from the motherboard to remove it.

  10. rCIPx5UsbmPuFryL
    rCIPx5UsbmPuFryL
    qth2vuqgBhnGVLo3
    • Gently pull the black and white cables up to disconnect them from the Wi-Fi card.

  11. SVpsPD4wnOCeyp2S
    SVpsPD4wnOCeyp2S
    cyiI6jiR4ECI6IHq
    ghMBAVYSVBeIFwO1
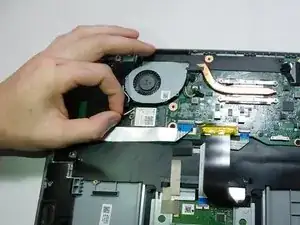
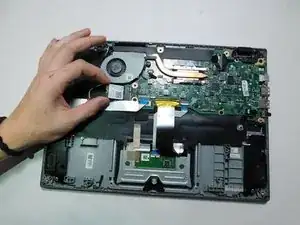
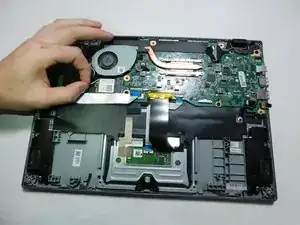
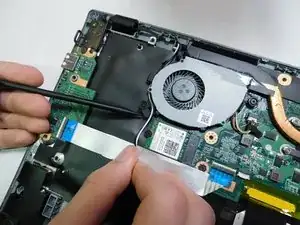
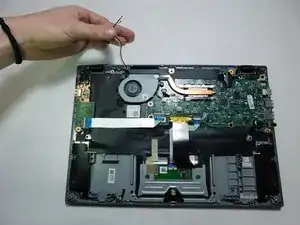
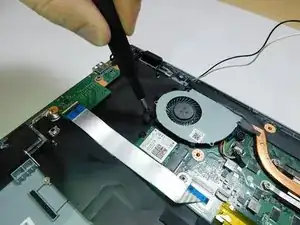
    • Unwind the Wi-Fi card wires from the side of the fan.

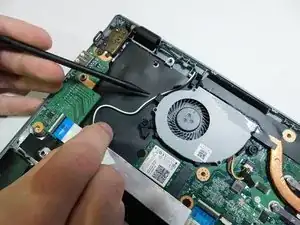
    • The wires need to be pulled down and around the first hook, as seen in image two.

    • Pull the black and white cables under the second hook and away from the fan.

  12. KrjYdNeqiKHYhGWW
    KrjYdNeqiKHYhGWW
    mSOUOcaunELgMRUJ
    mg3PX2WlqrgmUROm
    • Pull wires so they are out the way.

    • Loosen the six screws from the fan and heat sink.

    • The two screws closest to the fan cannot be removed from the fan, but will still loosen from the case.

  13. vBQhxgYhITCRcG5k
    vBQhxgYhITCRcG5k
    RSTWvExAXHFbN4uM
    ItsM6NCs3UTfZHtM
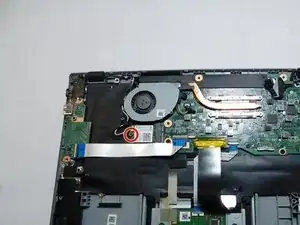
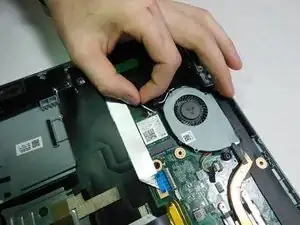
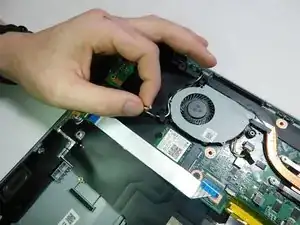
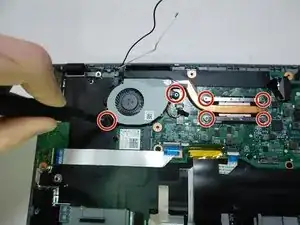
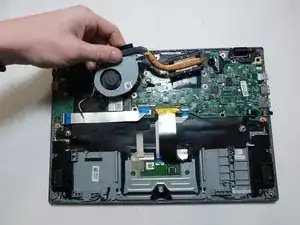
    • Gently lift the fan out of the case, but do not remove it fully; there is still one more cable attached.

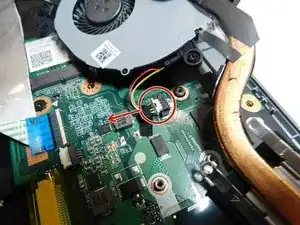
    • Pull the cable out of its socket on the motherboard.

    • Remove the fan from the laptop.

  14. AVCHjIEyFETYavJj
    AVCHjIEyFETYavJj
    iALs4ZcGMAdYsll6
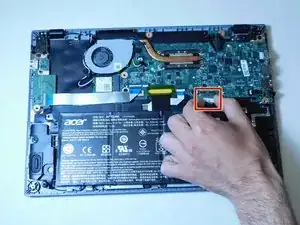
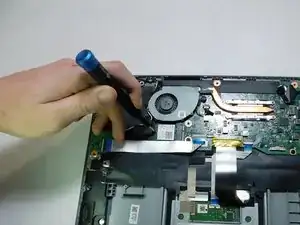
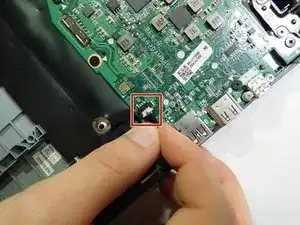
    • Push on the sides of the connector to gently disconnect the speaker cable from the motherboard.

  15. fM4ucTK6tfTUIsks
    fM4ucTK6tfTUIsks
    sjHAjRR6vPaIMoAL
    jrDukJaZBgKlGFuL
    • Use an iFixit opening tool to pry the display cable up from the motherboard.

  16. SFfKwFEhQZCNYmPE
    SFfKwFEhQZCNYmPE
    AP1ywxMZQuOky5bf
    • Remove seven 3 mm screws from the motherboard using a Phillips #1 screwdriver.

  17. 3pU2wZpxHPGqklnq
    • Remove the motherboard from the laptop.

Conclusion

To reassemble your device, follow these instructions in reverse order.

Naomi Salas

Member since: 05/04/22

244 Reputation

0 comments