Introduction
If your Acer Chromebook CB3-431-C5EX has cursor problems such as jittering, jumping around, or failing to recognize gestures properly, then it might be time to replace the trackpad. Out-of-date/missing drivers can sometimes cause trackpad issues, so you might want to check and see if this is the case before continuing. If you need to replace your trackpad, be sure to take extra care when disconnecting any cables or wires as they can be fragile.
Prior to beginning this repair, power off your device and unplug from the power adapter.
-
-
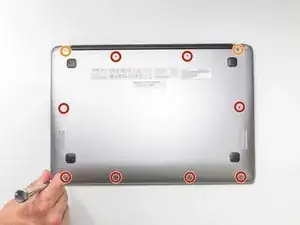
Insert a plastic opening tool into the crack between the bottom panel and the side of the computer.
-
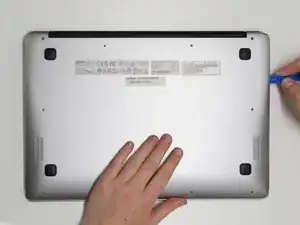
Gently pry the panel off the computer by continuously pulling up and on the panel and moving the plastic opening tool around the crack until the panel comes off.
-
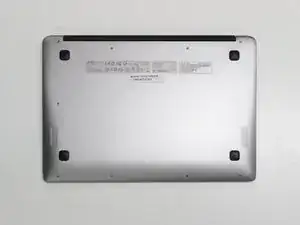
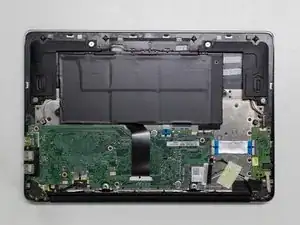
Remove the bottom panel and set it aside.
-
-
-
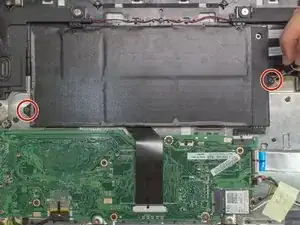
Remove the two 4mm Phillips #0 screws on either side of the battery pack that are securing it in place.
-
-
-
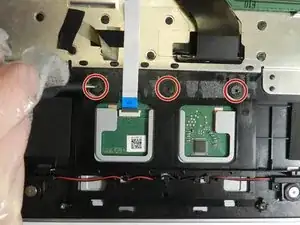
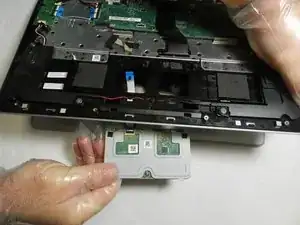
Remove the three 2.5 mm screws that are securing the trackpad to the laptop using a Phillips #0 screwdriver.
-
-
-
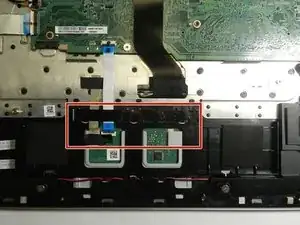
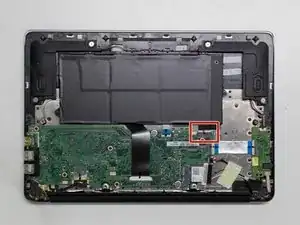
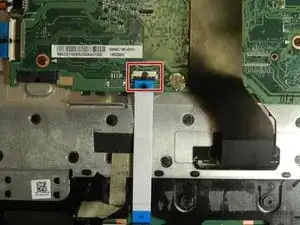
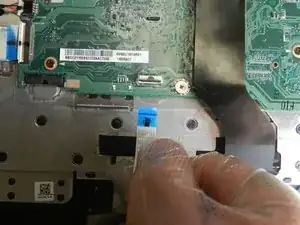
Lift up the black retaining flap on the connector.
-
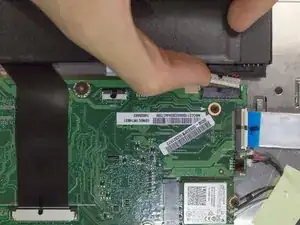
Slide the blue ribbon cable out of the connector.
-
To reassemble your device, follow these instructions in reverse order.

There are two tabs on the battery opposite the connector side that need to be inserted into the retention slots or the battery won’t sit flat. Need to do this before reinserting the battery screws.
Also, I found that #00 Phillips works best on the 4mm screws.
John Burleson -