Introduction

This guide will demonstrate how to remove the motherboard from the Acer Chromebook C740-C4PE.

  1. CFFcLSQAUXKTLTsp
    CFFcLSQAUXKTLTsp
    OUQEbmCHUlxEXuNJ
    jCpfwa4gGQHIvPNm
    • Make sure the laptop is turned off and laid down on a flat surface.

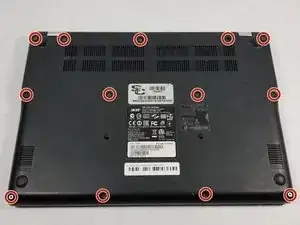
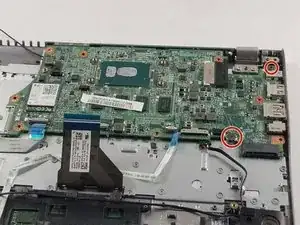
    • Unscrew the thirteen 10mm screws on the back of the device using a Phillips #0 screwdriver.

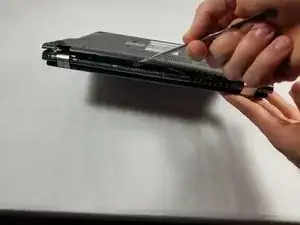
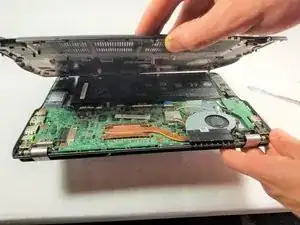
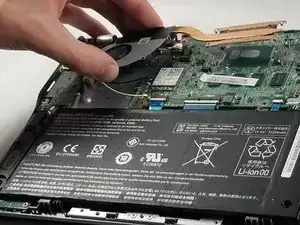
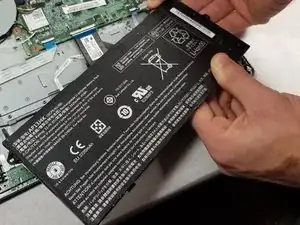
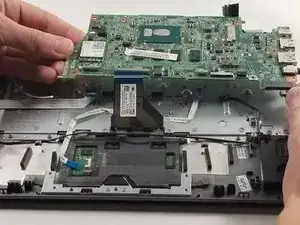
    • Use the spudger or any other prying tool to pry the back plate off of the device.

    • Be sure not to pry too hard as it may result in snapping the back plate.

  2. ln1YEWKXoqrNitop
    ln1YEWKXoqrNitop
    4LPKJKjlKXXAZpgl
    • Remove the four 5mm screws on the heatsink using the Phillips #0 screwdriver.

  3. cyCPNlPaXWB32Uvm
    cyCPNlPaXWB32Uvm
    kkZX42pUMeNIBJyg
    • Loosen the two Phillips-head screws on the fan attached to the heatsink.

  4. 1cXfFmLN3BompiNe
    • Detach the two antennae cables from the WiFi card by gently pulling on them.

  5. Tt3FOVXT4qZ35X3h
    • Gently pull the fan cable out of the motherboard.

    • Pulling too hard may break the wires or the connector itself.

  6. ib4ZS3bbMlykrNEa
    • Remove the cable routed through the fan.

    • Do not completely remove the cables as they are attached to the motherboard. Once they are no longer routed in the fan, leave them as they are.

  7. cTGN4dAB5vRc1CfQ
    • Remove the heatsink from the motherboard.

    • Before changing the heatsink/fan, you must clean off the thermal paste from the CPU and apply new thermal paste.

  8. JsHrgyIe61rY6DdM
    • Remove the 5mm screw holding the SSD in place using the Phillips #0 screwdriver.

  9. 4hspoLJty2uSAsIU
    4hspoLJty2uSAsIU
    j5UjKnEYn1W12cZe
    • Slide the SSD out of its slot in the motherboard.

  10. OLHtEHPuND2VcyuD
    • Remove the two 5mm screws holding the battery in place using a Phillips #0 screwdriver.

  11. QUjrbbqnYuOKQkZS
    • Remove the battery cable attached to the motherboard.

  12. syLFymEYOLaHQuRl
    • Pull out the battery.

  13. 6vTGOaJDFTutBABc
    6vTGOaJDFTutBABc
    ZQpIo1eW6nPHqsSd
    • Remove the speaker cable from the motherboard.

  14. LliA5GsmVYOEYvti
    • Remove the touchpad cable from the zero insertion force connector on the motherboard.

    • Be sure to push up the plastic tab that holds the cable in place before removing it. Failure to do this could result in snapping the cable.

  15. Fwo2wtSL1nCVcZVi
    • Remove the keyboard cable from the zero insertion force connector on the motherboard.

    • Be sure to push open the plastic tab that holds the cable in place before removing the cable.

  16. TZaMZYX1YqJpiSH3
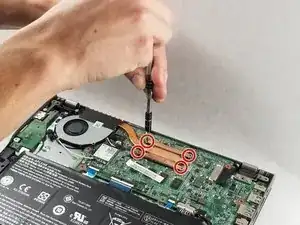
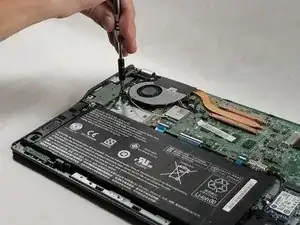
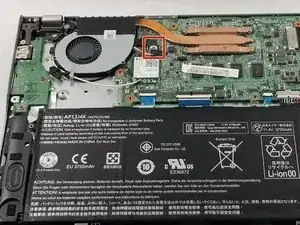
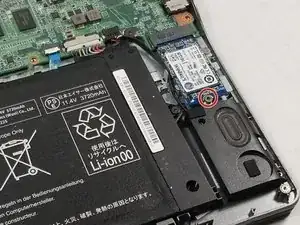
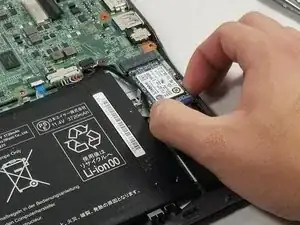
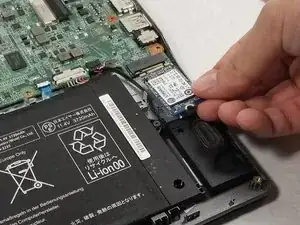
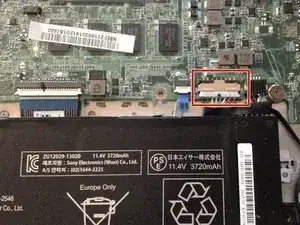
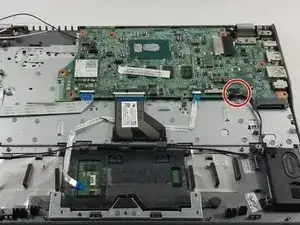
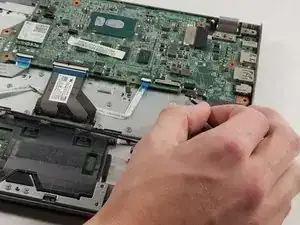
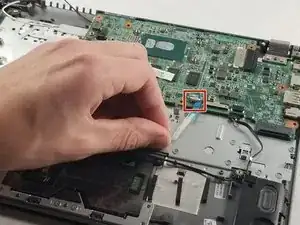
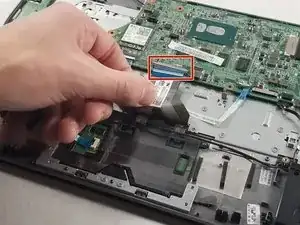
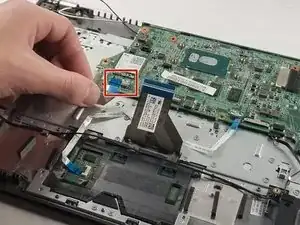
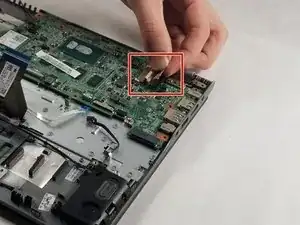
    • Remove the mother-to-daughter cable from the zero insertion force connector on the motherboard.

    • Be sure to push open the plastic tab that holds the cable in place before removing the cable.

  17. DqU1BNSrSNatSmSq
    • Remove the LCD cable from the motherboard.

  18. 1QPptjJwbWvGWbUg
    • Remove the two 5mm screws holding the motherboard in place using a Phillips #0 screwdriver.

  19. 6FfrLF5qAfCDc4uA
    • Remove the motherboard.

    • Make sure your body does not have static electricity when handling the new motherboard as you could shock it. This could potentially break the new motherboard. Touch your finger on to something metal before handling the new motherboard.

Conclusion

To reassemble your device, follow these instructions in reverse order.

Dylan Tocci

Member since: 17/10/17

237 Reputation

0 comments