Introduction

  1. UXJPevdyfPJdvJ4L
    UXJPevdyfPJdvJ4L
    QQmbAvcqAUjmWmKq
    nDZRPRUI4oo1VrmY
    • Make sure the laptop is turned off and unplugged before starting.

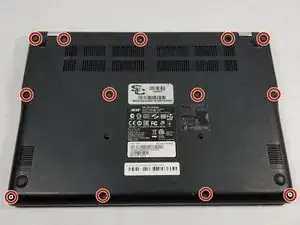
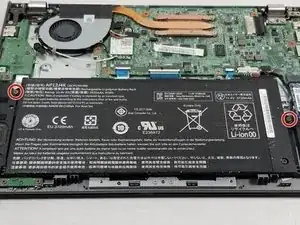
    • Unscrew the thirteen 10mm screws on the back of the computer using the Phillips #0 screwdriver.

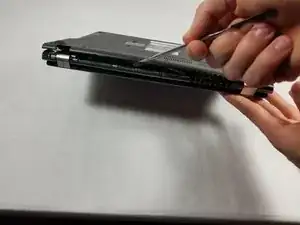
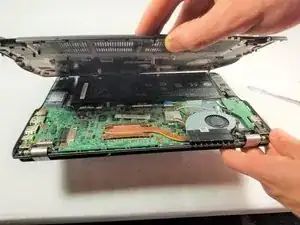
    • Using the spudger or other prying tool, gently pry the back off of the device.

    • Be sure not to pry too hard as it may result in snapping the back plate.

  2. oQDObpPUSvucTFUU
    • Unscrew the two 5mm battery screws using the Phillips #0 screwdriver.

  3. qIlcVxSQ4s3KbLY2
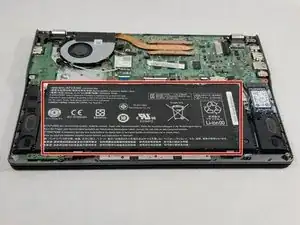
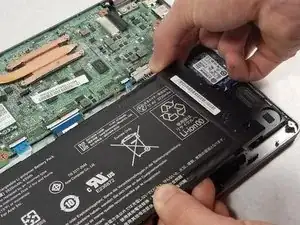
    • Gently lift the battery up and away from the hooks on the bottom of the device keeping the battery in place.

    • Be sure the battery is away from the clips before pulling away so as not to break the clips.

  4. gkeg3fIqbhBy4usv
    gkeg3fIqbhBy4usv
    3siHn4GgBwJSC2DL
    WqAtwjdCCHV6LUkC
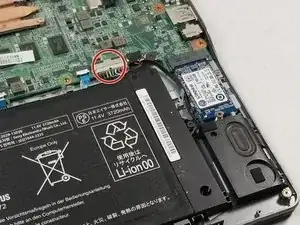
    • Detach the connecting cable from the motherboard by pulling away.

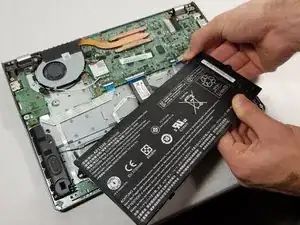
    • Remove the battery from the device.

Conclusion

To reassemble your device, follow these instructions in reverse order.

Jacob Kahn

Member since: 17/10/17

273 Reputation

0 comments