Introduction
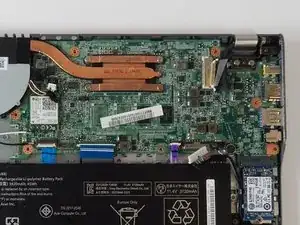
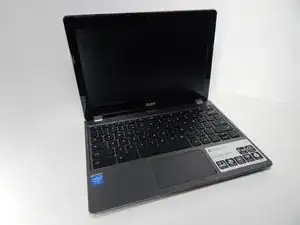
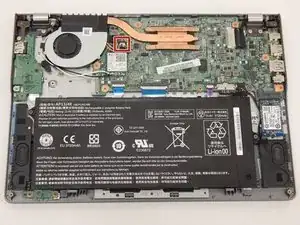
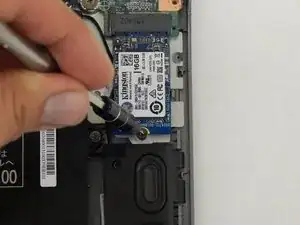
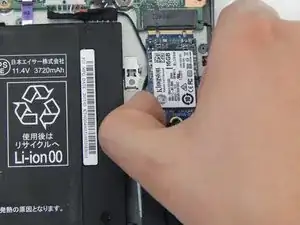
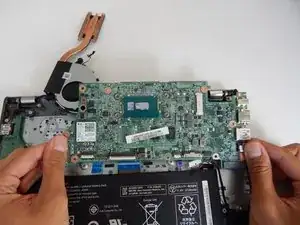
The motherboard replacement for the Acer Chromebook C740 requires removing the back panel, unplugging several connectors, and removing several screws. The motherboard is the main circuity for the laptop.
Tools
Parts
-
-
Place the chromebook bottom side up on a flat surface.
-
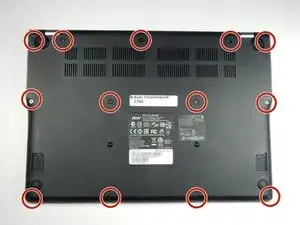
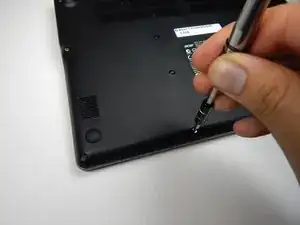
Remove the thirteen 7 mm screws with a Phillips #0 screwdriver.
-
-
-
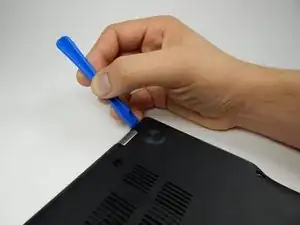
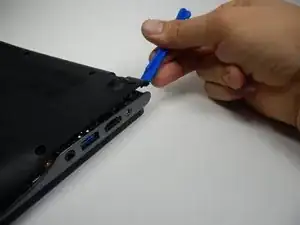
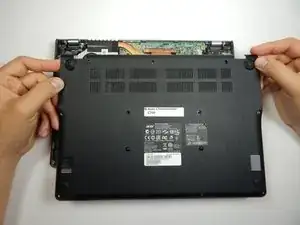
Insert the plastic opening tool into the slit near the hinges and pry upwards to lift the back panel.
-
-
-
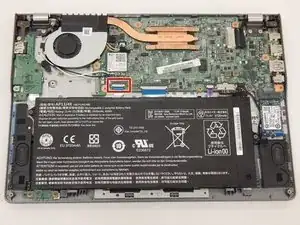
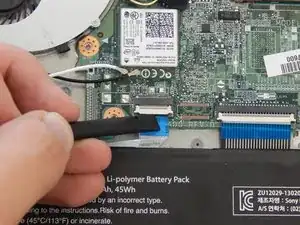
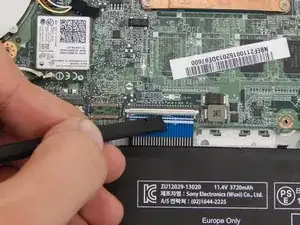
Flip up the clip holding down the white cable using the spudger.
-
Pull the cable outwards towards the battery.
-
-
-
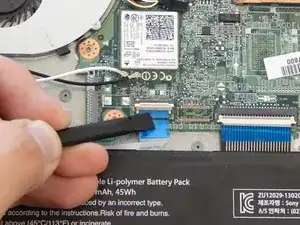
Flip up the clip holding down the white cable using the flat end of the spudger.
-
Pull the cable outwards towards the battery.
-
-
-
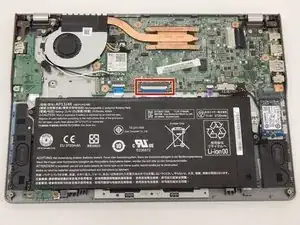
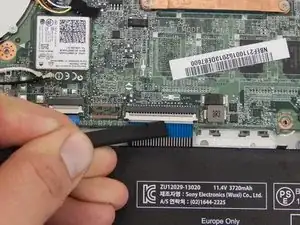
Flip up the white clip holding down the connector labelled "MB" using the flat end of the spudger.
-
Remove the connector by pulling out towards the battery.
-
-
-
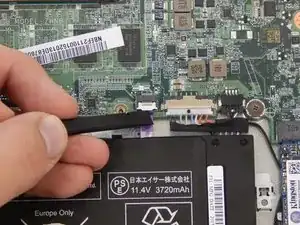
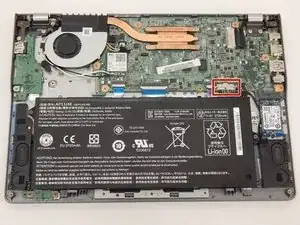
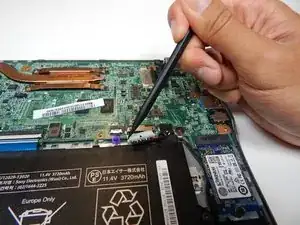
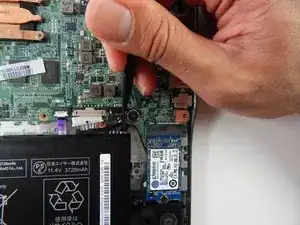
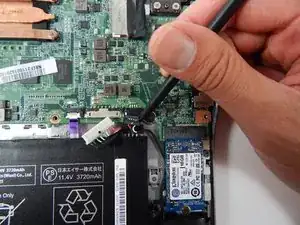
Unplug the white 8-wire battery connector from the motherboard by using a spudger to push the two L-shaped indentations towards the battery.
-
-
-
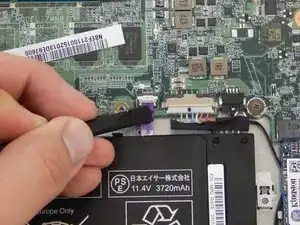
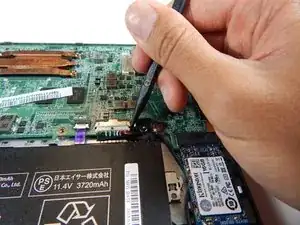
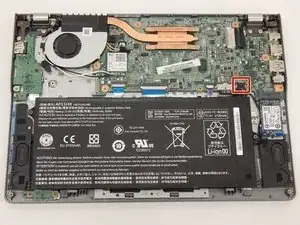
Unplug the black connector attached to the motherboard at the top right of the battery by using a spudger to push the two L-shaped indentations towards the battery.
-
-
-
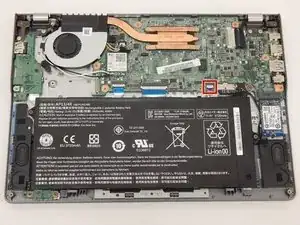
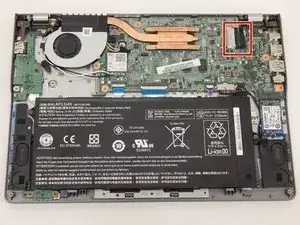
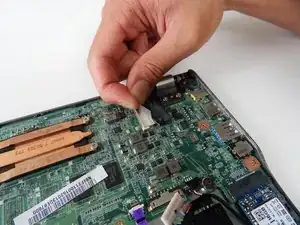
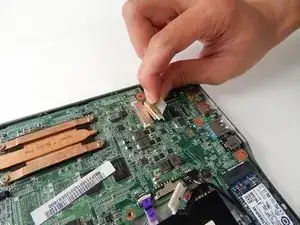
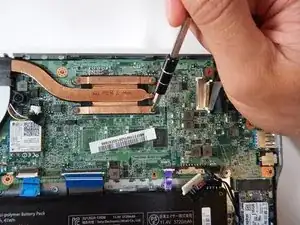
Peel back the tape covering the white connector at the top-right of the motherboard.
-
Remove the connector from its fitting by pulling outwards.
-
-
-
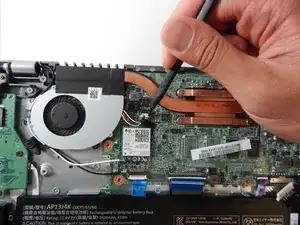
Unplug the white connector attached to the right of the fan with the spudger by applying force towards the battery on the two L-shaped indentations.
-
-
-
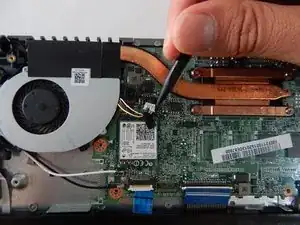
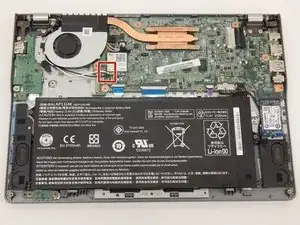
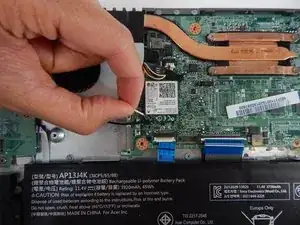
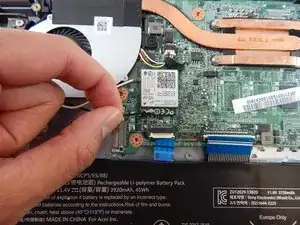
Disconnect the two white and black wires by holding close to the metal snap-on caps and pulling upwards.
-
-
-
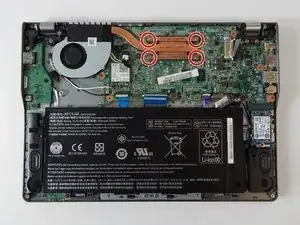
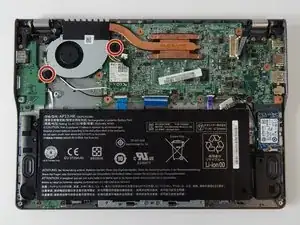
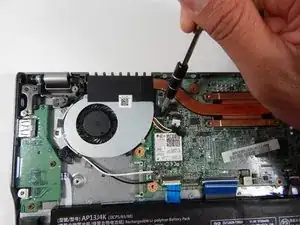
Loosen the two black screws with a Phillips #0 screwdriver.
-
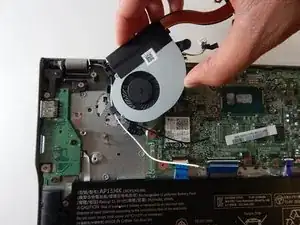
Lift the heatsink fan and rotate it away from the mother board to set down outside the laptop.
-
-
-
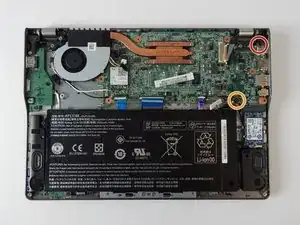
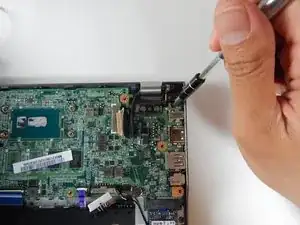
Remove the 3.63 mm screw in the top right near the hinge with a Phillips #0 screwdriver.
-
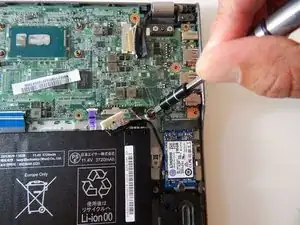
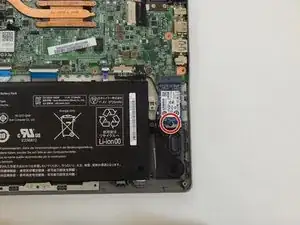
Remove the 3.75 mm screw near the top right corner of the battery with a Phillips #0 screwdriver.
-
To reassemble your device, follow these instructions in reverse order.
