Introduction
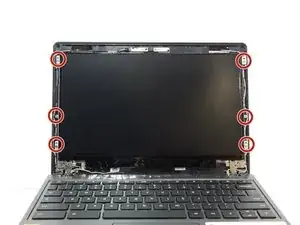
The LCD screen replacement for the Acer Chromebook C740 requires removing the screen frame, removing several screws, and unplugging the the LCD screen.
Tools
Parts
-
-
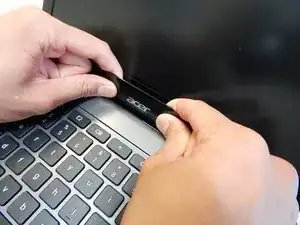
With the Chromebook open and face up, pry the black screen frame with your fingers.
-
Move slowly around the display to evenly remove it.
-
-
-
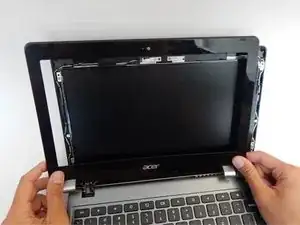
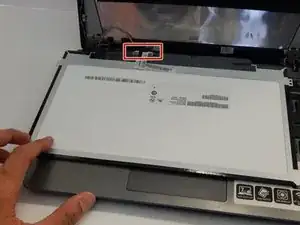
Once the frame is separated from the display, angle the display assembly back .
-
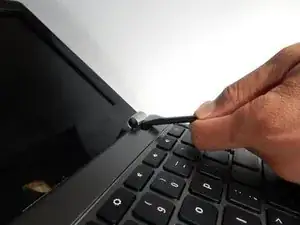
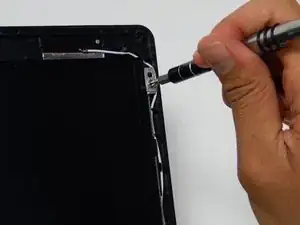
Lift up the portions of the frame covering the front two hinges with the spudger.
-
-
-
Place the LCD screen face down on the keyboard.
-
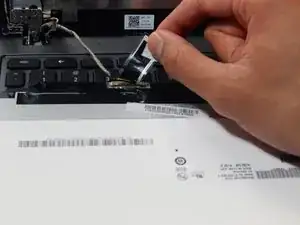
Remove the tape holding the black connector in place.
-
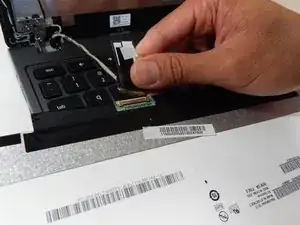
Unplug the connector with your hands.
-
Conclusion
To reassemble your device, follow these instructions in reverse order.
One comment
You actually don’t need to unscrew the middle screws, and you don’t need to buy a new bezel.


