Introduction
-
-
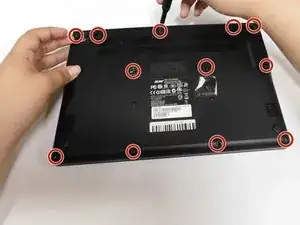
Flip to the back cover of the laptop.
-
Remove the 1 cm Phillips #00 screws on the back cover.
-
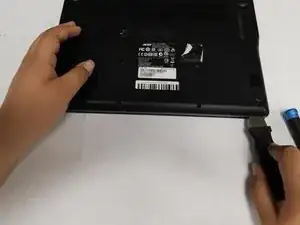
Use pry tools to remove the back cover.
-
-
-
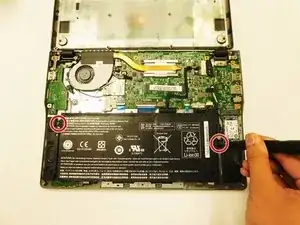
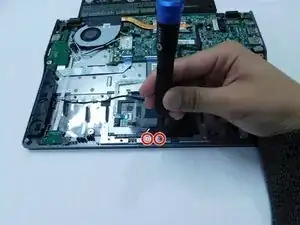
Take out your Phillips #00 screwdriver.
-
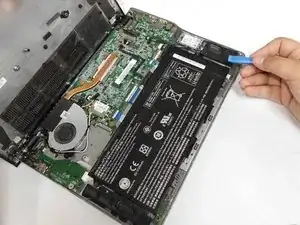
Remove the 1 cm screws of the battery. There are two of screws, one is on the left of the battery and the other is on the right. (circled in red).
-
-
-
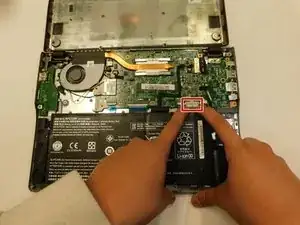
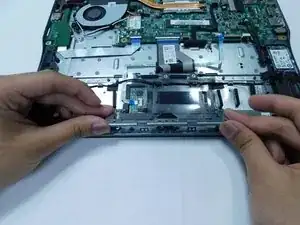
Unplug the battery from the motherboard by pulling the bundled cable connector free.
-
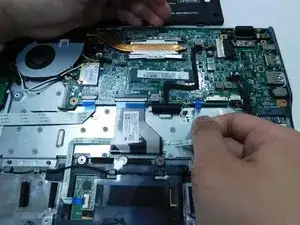
Lift the top part of battery.
-
Slide the battery forward to remove it completely from the motherboard.
-
-
-
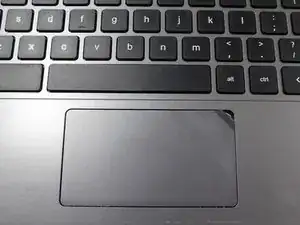
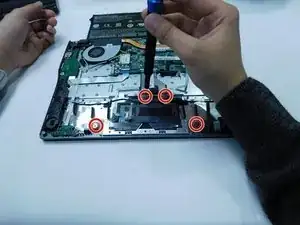
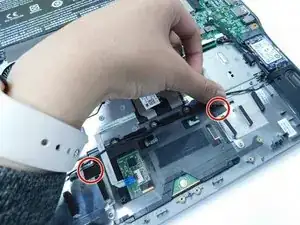
Unscrew and remove the two 1 cm Phillips #00 screws that secure the touchpad bracket.
-
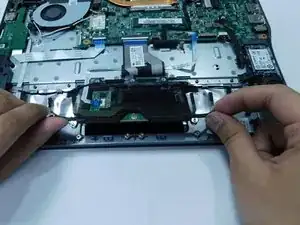
Lift bracket to remove from touchpad.
-

Conclusion
To reassemble your device, follow these instructions in reverse order.