
Introduction
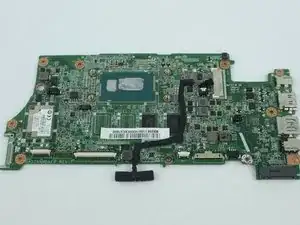
This guide will provide you with simple and clear steps on how to replace the motherboard on an Acer Chromebook C720-2420.
-
-
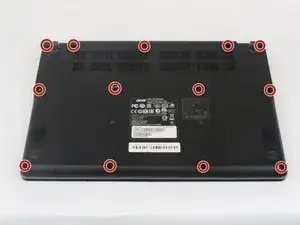
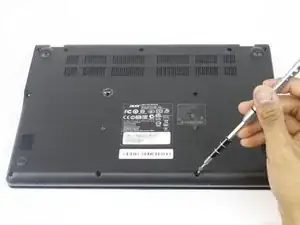
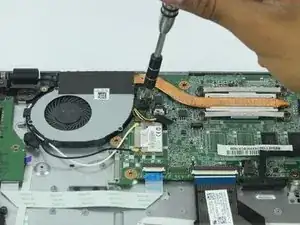
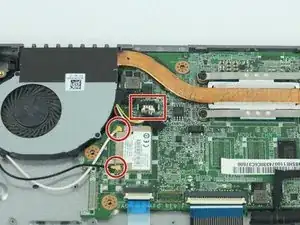
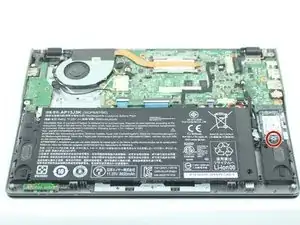
Utilizing the precision magnetized Phillips #0 screwdriver, remove all thirteen 6.5 mm Phillips screws that secure the back cover.
-
-
-
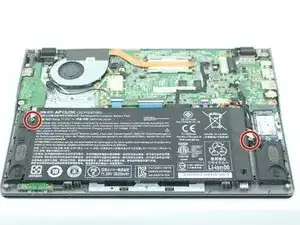
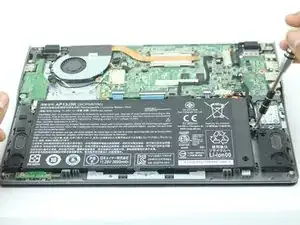
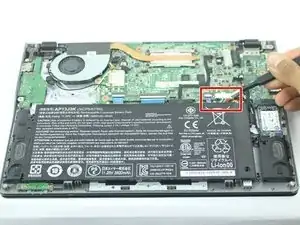
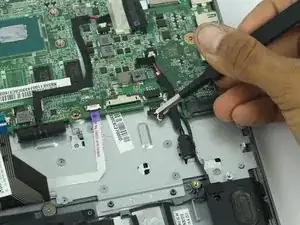
Disconnect the connector that attaches the battery to the Chromebook with a pair of pliers or tweezers.
-
-
-
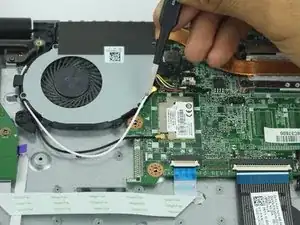
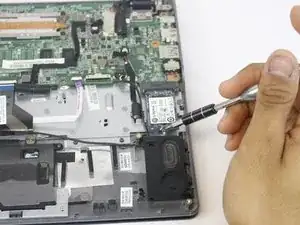
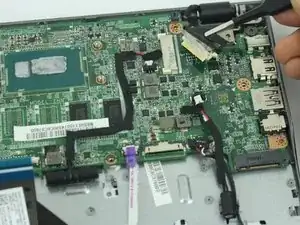
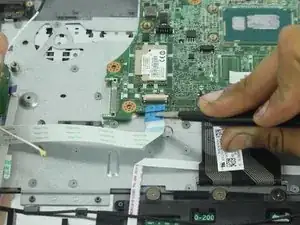
Lift up the black tab on the ZIF connector to release the ribbon cable.
-
Carefully remove the ribbon cable.
-
-
-
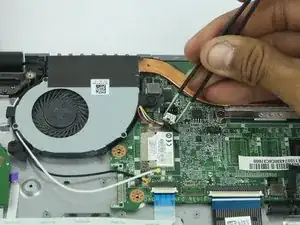
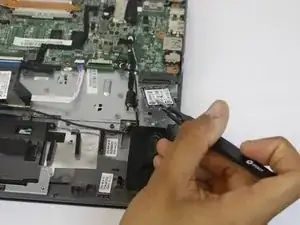
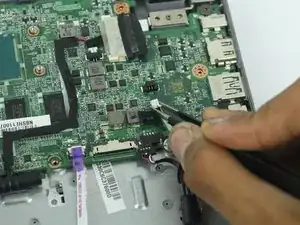
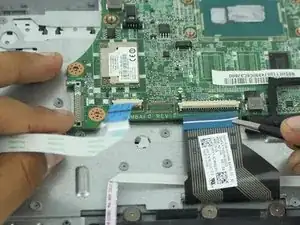
Lift up the black tab on the ZIF connector to release the ribbon cable.
-
Gently remove the ribbon cable
-
-
-
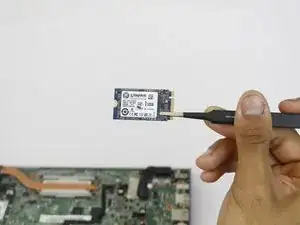
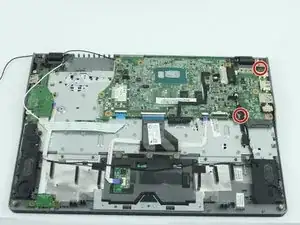
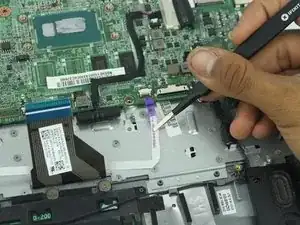
Lift up the black tab on the ZIF connector to release the ribbon cable.
-
Remove the ribbon cable.
-

Conclusion
To reassemble your device, follow these instructions in reverse order.