Introduction
This guide goes through the steps on how to replace the solid state drive for the Acer Chromebook C720-2103. This is a fairly easy replacement guide and only need the knowledge for the use of a Phillips screwdriver. The main part of the replacement guide is removing screws, the battery and the actual part. There is also a removable of one simple cable. Make sure the device is powered off during this replacement as there is a possibility of electrocution.
Tools
-
-
Shut the device off.
-
Turn the device over so the bottom is facing up.
-
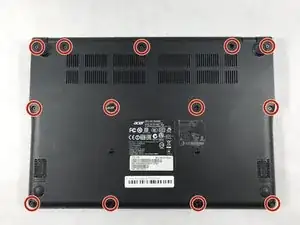
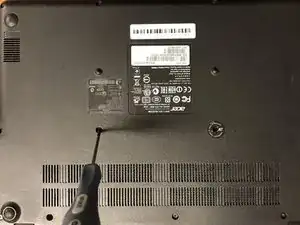
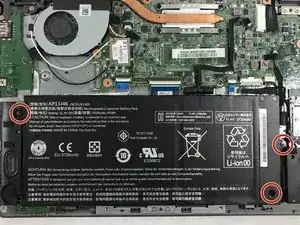
Remove all thirteen 6mm screws using a Phillips #0 screwdriver.
-
-
-
Wedge a plastic opening tool between the back casing and the rest of the device.
-
Apply pressure up and down carefully, until backing pops up. Repeat this process in multiple spots if needed.
-
-
-
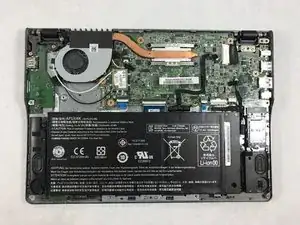
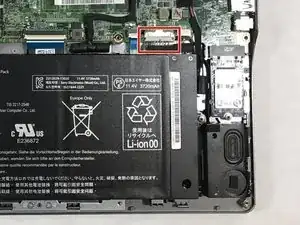
Pull the rainbow cable connector out of the white terminal by wiggling it gently from side to side with your fingers.
-
-
-
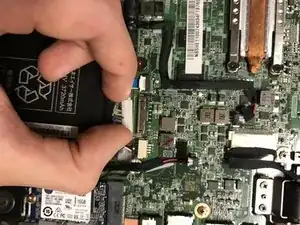
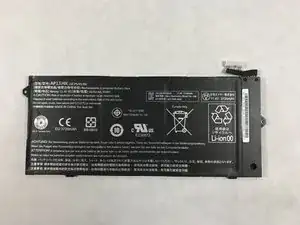
Lift the battery straight up and out of the device with your hands. Take care not to knock the battery against another component.
-
-
-
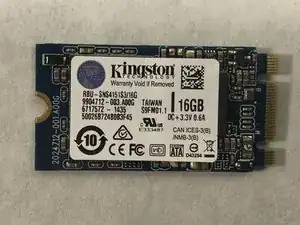
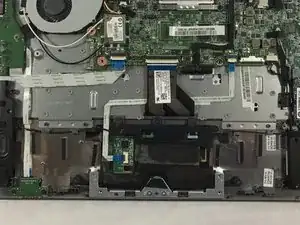
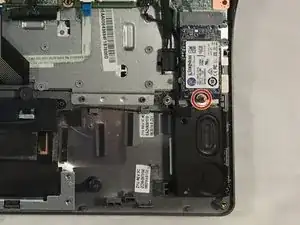
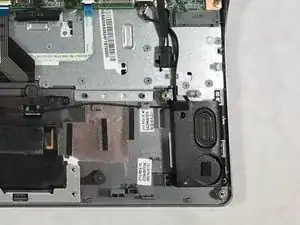
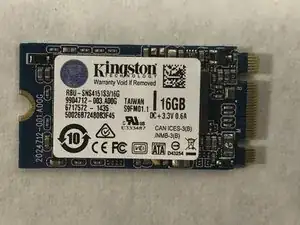
Carefully remove the solid state drive from the solid state drive slot by sliding it downward away from the motherboard.
-

To reassemble your device, follow these instructions in reverse order.