Introduction
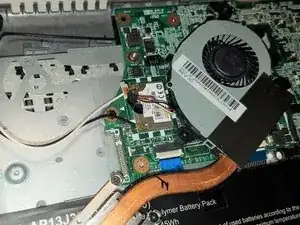
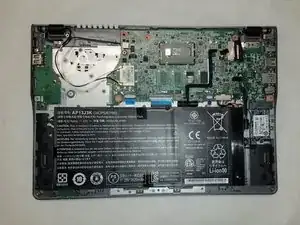
Follow these simple steps to remove and replace a Fan and Heat Sink on an Acer Chromebook C720 with, a Philips #0 Screwdriver and plastic opening tool. Before beginning, be sure the device is completely drained, as it is dangerous to work on the device internals while the device is running. Also, remember to handle the device internals with care, as they are fragile and can be broken.
Tools
Parts
-
-
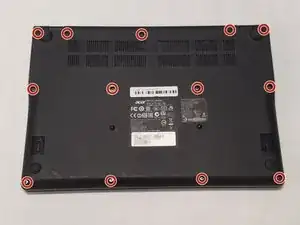
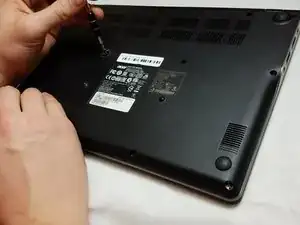
Remove the thirteen 6mm screws using the Phillips #0 screwdriver.
-
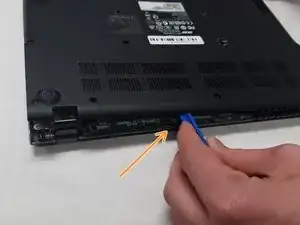
Gently pry the back plate off using the plastic opening tool, leveraging the groove along the device's hinge.
-
-
-
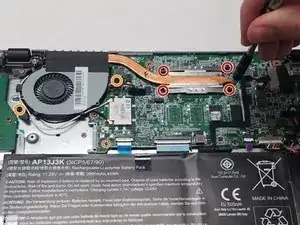
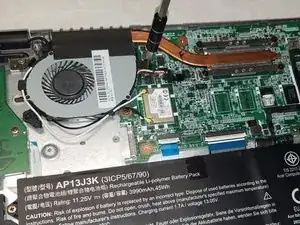
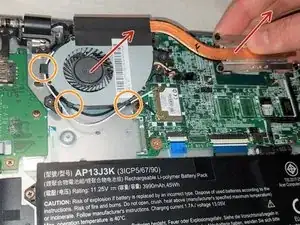
Remove the four 3mm screws securing the heat sink using the Phillips #0 screwdriver.
-
Remove the two 3mm screws securing the fan using the Phillips #0 screwdriver.
-
-
-
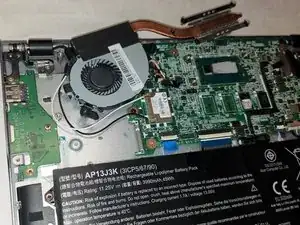
Gently pry the fan module away from the motherboard. After a bit of force, it should pop out of its slot.
-
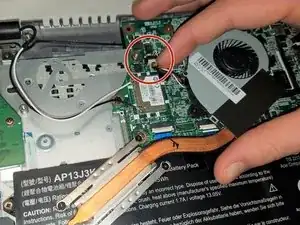
Carefully unwrap the wires from around the fan.
-
To reassemble your device, follow these instructions in reverse order.
