Introduction

Follow this guide to replace the solid-state drive in your Chromebook. Note that this may interfere with your Chromebook's ability to update Chrome OS or void its warranty.

  1. EUvXOBwGkDjQV4ht
    EUvXOBwGkDjQV4ht
    12jmtMvQcQc26TsY
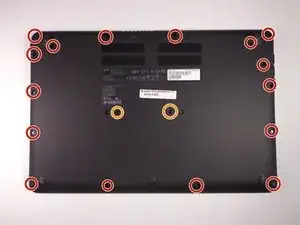
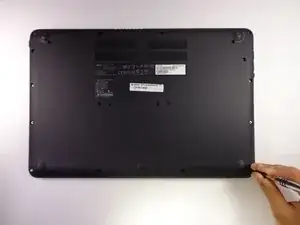
    • Turn the Chromebook onto its backside and unscrew the the following Phillips #1 screws:

    • Sixteen 5mm Phillips screws located around the border.

    • Two 5mm Phillips screws located in center.

  2. NCVYxSDBTY1LUGCt
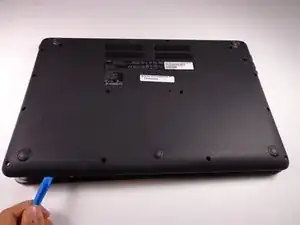
    • Remove the back cover by carefully prying each side with an iFixit Opening Tool.

    • Set aside back cover.

  3. gQs6NSeRy2SAaNhB
    gQs6NSeRy2SAaNhB
    ZMVRcd6v2DToa6xZ
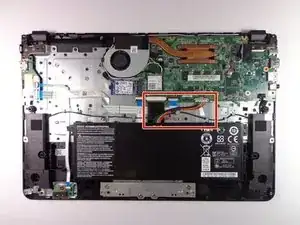
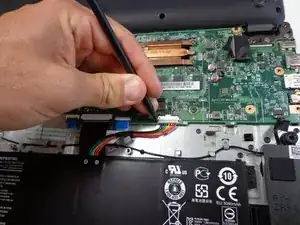
    • Using a spudger, carefully unplug the rainbow wires connected to the top of the battery.

  4. GoWXUAZWCROFYNmp
    GoWXUAZWCROFYNmp
    i1XWbhRZG4uhDLtP
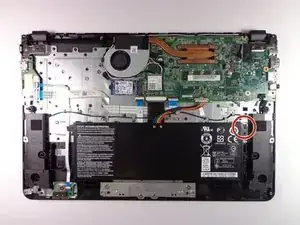
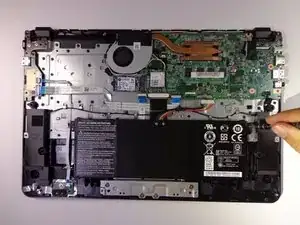
    • Unscrew the 4mm Phillips #1 screw located at the top right of battery.

  5. ocWUGENEtmguJvcP
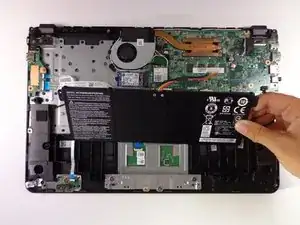
    • Remove the battery.

  6. mKhOIkWHkIYsydNK
    mKhOIkWHkIYsydNK
    1umbfMxGAONCUITj
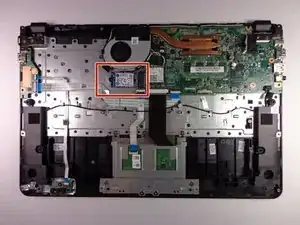
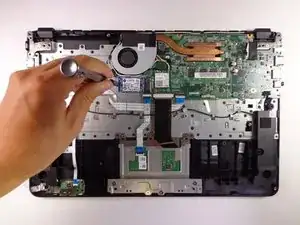
    • Remove the screw at the left of the drive.

  7. lAPB3wHQdUqRqHMf
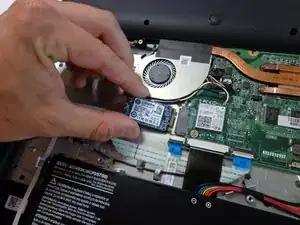
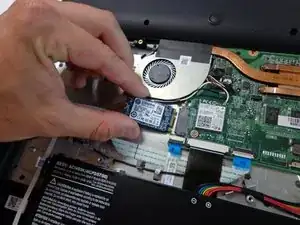
    • Remove the drive by pulling it gently to the left.

Conclusion

To reassemble your device, follow these instructions in reverse order.
Jacob Rakestraw

Member since: 18/04/17

419 Reputation

0 comments