Introduction
Tools
-
-
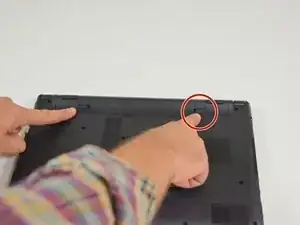
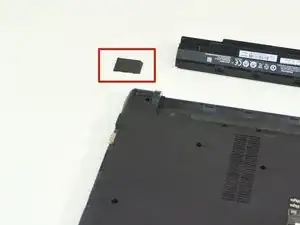
Start by unlocking the right locking latch.
-
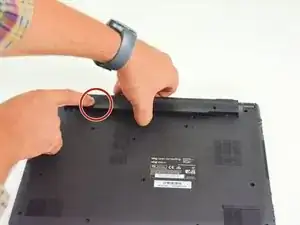
Then, by simultaneously unlocking the left latch, lift the battery out of its socket.
-
-
-
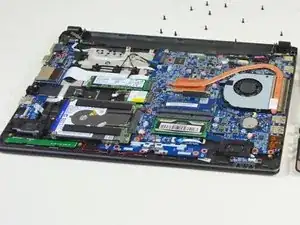
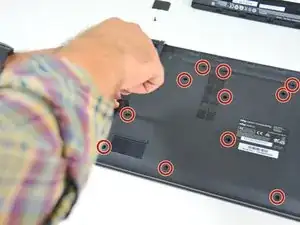
Locate the 15 screws that hold the bottom cover of the device in place.
-
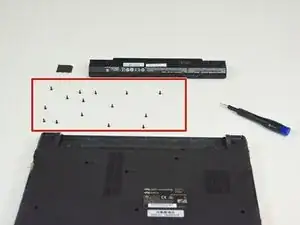
Unscrew them and place them on your work surface.
-
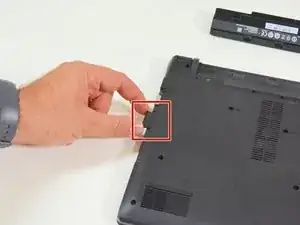
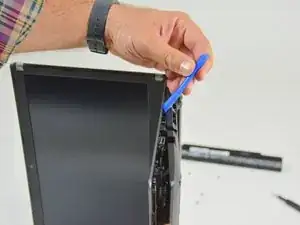
Then, un-clip the bottom cover, starting with the side shown in the third picture.
-
To reassemble your device, follow these instructions in reverse order.
2 comments
J’ai effectivement pu démonter et remonter la base de l’ordinateur pour accéder au ventilateur, ceci en 15 minutes. Pour aller aussi vite, j’ai utilisé une visseuse - dé-visseuse.
J’ai eu des problèmes de surchauffe de l’ordinateur, il semble que le ventilateur ne refroidisse pas assez dans certaines circonstance, en particulier lors de réunion “google meet” avec plus d’une dizaine de participants et des partages d’écran. Ce problème, je n’ai pas réussi à le résoudre.
Mais l’ouverture et la fermeture de l’ordinateur est effectivement très simple, merci.
Pour plus d’informations à ce sujet, voir https://swisslinux.org/forum/viewtopic.p....
Cordialement.
