Introduction

This guide will teach you how to properly take apart your Asus to replace the track pad clicker.

  1. q1EBVVdxoyKH1GBA
    q1EBVVdxoyKH1GBA
    ymLqIFyOopAY3MMF
    IefZTsUUiFJWWaQi
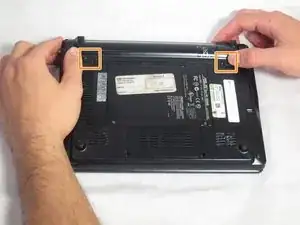
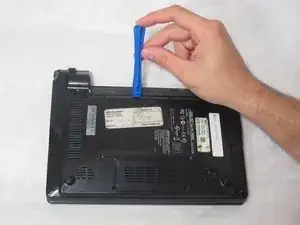
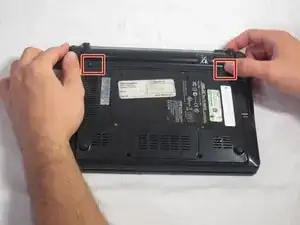
    • Flip the laptop over and locate the battery lock tabs.

    • Slide the right tab to the unlock position (right) so that the red dot is showing. Then, slide and hold the left tab to its unlock position (left).

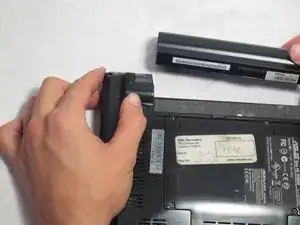
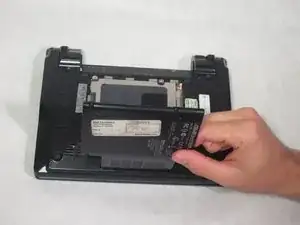
    • While holding the left tab to the left, pull the battery out.

  2. cUgaXrTZsQdf4Wmd
    cUgaXrTZsQdf4Wmd
    nw2pcRxTeWRGcZYS
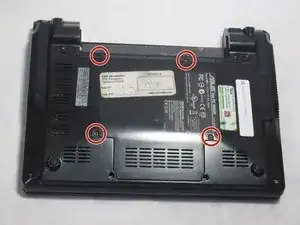
    • Remove the four 4.76 mm screws using the Phillips J0 Screwdriver.

  3. HSLXceSQs6jd6ISG
    HSLXceSQs6jd6ISG
    lhMnrysGsnnfThoH
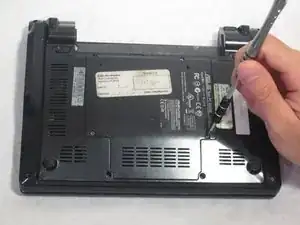
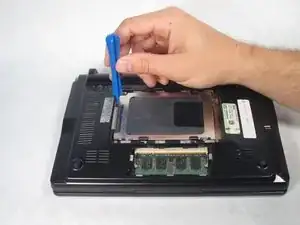
    • Using a plastic opening tool, take off the hard drive cover by lifting it up.

  4. SFYj4TILgKdHFhY5
    SFYj4TILgKdHFhY5
    gifwO6Z3U6RLlNpO
    WOVfPB1QNZ5gvZwR
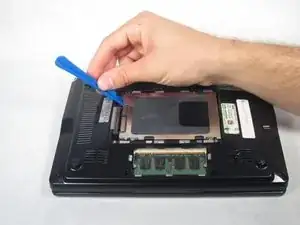
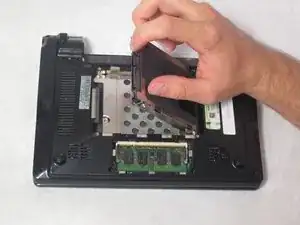
    • Starting from the left, use a plastic opening tool to slide the hard drive all the way to the right.

    • Once the hard drive is all the way to the right, lift it up and pull it out.

  5. gBC2NNIcVPtiKmxI
    gBC2NNIcVPtiKmxI
    CwincuSGVEdM61bj
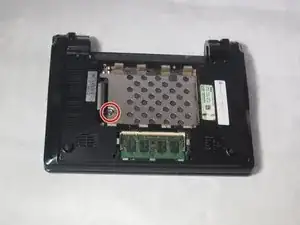
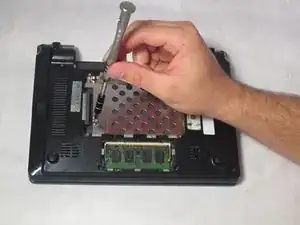
    • Remove the screw under the hard drive using the Phillips J0 Screwdriver.

  6. tHpZAvyLZyMgvDsr
    tHpZAvyLZyMgvDsr
    bsV5EmNX6E1LYHqZ
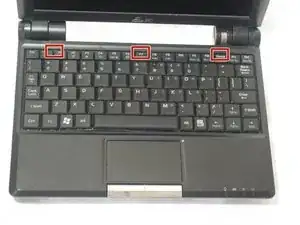
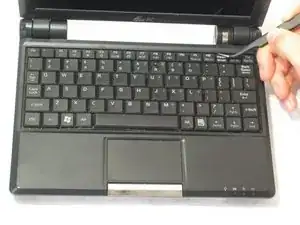
    • Flip the laptop back over and unlock the three keyboard tabs at the top of the keyboard by pushing down on the silver tabs with tweezers .

  7. gYpBkq6y3LsoIrPR
    gYpBkq6y3LsoIrPR
    pLsNdRFuI2LloHI1
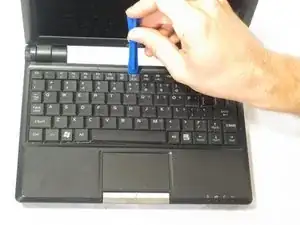
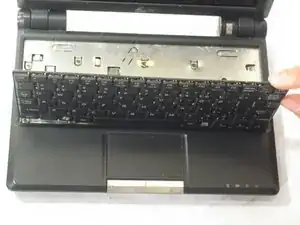
    • Use the plastic opening tool to lift up the keyboard.

  8. diXtXcqrI5eKbAhX
    diXtXcqrI5eKbAhX
    LjWGn46RnksAeZXR
    2SfDQNO4uqhYnGUN
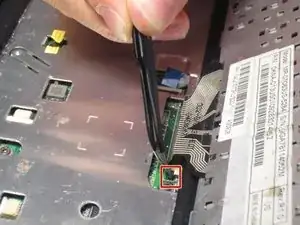
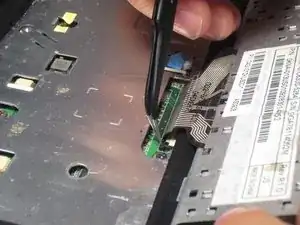
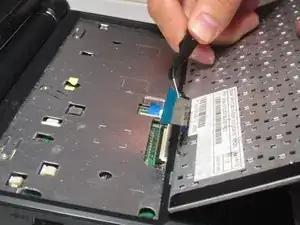
    • Using a pair of tweezers, disconnect the cable at the bottom of the keyboard by flipping the two lock switches up on both sides of the cable.

    • Carefully pull the cable out.

  9. hgBxJATmkbZdpEQb
    hgBxJATmkbZdpEQb
    dUtPJHDBMBfsIUK1
    WdvZNNHJJjSKBJiX
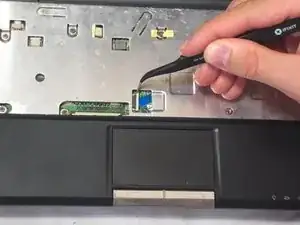
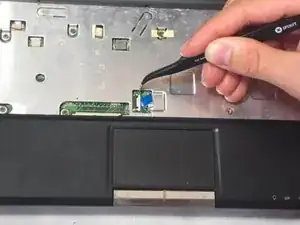
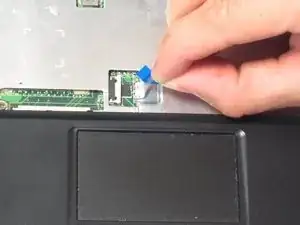
    • Using a pair of tweezers, unlock the touchpad ribbon by pushing the white lock tab to the right.

    • Carefully pull the ribbon to the right.

  10. TtAanbGlvSJWE4yC
    TtAanbGlvSJWE4yC
    g1NVPuectLERyMtY
    tyrwWA35VXUtUvXm
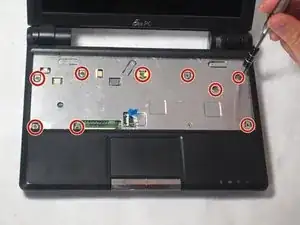
    • Remove the nine 4.76 mm screws from the top cover of the laptop using the Phillips J0 Screwdriver.

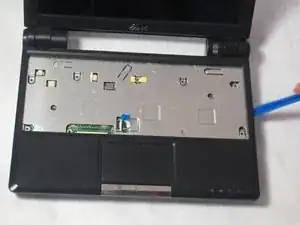
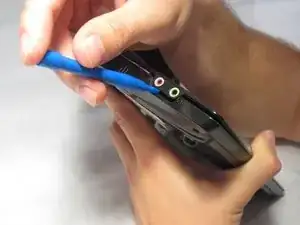
    • Using a plastic opening tool, pry up the edges of the cover.

    • Caution: Be careful around the audio and microphone jacks as they can be easily damaged. Lift the right half of the cover and move it towards the left.

  11. MAASqD1cTEmK1ZwA
    MAASqD1cTEmK1ZwA
    2VKH5bXRmtkvbWa2
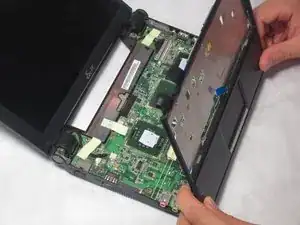
    • Lift up and remove the top cover of the laptop.

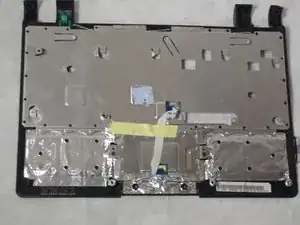
    • Flip this cover over to reveal the back.

  12. xEIxmU4eSHYRemAQ
    xEIxmU4eSHYRemAQ
    X2CUbTrW1wgZBMmA
    AaU1BPwVKmsElc1x
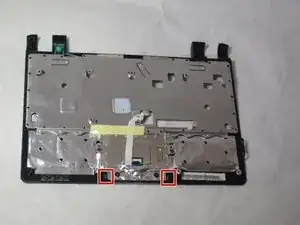
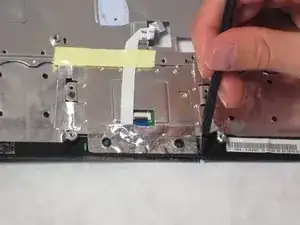
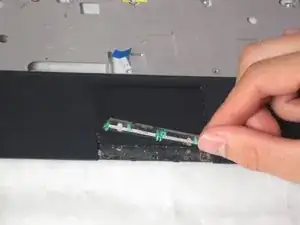
    • Using a Spudger, push down on the green tabs found on both sides.

    • Pull the clicker off of the cover plate.

Conclusion

To reassemble your device, follow these instructions in reverse order.
Kendall Marie Mehlhorn

Member since: 13/10/15

557 Reputation

0 comments