Introduction

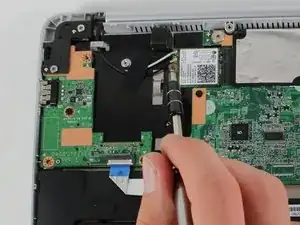
This guide will take you through a step-by-step process for the removal of your Chromebook’s wireless card.

  1. QOqEWOE3ChjVEjFk
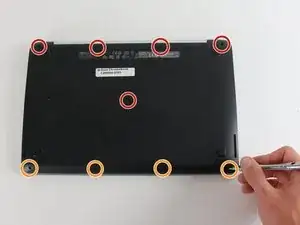
    • Before proceeding, power down your Chromebook. Close the display and lay it on a soft surface, top-side down.

    • Remove the five 8.4 mm Phillips #0 screws.

    • Remove the four 4.6 mm Phillips #0 screws.

  2. snNXDQ2grhFEgCeA
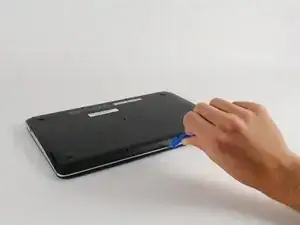
    • Use the plastic opening tool to gently work around the edge of the Chromebook until the back panel starts to lift off.

  3. qnsNoJntkABOhrAU
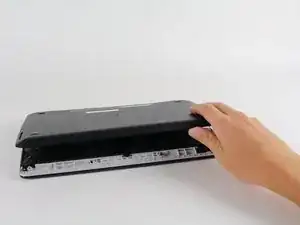
    • Remove the back panel by lifting it away from the Chromebook.

    • Some clicking will be heard as the panel is removed from the back, this is completely normal.

  4. NQYF6V6TnmG2FoSE
    NQYF6V6TnmG2FoSE
    UnCLUX1VRlSYjCIo
    gdWYZjfesf2rWH4c
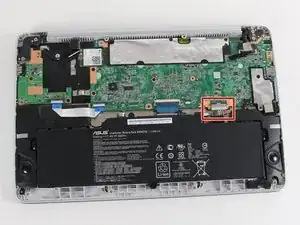
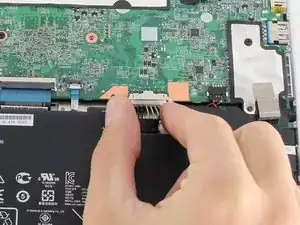
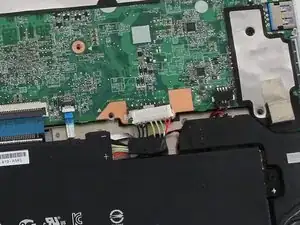
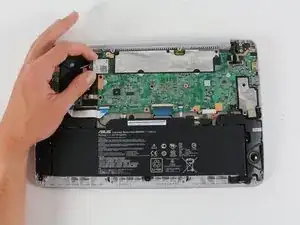
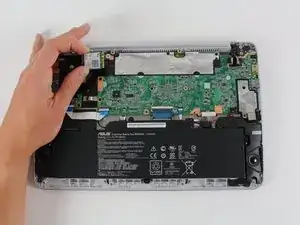
    • To disconnect the battery, pinch the multi-color bundle cable with your thumb and forefinger and pull directly back.

  5. p2kbHlYlmSGYsdPJ
    • Remove the silver 2.8 mm Phillips #0 screw from the wireless card.

  6. KHI5LnPfWSLPuTW4
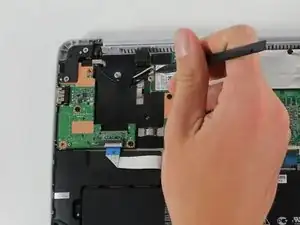
    • Use a spudger to disconnect the white and black antenna cables connected to the wireless card.

  7. 6TL2b4nuW4kvL1E5
    6TL2b4nuW4kvL1E5
    UsUKSXF1ZEISfBEl
    • Grab the wireless card between your thumb and index finger and pull directly away from the motherboard.

Conclusion

To reassemble your device, follow these instructions in reverse order.

Christopher Lim

Member since: 26/04/17

779 Reputation

One comment

Is this at all possible on Asus 204ma or Asus 214MA ?

Knoll -