Introduction

This guide will take you through a step-by-step process for the removal of your Chromebook’s USB board.

  1. QOqEWOE3ChjVEjFk
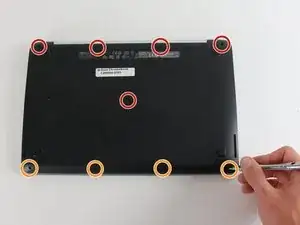
    • Before proceeding, power down your Chromebook. Close the display and lay it on a soft surface, top-side down.

    • Remove the five 8.4 mm Phillips #0 screws.

    • Remove the four 4.6 mm Phillips #0 screws.

  2. snNXDQ2grhFEgCeA
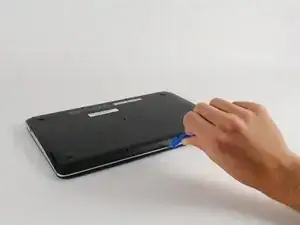
    • Use the plastic opening tool to gently work around the edge of the Chromebook until the back panel starts to lift off.

  3. qnsNoJntkABOhrAU
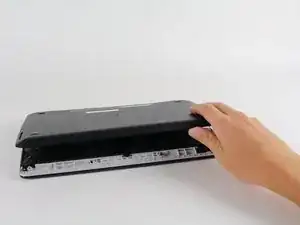
    • Remove the back panel by lifting it away from the Chromebook.

    • Some clicking will be heard as the panel is removed from the back, this is completely normal.

  4. NQYF6V6TnmG2FoSE
    NQYF6V6TnmG2FoSE
    UnCLUX1VRlSYjCIo
    gdWYZjfesf2rWH4c
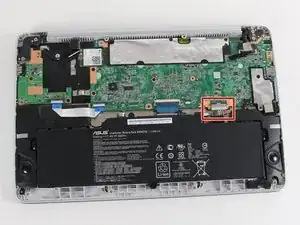
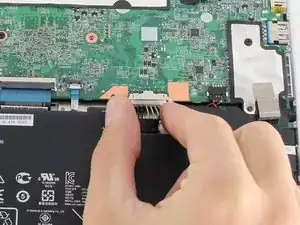
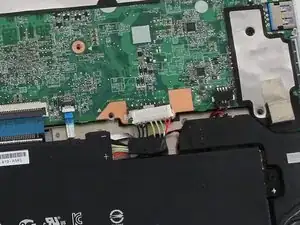
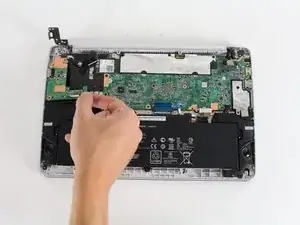
    • To disconnect the battery, pinch the multi-color bundle cable with your thumb and forefinger and pull directly back.

  5. WgPOdMNDZknNbTZB
    WgPOdMNDZknNbTZB
    PopAve2yvcecEVnC
    fCkOoQOtmryYfpJE
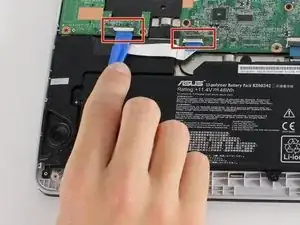
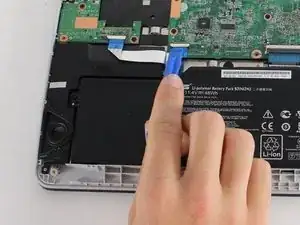
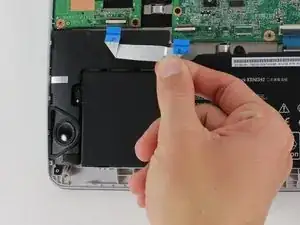
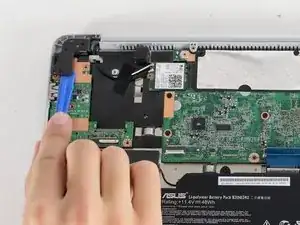
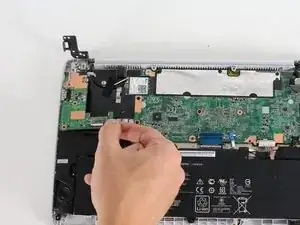
    • Disconnect the USB board ZIF (zero insertion force) connectors which connect the motherboard to the USB board in the upper left.

    • Flip the ZIF retaining flaps up using a plastic opening tool or your fingers.

    • Pull gently on the ribbon cable to disconnect it from the sockets.

  6. FWAi6UB4C123wSAR
    • Remove the three 5.77 mm Phillips screws on the USB board.

    • Remove the two 4.77 mm Phillips screws from the hinge.

  7. qIgWBl1HIWYREcGr
    • Use a plastic opening tool to lift the hinge from the Chromebook.

  8. C2QnEe6jP4yTms4p
    • Gently lift the USB board from the Chromebook.

Conclusion

To reassemble your device, follow these instructions in reverse order.
Christopher Lim

Member since: 26/04/17

779 Reputation

0 comments