Introduction

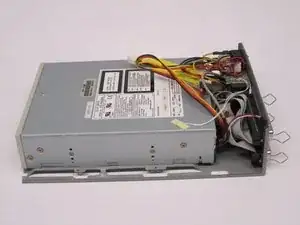
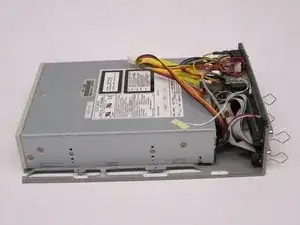
This is one of the easier disassembly guides for this device. The case is easily removed, but will void any still existing warranty on the device. Removing the case is necessary to get at any internal component.

  1. fDlsMFELuavNmXsX
    fDlsMFELuavNmXsX
    wENWaGCLJCYrfjV3
    vIUXysHO1osi6MYA
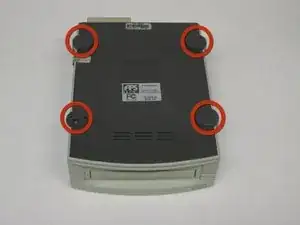
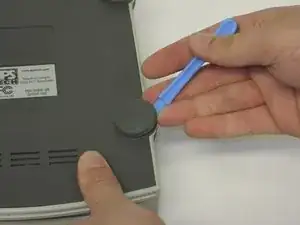
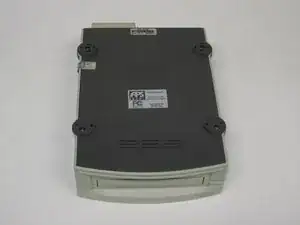
    • Pry all four of the plastic feet off the bottom of the enclosure using the iPod opening tool.

  2. aXnC13l6CsmNSdMI
    aXnC13l6CsmNSdMI
    DYdGu4VnyRTOdarF
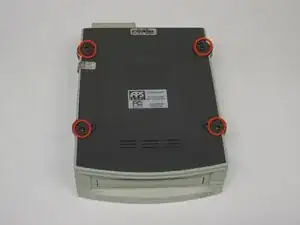
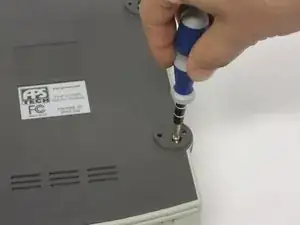
    • Unscrew the four screws previously covered by the feet with a Phillips #1 screwdriver.

  3. uaHqU3rVnrZQRvTo
    uaHqU3rVnrZQRvTo
    cCrI6AfHTFwWuSIN
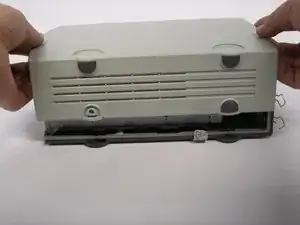
    • Flip the device right side up.

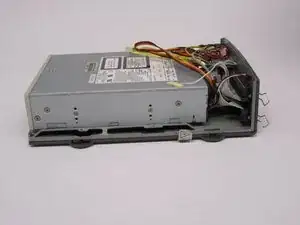
    • Gently slide the casing upwards and off the hard drive.

  4. RikD2avOEMYnHOjj
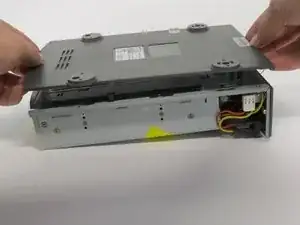
    • Flip device upside down again.

    • Gently pry the bottom gray casing away from the device.

  5. jMXiEZmvyLJWqeaT
    jMXiEZmvyLJWqeaT
    lDoa1fW12J2AAfNb
    • Rotate so the back of the device is facing you.

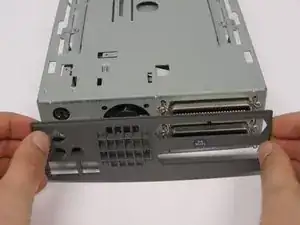
    • Gently pry the back casing away.

    • When the back casing is removed, the fan will become loose.

Conclusion

To reassemble your device, follow these instructions in reverse order.
Patrick Meyer

Member since: 11/04/11

83 Reputation

0 comments